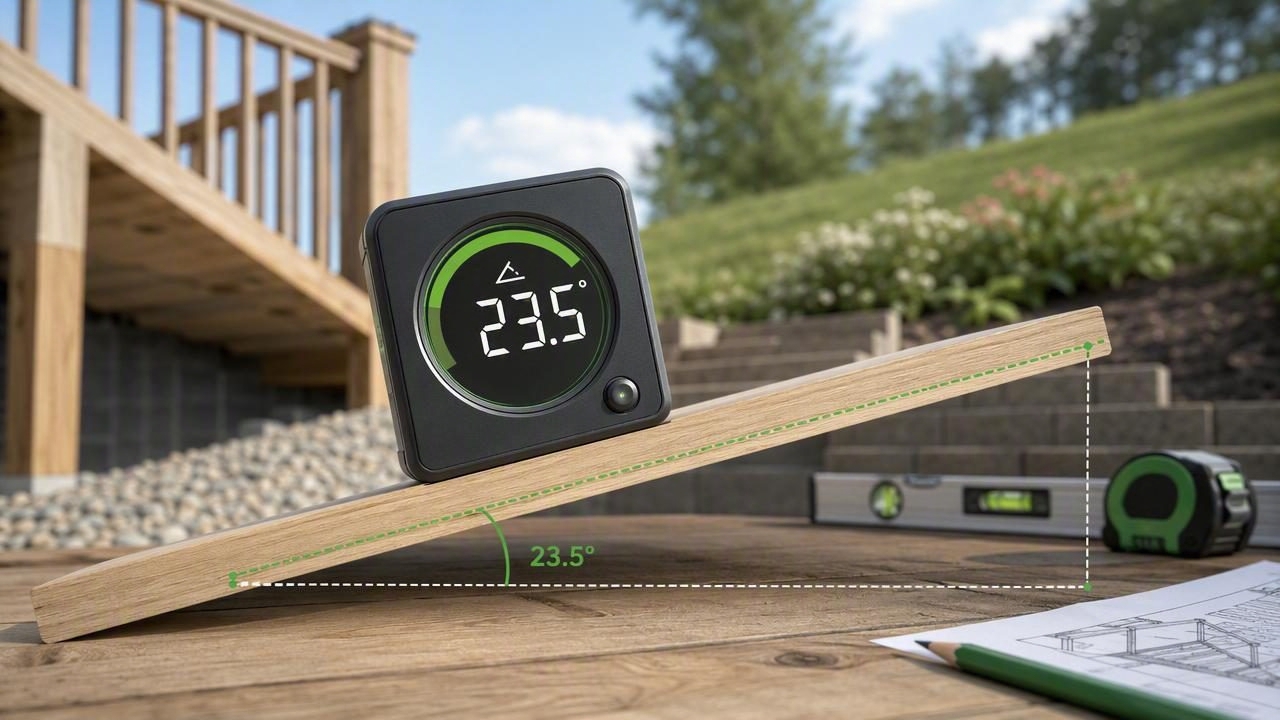
An inclination meter is a practical tool for measuring tilt, slope, pitch, and angles relative to level or vertical. Whether you are building a ramp, checking drainage, installing a handrail, setting a saw angle, or assessing a hiking trail, knowing the exact incline can help you plan more accurately and avoid costly mistakes.
Traditional inclinometers may be mechanical or digital handheld devices. Today, an iPhone can also function as an inclination meter by using its built-in motion sensors. This makes angle measurement more accessible for homeowners, DIY enthusiasts, tradespeople, and outdoor users who need a quick reading without carrying a separate tool.
This guide explains how an inclination meter works, how to use one correctly, what its readings mean, and how to apply angle measurements to common projects.
What Is an Inclination Meter?
An inclination meter, also called an inclinometer, tilt meter, slope meter, or angle finder, measures the angle of an object or surface in relation to gravity. The result is commonly displayed in degrees, but some tools can also show percentages, ratios, or roof pitch values.
For example, a completely level tabletop has an inclination of 0°. A vertical wall is generally 90° from level. A ramp that rises gradually may read 5°, while a steep roof surface may be closer to 30° or more.
On an iPhone, an inclination meter typically uses the accelerometer and gyroscope to detect the device's orientation. When the phone is placed against, on, or parallel to a surface, the app calculates that surface's tilt.
Why Use an Inclination Meter for DIY Projects?
Visual estimates are useful for rough planning, but they are not reliable when a project depends on consistent angles. Even a small slope can affect drainage, stability, accessibility, fit, and appearance.
An inclination meter is especially useful when you need to:
- Check whether a patio, shower floor, or driveway slopes in the correct direction.
- Measure roof pitch before planning maintenance or material needs.
- Set the angle of a miter cut, bevel cut, or trim piece.
- Install ramps, handrails, or supports at a consistent incline.
- Measure the tilt of furniture, appliances, or equipment.
- Compare the grade of a path, trail, or outdoor route.
- Align solar panels, brackets, and mounted hardware.
Using an inclination meter does not replace building codes, structural calculations, or professional inspection. However, it can provide useful field measurements and help you identify issues before they become bigger problems.
Understanding Incline Readings: Degrees, Percent, and Pitch
Before measuring, it helps to understand the most common angle formats. A reading can look very different depending on whether the tool uses degrees, percent grade, or roof pitch.
| Measurement Format | What It Means | Typical Use |
|---|---|---|
| Degrees (°) | The angle from level or vertical. | Carpentry, cutting, general alignment |
| Percent grade (%) | Vertical rise divided by horizontal run, multiplied by 100. | Drainage, ramps, paths, driveways |
| Roof pitch | Rise in inches for every 12 inches of horizontal run. | Roofing and construction planning |
| Ratio | Rise compared with run, such as 1:12. | Accessibility and ramp design |
A 45° angle equals a 100% grade because the surface rises one unit for every one unit of horizontal travel. Smaller angles can still create meaningful slopes. For instance, a 5° incline is approximately an 8.7% grade.
The relationship can be calculated with this formula:
Percent grade = tan(angle in degrees) × 100You usually do not need to calculate this manually if your inclination meter can switch display modes. Still, understanding the difference helps you communicate measurements accurately when following plans or discussing a project with a contractor.
How to Use an Inclination Meter Correctly
Accurate readings depend on more than opening an app and placing a phone on a surface. Follow these steps for dependable results.
1. Choose the Right Reference Surface
Decide what you are measuring: the slope of a floor, the face of a board, the angle of a cut, or the incline of a ramp. The phone should sit flat and securely against that surface whenever possible.
If the surface is narrow, uneven, or too short for the phone, place a straight board, ruler, or spirit level along it first. Then position the phone on the straight edge. This averages out minor bumps and gives the inclination meter a more useful reading.
2. Remove Obstacles That Affect Contact
A thick or uneven phone case can prevent the device from lying flush against a surface. If precision matters, remove the case or use a flat edge of the phone that makes consistent contact. Wipe away sawdust, gravel, moisture, or debris before taking measurements.
3. Calibrate on a Known Level Surface
Many digital inclination meters include a calibration or zero function. Start by placing your device on a surface you know is level, such as a verified workbench or a stable spirit level. Set that position as zero if your project requires a relative reference.
Calibration is particularly useful when measuring two parts that must match each other rather than match true level. For example, you might zero the meter on an existing stair stringer and then use it to set a replacement piece at the same angle.
4. Hold Still and Wait for the Reading
Motion sensors respond quickly, but hand movement can cause the displayed number to fluctuate. Rest the device on the surface, keep it still for a moment, and record the stabilized reading. For important work, take at least two or three measurements from different positions.
5. Check Direction as Well as Amount
An angle reading alone is not always enough. A floor may have a 2° slope, but you also need to know whether it falls toward a drain, away from a wall, or toward the center of the room. Use directional indicators, arrows, or a second reference mark to confirm where the surface rises and falls.
Common DIY Uses for an Inclination Meter
Checking Drainage Slopes
Water should move away from structures and toward the intended drainage point. An inclination meter helps you identify low spots on patios, garage floors, walkways, and landscaping features. Measure in several directions rather than relying on one reading, since a surface can slope correctly in one area but hold water elsewhere.
For small drainage projects, a percentage grade display can be easier to interpret than degrees. Always confirm the appropriate slope for your material, local conditions, and project requirements.
Building or Assessing a Ramp
Ramp slope affects safety and usability. A gradual incline is easier to navigate than a steep one, particularly for wheeled equipment, carts, or mobility needs. Use an inclination meter to check the overall ramp angle and test individual sections for sudden changes in grade.
For accessibility-related work, follow applicable building regulations and accessibility standards. A measurement app is useful for checking work, but it should not be the only source used to design a code-compliant ramp.
Setting Saw, Miter, and Bevel Angles
When working with trim, framing, shelving, or furniture, an inclination meter can help transfer an existing angle to a saw or guide. Place the device against the surface you need to match, note the angle, and set the cutting tool accordingly. Test cuts on scrap material first, especially when joining two angled pieces.
For compound cuts, measure both the relevant tilt and rotation separately. An inclination meter measures tilt well, but the geometry of compound joints may require additional layout tools and careful marking.
Measuring Roof Pitch Safely
Roof pitch influences drainage, material selection, maintenance approach, and the difficulty of working on the roof. If it is safe to do so, measure from inside an attic against a rafter or from the ground using an appropriate method. Avoid climbing onto a roof solely to get a phone reading.
Safety reminder: Never prioritize a measurement over safe footing. Use ladders, fall protection, and professional help where required.
Outdoor Navigation and Trail Assessment
An inclination meter can also support outdoor planning. Hikers can estimate the steepness of a route, while landowners can assess grades for paths, drainage channels, and campsite setup. In remote areas, an offline measurement app is valuable because slope readings do not depend on a cellular signal once the tool is installed.
Tips for More Accurate Results
Smartphone-based inclination meters are convenient, but their accuracy depends on good technique. Use these habits to improve consistency:
- Measure twice: Take readings at multiple points and compare them.
- Use a straightedge: A long, rigid board helps measure uneven or textured surfaces.
- Keep the phone aligned: Make sure the device runs in the same direction as the slope being measured.
- Use relative zero: Zeroing against a reference surface is useful for matching angles.
- Avoid measuring on soft materials: Carpet, loose soil, and foam can distort the result.
- Verify critical work: For structural, legal, or safety-sensitive jobs, confirm readings with professional-grade equipment or a qualified expert.
Inclination Meter vs. Bubble Level: Which Should You Use?
A bubble level is excellent for determining whether something is level or plumb. An inclination meter offers more detail when you need the exact amount of tilt. For example, a bubble level may show that a surface is not level, while an inclination meter can tell you it is 1.8° off level or sloping at a 3% grade.
The best choice depends on the task. Use a bubble level for quick alignment, and use an inclination meter when specific angles, repeatable slopes, or documented measurements matter. Many DIY projects benefit from having both options available.
Make Better Decisions With Reliable Angle Measurements
An inclination meter turns a vague visual judgment into a usable number. From checking a drainage slope to matching a trim angle, it helps you work more methodically and spot problems sooner. The key is to use a stable reference, calibrate when needed, confirm the direction of slope, and repeat important readings.
For users who want an offline iOS toolkit that includes an inclination meter alongside leveling, compass, and ruler functions, Level Tool can keep several everyday measurement tools available on one device.
