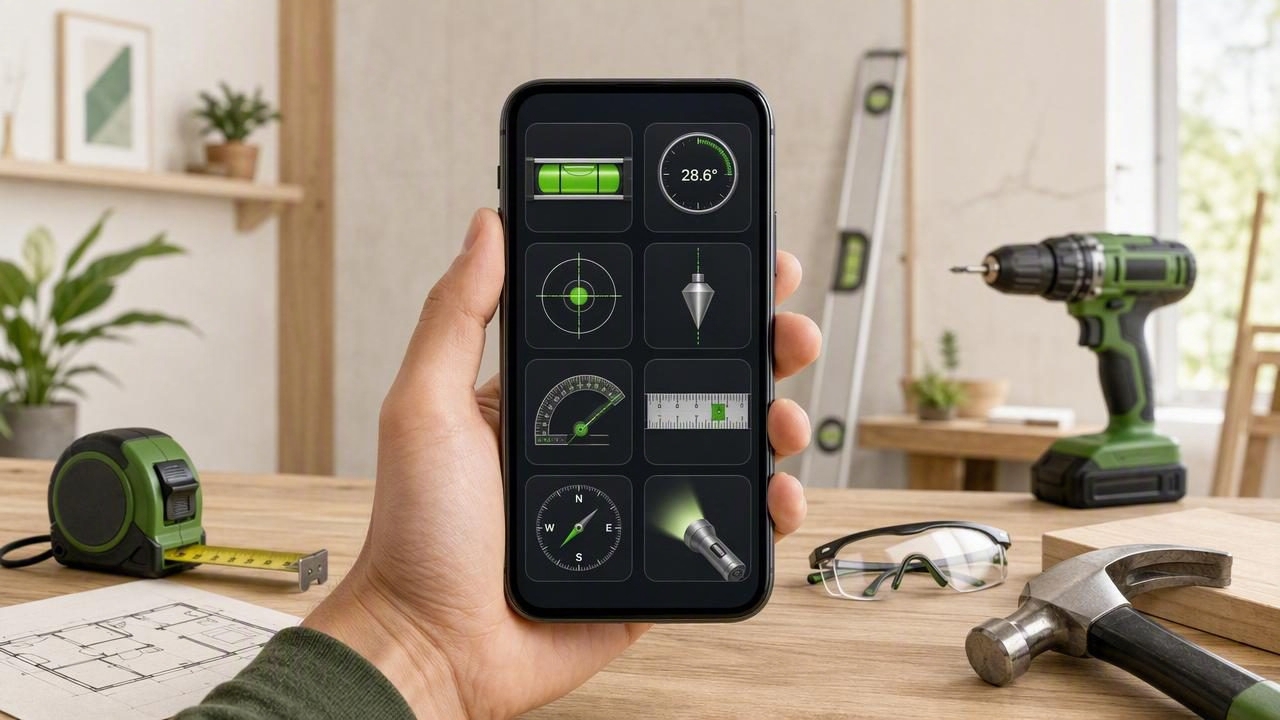
An eight tools measurement app can turn an iPhone into a practical companion for everyday DIY work. Instead of carrying several separate devices for quick checks, you can use your phone’s built-in sensors to assess level, angles, direction, pressure, and other useful measurements. This can be especially helpful when you are installing shelves, checking appliances, planning outdoor routes, or troubleshooting small household projects.
However, a measurement app is most useful when you understand what each tool can and cannot do. A phone is not a replacement for every specialist instrument, and sensor readings depend on correct contact, careful calibration, and repeatable technique. This guide explains how to use the common functions in an eight-tool measurement app with realistic DIY examples and sensible limitations.
What Is an Eight Tools Measurement App?
An eight tools measurement app combines multiple measurement and navigation functions in one iOS app. Depending on the app, these functions may include a bubble level, angle meter, ruler, compass, barometer, and metal detector, alongside other practical utilities.
The main advantage is convenience. For a quick home improvement task, you can move from checking whether a shelf is level to measuring its tilt, confirming direction, or checking a small dimension without switching between several physical tools.
That said, each function uses a different iPhone sensor or input method. A level and angle meter generally rely on motion sensors. A compass relies on magnetic sensors. A barometer uses atmospheric-pressure data on compatible devices. A ruler may depend on the screen scale or a defined reference. Understanding those differences helps you choose the right tool for the job.
Start With Calibration and a Stable Reference Surface
Before relying on any level or angle reading, calibrate the app according to its instructions. Calibration sets a known reference point, usually by placing the phone on a surface you have already confirmed is level or by using a repeatable flip procedure.
Calibration does not make an uneven surface level. It only helps the app interpret the phone’s sensor position consistently. If you calibrate on a sloping countertop, then use that countertop as your reference, the app may report that same slope as zero.
A simple repeatability check
- Place the iPhone flat on the surface you want to check.
- Wait for the reading to settle rather than reacting to a changing number immediately.
- Note the displayed angle or level value.
- Rotate the phone 180 degrees on the same spot.
- Compare the second reading with the first.
If the readings differ substantially, check that the phone is sitting flat, remove a bulky case if necessary, clean the contact surface, and recalibrate. This process is useful because it tests repeatability: whether you can obtain a similar result under the same conditions.
Use the Bubble Level for Shelves, Appliances, and Frames
A digital bubble level is one of the most frequently used tools in a DIY measurement app. It helps you check horizontal level and, in many cases, vertical plumb. The phone needs actual, stable contact with the object or surface being measured.
For example, imagine installing a floating shelf:
- Mark the intended mounting height on the wall.
- Hold a straight board or the shelf mounting rail in position.
- Place the iPhone against the rail or on its upper flat edge.
- Adjust the rail until the app indicates level within your chosen tolerance.
- Mark screw holes only after confirming the reading in more than one position.
A tolerance is the amount of variation you are willing to accept. For a decorative picture frame, a small difference may not matter. For a long shelf, countertop support, or appliance installation, use a tighter tolerance and verify along more than one point.
Sound and haptic feedback can be useful when your attention is on the object rather than the screen. A tone or vibration near the target angle can help you make a final adjustment without repeatedly looking down. Still, always visually confirm the final reading before drilling or fastening.
Measure Angles for Braces, Ramps, and Trim
An angle meter, sometimes called an inclinometer, measures tilt relative to a level reference. It is useful for checking a sloping ramp, matching an existing trim angle, or setting a board at a planned incline.
Consider a simple ramp project. You may want to confirm that the ramp has a gentle, consistent incline rather than guessing by eye. Rest the phone firmly against a straight portion of the ramp or place it on a flat board laid along the slope. Record the angle at the top, middle, and bottom. Similar readings suggest the slope is reasonably consistent; different readings can reveal a dip or rise in the surface.
| DIY task | Useful reading | Best contact method |
|---|---|---|
| Wall shelf installation | 0° horizontal level | Phone on top of a straight rail |
| Vertical frame or post | 90° or plumb target | Phone held against a flat side |
| Ramp inspection | Consistent incline | Phone on a straight board following slope |
| Trim matching | Existing angle | Phone against a clean, straight trim face |
Do not try to measure an angle by hovering the phone near a surface. The device needs a stable orientation that matches the object. Also avoid using curved, warped, soft, or visibly uneven surfaces as your only reference.
Use the Ruler for Small, Non-Critical Dimensions
An in-app ruler is useful for quick, small measurements such as checking the width of a screw head, the size of a gap, or whether a small fitting will cover a mark. It is best treated as a convenience tool for planning, not as the final authority for precision cutting.
Keep the item flat against the screen or align it carefully with the ruler scale. For a practical example, you can use the ruler to estimate whether a cable clip will fit within a narrow space behind a desk. If the result affects a material purchase, a cut line, or a structural fit, confirm it with a tape measure or a dedicated steel rule.
Screen size, protective glass, app setup, and alignment all affect practical ruler use. For long distances, use a physical tape measure rather than attempting to extend a small on-screen scale.
Use Compass and Barometer Tools Thoughtfully Outdoors
A compass can support basic orientation during hiking, camping, site walks, or locating a planned wall direction. Before trusting it, move away from vehicles, steel posts, magnets, speakers, toolboxes, and large electrical equipment. These can disturb magnetic readings.
Hold the phone level and allow the direction indicator to stabilize. If the compass appears inconsistent, follow the app’s calibration instructions and repeat the reading in a clearer location. A phone compass is helpful for general navigation, but it should not be your only navigation method in remote or hazardous conditions.
A barometer can show changes in atmospheric pressure on supported devices. For outdoor users, a trend may add context when monitoring changing conditions. It does not provide a guaranteed weather forecast, and a single pressure reading alone does not explain what weather will follow. Use it as one piece of information alongside local forecasts, visible conditions, and appropriate safety planning.
Understand the Limits of a Phone Metal Detector
A phone-based metal detector can be useful for identifying possible magnetic interference or locating certain nearby metal objects. It should not be treated as a reliable wall-scanning system for finding every screw, pipe, wire, or hidden hazard.
For example, if you notice a magnetic response near a suspected fastener location, mark it and check additional points around it. Do not drill based on one sensor response. Use a purpose-built stud finder where appropriate, review building plans if available, and take electrical and plumbing safety precautions.
Practical rule: Use an app measurement as a helpful check, then confirm high-consequence decisions with the appropriate dedicated tool and safe working method.
Create a Reliable DIY Measurement Workflow
The strongest results come from a repeatable process rather than a single reading. Before starting, decide what you need to measure, what reference surface is trustworthy, and what tolerance is acceptable for the task.
- Check the surface: Remove dust, debris, and items that prevent full phone contact.
- Calibrate first: Use a known reference when the app requires it.
- Measure more than once: Repeat readings after repositioning the phone.
- Use longer references: A straight board can make a short or uneven area easier to assess.
- Confirm before committing: Recheck before drilling, cutting, mounting, or installing.
- Know when to upgrade tools: Use professional instruments for regulated work, structural work, safety-critical decisions, or very fine tolerances.
Offline functionality also matters in garages, basements, remote campsites, and worksites with weak reception. Core measurements that work offline allow you to use the device without depending on a data connection for a basic level or angle check.
Choose the Right Tool for the Required Accuracy
An eight tools measurement app is ideal for convenient checks, project planning, household adjustments, and learning how a surface relates to level or angle. It is not a certified instrument, and its results are affected by the condition of the phone, calibration quality, sensor behavior, and the way the device contacts the object.
For example, it can help you set a curtain rail to level before final mounting. But if you are setting a critical drainage slope, installing structural elements, or performing professional work that must meet a specified standard, use appropriate specialist equipment and follow local requirements.
For DIY users who want to practice careful angle checks with an iPhone, Level Tool’s guide to measuring angles on iPhone offers additional context on using a stable reference and checking readings before acting on them.
Conclusion
A well-used eight tools measurement app can make DIY work faster and more organized. The key is not assuming that every sensor reading is final. Calibrate against a reliable reference, make actual contact with the object, use a sensible tolerance, repeat your measurements, and verify important results with the right physical tool. With that approach, your iPhone can become a genuinely useful part of your home improvement and navigation kit.
