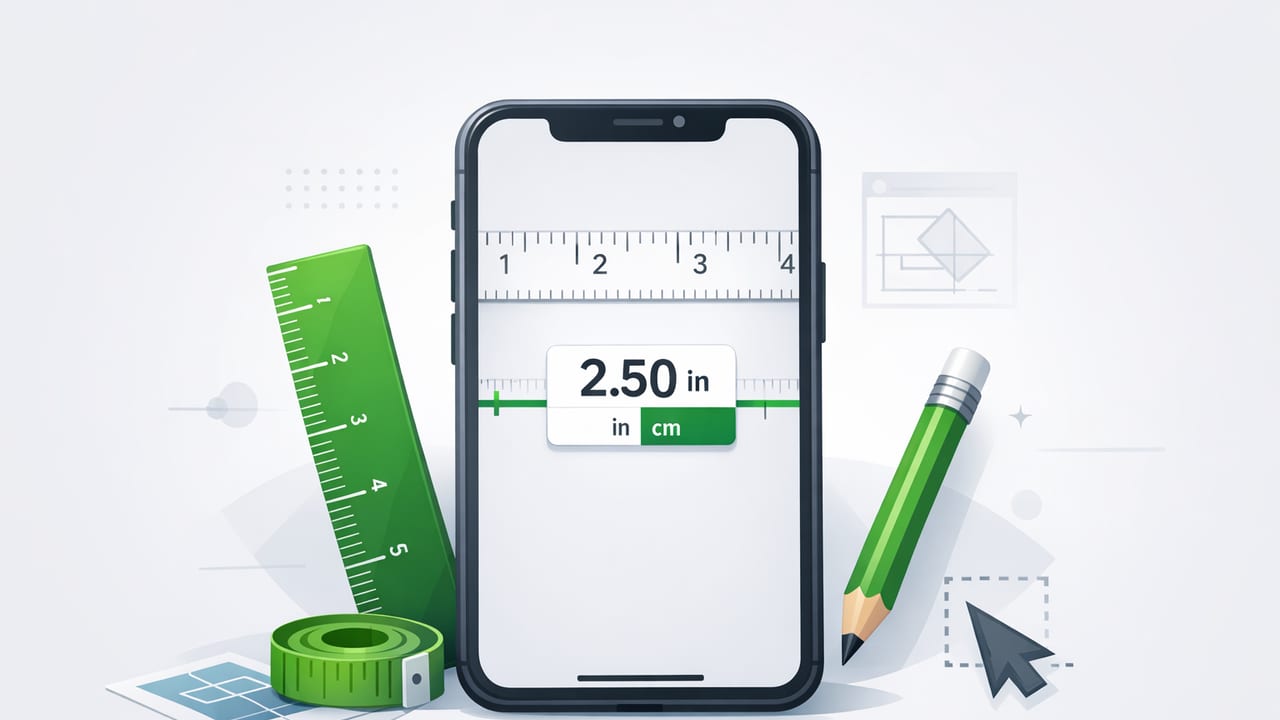
A ruler app can turn your iPhone into a quick, pocket-friendly measuring tool for everyday DIY tasks—checking a gap, sizing a screw, measuring a cut line, or confirming a part fits before you buy. The key is knowing what a ruler app can measure well, what it can’t, and how to set it up so your numbers are trustworthy.
This guide explains practical, repeatable ways to measure accurately with a ruler app, including best practices for inches and centimeters, how to reduce parallax and alignment errors, and when you should switch to a tape measure or calipers.
What a Ruler App Actually Measures (and Why Accuracy Varies)
There are two common approaches used by iOS measurement tools:
- On-screen ruler (screen-based scale): You place an object against the screen and read a scale. Accuracy depends on correct device scaling and careful alignment.
- Camera/AR measuring: You measure using the camera and software estimation. This is convenient for larger objects but can vary more with lighting, distance, and surface detail.
This article focuses on the on-screen ruler app style because it’s ideal for small, quick measurements (hardware, crafts, packaging) and works well even when you need offline functionality.
Best Use Cases for a Ruler App (and When Not to Use One)
Great use cases
- Small objects: screws, bolts, washers, coins, connectors, fuses, SD cards
- DIY layout checks: spacing between holes, hinge offsets, trim reveal gaps
- Crafts: paper margins, vinyl cuts, stitch spacing, bead sizing
- Shopping validation: verifying a replacement part size before ordering
Not ideal (use a different tool)
- Long measurements: walls, lumber lengths, large furniture (use a tape measure)
- High-precision machining: tolerances under ~0.5 mm (use calipers/micrometer)
- Soft/compressible materials: foam, insulation, fabric under tension (use proper measuring methods)
Step-by-Step: How to Measure Accurately with a Ruler App
1) Confirm the measurement unit and scale
First, set the app to the unit you need (inches or centimeters). If the app offers a calibration or device-specific scaling option, use it. Even small scaling mismatches can compound quickly.
2) Place the object flat and stable
For the best result:
- Place the iPhone on a stable surface (table/workbench).
- Place the object on the screen gently (avoid pressing hard—screen protectors and touch can shift alignment).
- Ensure the object is flat against the glass (tilt introduces error).
3) Align one end to the zero mark precisely
Most measurement errors come from a sloppy starting point. Align the object’s end with the zero line, not “close enough.” If the object has a rounded edge, decide on a consistent reference point (outermost edge vs. centerline) and stick to it.
4) Read the measurement straight-on (reduce parallax)
Parallax happens when you read the scale from an angle. Keep your eye directly above the measurement mark. A quick check is to slightly move your head left/right: if the reading shifts, you weren’t centered.
5) Repeat once and average (fast accuracy boost)
For anything that matters (cutting material, ordering parts), measure twice. If you get 36.2 mm and 36.6 mm, re-align and measure again. A simple average can be more reliable than a single read.
Common Ruler App Mistakes (and How to Fix Them)
- Measuring from the wrong “zero”: Some on-screen rulers have a margin or bezel offset. Always use the app’s marked zero line.
- Ignoring case/screen protector thickness: A bulky case lip can keep the object from sitting flat. If possible, remove the case for precise measurements.
- Using a curved or flexible object: Curves don’t sit flush and can “shorten” the measured length. Flatten the object or use a different method.
- Measuring shiny parts in bright light: Glare can hide tick marks. Change the angle or move to softer lighting.
Quick Reference: Which Tool Should You Use?
| Task | Best Tool | Why |
|---|---|---|
| Measure a screw length or washer diameter | Ruler app | Fast and accurate enough for small parts |
| Confirm a shelf bracket spacing | Tape measure + pencil | Longer distances and layout marking |
| Check a door frame is square/plumb | Level tool / bubble level | Angle and level matter more than length |
| Measure a phone case interior clearance | Ruler app + repeat measurements | Good for quick fit checks |
| Measure bearing thickness or tight tolerance parts | Digital calipers | Sub-millimeter precision |
Pro Techniques: Measuring Tricky Objects with a Ruler App
Measuring diameter (coins, washers, pipe outer diameter)
- Align the object so the leftmost edge touches zero.
- Read the rightmost edge on the scale.
- Rotate the object 90° and measure again to catch oval shapes or alignment issues.
Measuring inside gaps (like a slot or opening)
Inside measurements are harder because you can’t easily “seat” the object’s interior edges against the scale. Two workarounds:
- Use a reference strip: Place a thin, straight strip (cardstock or a shim) across the opening, mark both edges, then measure the marked distance on the ruler app.
- Measure the outside then subtract: Measure the total width, then subtract known wall thicknesses if they’re consistent.
Measuring curved edges (approximate circumference)
A ruler app won’t wrap around an object, but you can still estimate circumference using a strip of paper:
- Wrap a paper strip around the object once.
- Mark where the strip overlaps.
- Lay the strip flat and measure the marked length with the ruler app.
Tip: If you’re measuring something that must fit (like a clamp or gasket), aim to measure in two directions (width and height) and note whether you’re measuring outer-to-outer or inner-to-inner edges.
Inches vs. Centimeters: Avoiding Conversion Confusion
DIY projects often mix standards: hardware in millimeters, woodwork in inches, or templates printed in one unit while your tools display another. If your ruler app allows quick unit toggling, you can reduce mistakes by staying consistent end-to-end.
If you must convert, keep a simple rule handy:
- 1 inch = 25.4 mm
- 1 cm = 10 mm
Here’s a tiny snippet you can use in a calculator app or notes (or just as a reference) to convert quickly:
// Convert inches to millimeters
mm = inches * 25.4

// Convert millimeters to inches
inches = mm / 25.4
How to Sanity-Check Your Ruler App in 30 Seconds
If you’re not sure your ruler app is scaled correctly on your current iPhone:
- Grab a known-size item (a credit card, which is 85.60 mm wide, or a standard US bill length of 6.14 inches).
- Measure it on the app.
- If you’re off by more than a tiny amount, look for a calibration setting, confirm you’re using the correct device mode, or try a different measurement orientation (portrait vs. landscape).
Also remember that screen protectors and cases can slightly change how easily you align an item—but they don’t change the screen’s pixel scaling. Most “big errors” are alignment, not physics.
Offline Matters: Why DIY Measurements Should Work Without Signal
Many DIY and field situations have unreliable connectivity: garages, basements, job sites, trails, and remote cabins. An offline iOS app ensures the ruler tool is available when you need it, without waiting for ads to load or features to unlock. If you’re building a dependable phone-based toolkit, prioritize measurement apps that keep core tools working offline.
Practical DIY Examples You Can Try Today
Example 1: Choosing the right screw length for a bracket
Measure the bracket thickness and the material thickness you’re going into. Add them together, then add a small safety margin if needed (or account for countersink depth). A ruler app is great for bracket thickness, washers, and small offsets.
Example 2: Matching a replacement O-ring or gasket
Measure:
- Outer diameter (OD)
- Inner diameter (ID)
- Cross-section thickness (best with calipers if you have them)
A ruler app can help you get OD/ID quickly; for the cross-section, consider calipers if the seal needs to be exact.
Example 3: Printing a template and verifying scale
If you print a 1:1 paper template (for drilling or cutting), measure a known reference line on the print with your ruler app. If it’s off, adjust printer scaling (look for settings like “fit to page” vs. “actual size”).
Checklist: Getting Reliable Results Every Time
- Use the right unit (in/cm) and calibrate if available.
- Remove bulky cases when measuring small parts.
- Align to the app’s true zero line.
- Read straight-on to avoid parallax.
- Measure twice; average if results differ.
- Switch tools when the task demands higher precision.
Final Thoughts
A ruler app is one of the most useful “always with you” tools for DIY and home improvement—especially for quick checks, small parts, and on-the-fly decisions. Treat it like any measurement tool: set it up, verify it with a known reference, and use consistent alignment habits.
If you prefer an offline iOS toolkit that combines several measurement tools in one place, apps like Level Tool bundle a ruler with other practical options for DIY and navigation.
