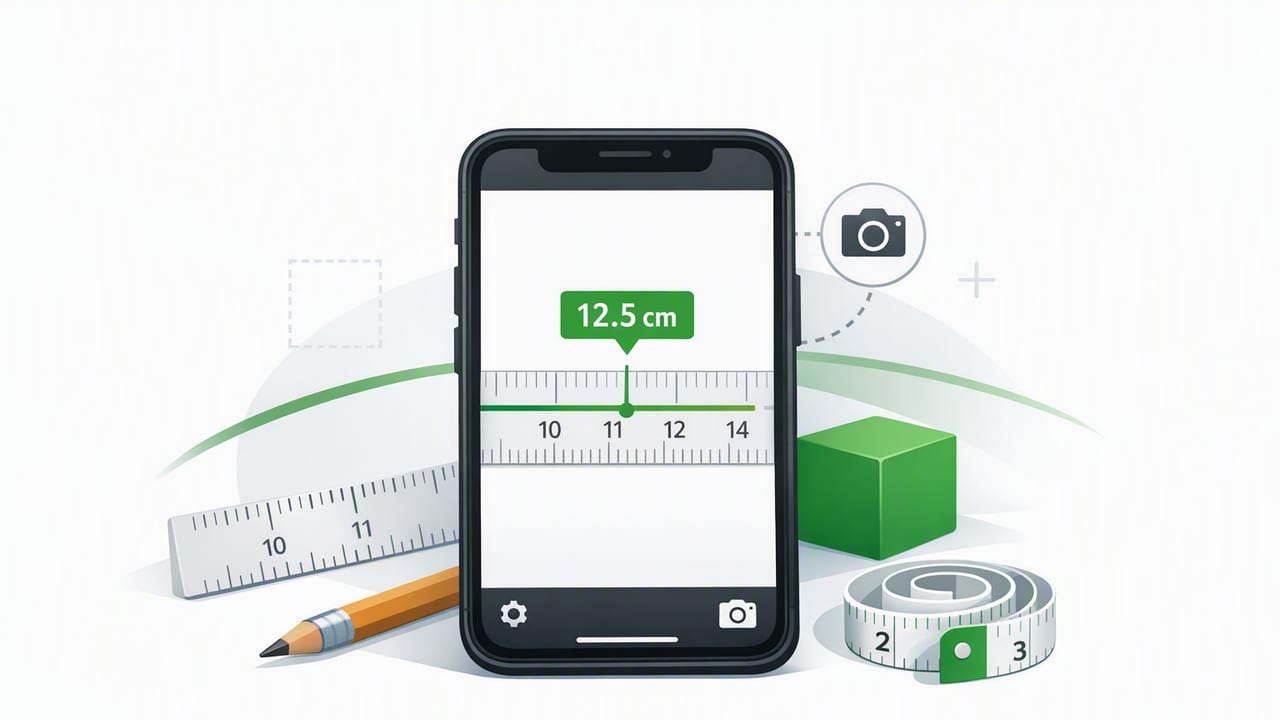
A good ruler app turns your iPhone into a practical measuring tool for quick checks at home, in the workshop, or on the go. Whether you’re sizing a picture frame, confirming a drill bit diameter, measuring a cabinet opening, or checking spacing for hardware, a ruler app can save time—as long as you use it correctly.
This guide explains the two main types of iPhone ruler apps (screen-based and camera/AR-based), how to calibrate them, what accuracy you can realistically expect, and when you should reach for a physical tape measure instead. You’ll also get pro tips, a troubleshooting checklist, and a few fast workflows that make mobile measuring more reliable.
What a “Ruler App” Actually Measures (and What It Doesn’t)
Not all ruler apps work the same way. Most iPhone ruler tools fall into two categories:
- On-screen ruler: Uses the phone display as a measuring scale. You place an object against the screen and read inches or centimeters.
- Camera/AR ruler: Uses the camera plus software estimation to measure distance between points in the real world.
Both can be useful, but they’re suited to different tasks. On-screen rulers are best for small, flat items that can safely touch the screen (like a screw, business card, or washer). AR rulers are best for larger objects (like furniture) where touching the screen isn’t practical.
Rule of thumb: The smaller the item and the closer it is to the measurement surface, the more dependable an on-screen ruler can be.
On-Screen Ruler vs AR Ruler: Which One Should You Use?
Use this quick table to choose the best approach for your situation.
| Task | Best Option | Why | Typical Accuracy |
|---|---|---|---|
| Measure a screw length | On-screen ruler | Direct contact and small size | Good if calibrated |
| Measure a phone case opening | On-screen ruler | Flat edge aligns well | Good if calibrated |
| Measure a table width | AR ruler | Too large for screen method | Fair to good (environment dependent) |
| Check spacing for wall hooks | AR ruler or tape measure | Needs larger span and alignment | Varies; tape is best for precision |
| Measure fabric or long trim | Tape measure | Length + flexibility matters | Best |
Step-by-Step: How to Get Accurate Measurements with a Ruler App
1) Identify which ruler mode you’re using
Before trusting a number, confirm whether the app is an on-screen ruler (display scale) or an AR ruler (camera-based). The setup and error sources are different.
2) Calibrate the on-screen ruler (the most important step)
An on-screen ruler must account for your specific iPhone model’s screen size, resolution, and scaling. Some apps auto-detect; others require manual calibration.
Easy calibration method (no special tools):
- Find a standard-size card (e.g., a credit/debit card).
- Place it on the screen next to the ruler scale.
- Adjust the app’s calibration until the on-screen reference matches the physical card.
Why this works: standard cards have consistent dimensions, making them a handy “known size” reference when you don’t have a physical ruler nearby.
3) Align to the “zero” line precisely
Most measurement errors come from starting in the wrong place. For on-screen rulers:
- Line the object’s edge up with the exact zero mark, not the edge of the phone bezel.
- Keep the object flat against the screen (no tilt).
4) Prevent parallax (reading angle errors)
Read the measurement straight-on. If you view the scale from an angle, the number can appear shifted. This matters more for small objects where 1–2 mm makes a difference.
5) For AR/camera rulers: control the environment
AR measurements depend on visual features and stable tracking. For best results:
- Use bright, even lighting (avoid harsh shadows).
- Measure against textured surfaces (plain white walls can reduce tracking accuracy).
- Move the phone slowly to let the app “lock” onto the surface.
- Confirm endpoints carefully—zoom in if the app allows it.
Practical DIY Examples Where a Ruler App Shines
Example A: Choosing the right screw length
You’re replacing a hinge screw and need to confirm whether it’s 20 mm or 25 mm. An on-screen ruler can quickly confirm length if you align the head at zero and read to the tip. For better repeatability, measure two screws and compare.
Example B: Checking drill bit diameter (rough check)
A ruler app can help distinguish between close sizes (e.g., 6 mm vs 1/4 inch) when you’re sorting bits. Place the bit across the ruler scale and estimate diameter. For critical sizing, use calipers—this is a quick “sanity check.”
Example C: Measuring a small gap for weatherstripping
For narrow gaps in a door jamb or window trim, on-screen ruler measurement can help you select a foam thickness. Take multiple readings at different spots; gaps are rarely uniform.
Common Mistakes That Make Ruler Apps Look “Wrong”
- Skipping calibration: The #1 cause of inaccurate on-screen readings.
- Measuring curved or soft objects: They compress or don’t sit flat, shifting the result.
- Using a screen protector edge as a reference: Always use the app’s zero line.
- AR endpoints placed on different planes: If one endpoint is slightly closer to the camera, the measurement can drift.
- Assuming all apps use the same units and rounding: Some show fractional inches; others round to millimeters.
How Accurate Is a Ruler App on iPhone, Realistically?
Accuracy depends on the measurement method:
- On-screen ruler: Can be quite accurate for small objects if calibrated and aligned carefully. Errors typically come from misalignment and reading angle.
- AR ruler: Often accurate enough for home tasks, but results vary with lighting, surface texture, distance, and user technique.
If you need tight tolerances (fine woodworking joinery, precision machining, code-compliance checks), treat app-based measuring as a convenience tool and confirm with a physical ruler, tape measure, or calipers.
Workflow Tips: Make Your Measurements More Repeatable
Take two measurements and average them
If you get 99 mm once and 101 mm the next, your real value is likely around 100 mm. Repeating reduces “one-off” errors.
Use reference objects to validate
Keep a known-size object handy (a standard card, a coin, or a small steel ruler). If the app disagrees with a known reference, recalibrate before measuring anything important.
Mark endpoints with painter’s tape (for AR)
For larger spans, place small pieces of painter’s tape at the start and end points. This creates high-contrast targets and helps you place endpoints consistently.
Unit Conversions: Inches ↔ Millimeters (Quick and Reliable)
Ruler apps often let you switch units, but you’ll sometimes need to convert measurements when a part is specified differently (for example, a product spec in inches while your app is set to mm).
Key conversions:
- 1 inch = 25.4 mm
- 1 mm ≈ 0.03937 inch
If you like having a tiny conversion helper for notes or shortcuts, here’s a simple snippet:
// Quick unit conversions
function inchesToMm(inches) {
  return inches * 25.4;
}

function mmToInches(mm) {
  return mm / 25.4;
}

// Example:
// 3.5 inches -> mm
console.log(inchesToMm(3.5));
Choosing a Ruler App: A Practical Checklist
If you’re comparing apps, prioritize real-world usability over flashy features. Here’s what tends to matter most:
- Calibration options: Manual calibration is a plus for on-screen rulers.
- Clear zero point and tick marks: High contrast, readable scale, and precise tick spacing.
- Unit flexibility: mm, cm, inches, fractional inches.
- Offline functionality: Helpful for workshops, job sites, travel, and privacy.
- No forced sign-ups: Faster access when you just need a quick measurement.
FAQ: Ruler App Questions People Ask Most
Can a ruler app measure something bigger than my screen?
An on-screen ruler can’t measure beyond the physical display length. For larger objects, use an AR ruler or a tape measure.
Why does my ruler app show different results each time?
Common causes include slight misalignment to the zero mark, reading at an angle, or (for AR) unstable tracking due to lighting or low-texture surfaces.
Is it safe to place objects on the iPhone screen?
For smooth, clean, non-sharp items, generally yes—just be cautious. Avoid sharp metal edges, gritty objects, or anything that could scratch the glass. If you’re unsure, place a thin clear protective film on the screen first or use AR mode.
Wrap-Up: Treat a Ruler App as a Fast, Smart First Measurement
A well-calibrated ruler app is ideal for quick everyday measuring—especially for small parts, DIY planning, and double-checking dimensions when a physical ruler isn’t nearby. The key is understanding the measurement mode (screen vs AR), calibrating when needed, and using good technique to minimize alignment and reading errors.
If you’re looking for an iOS option that bundles a ruler alongside other offline measurement tools, Level Tool is one example of an all-in-one toolkit designed for quick checks without subscriptions.
