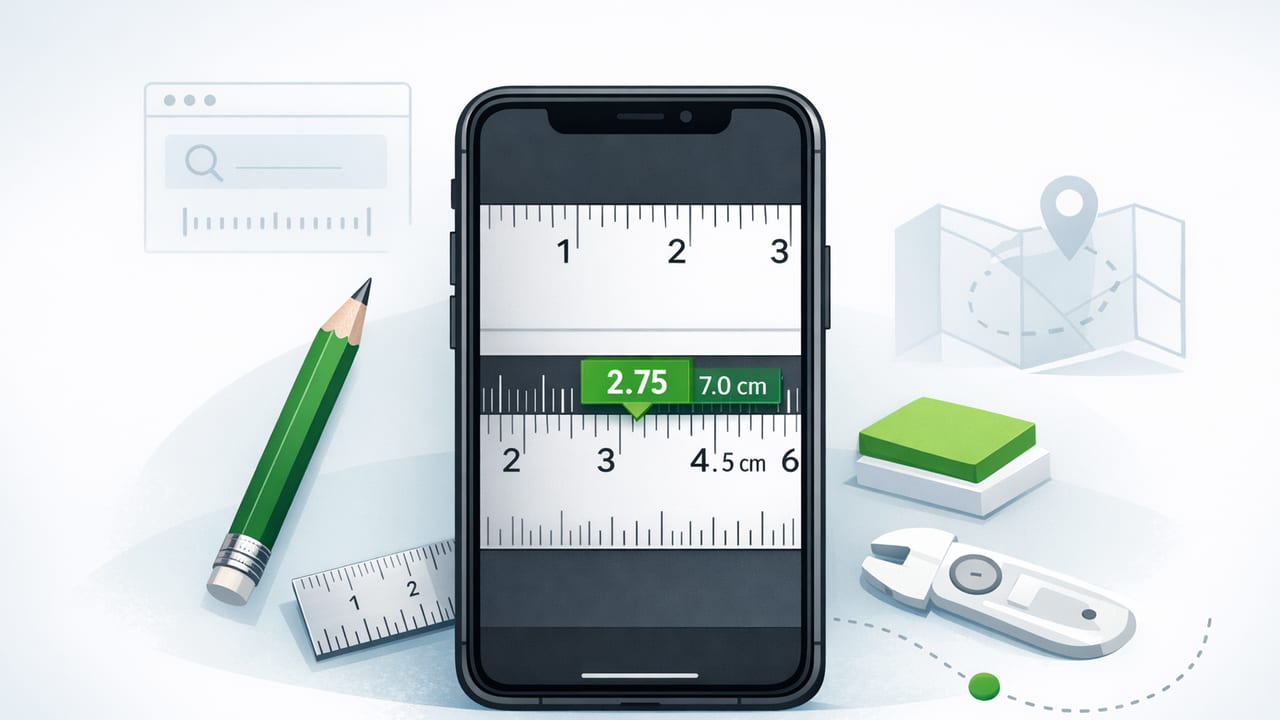
A good ruler app can save you time when you need a quick measurement but don’t have a tape measure nearby—checking a screw length, confirming a picture frame clearance, sizing a replacement part, or marking a cut line. The key is knowing which type of ruler app you’re using (screen-based vs camera/AR) and how to set it up for reliable results.
This guide explains how ruler apps measure, what affects accuracy on iOS devices, and how to get consistent readings for DIY and light professional work—especially when you need a tool that works offline.
What a ruler app can (and can’t) replace
A ruler app is best for small to medium measurements where speed matters more than machining-level tolerances. If you’re hanging frames, spacing shelf brackets, checking drill bit sizes, measuring tile gaps, or confirming whether something fits in a drawer, a ruler app is often “good enough” when used correctly.
However, if you’re doing finish carpentry, metalworking, or anything requiring tight tolerances (for example, cabinetry reveals or precision parts), you should confirm with a physical rule, calipers, or a tape measure—especially for longer distances.
How a ruler app measures on iPhone: two common approaches
Most iOS ruler apps fall into one of these categories:
1) Screen-based ruler (the phone becomes the ruler)
A screen ruler displays a scale (inches/cm) that you align with an object on the glass. Accuracy depends on how correctly the app maps screen pixels to real-world units. Many apps do this by using known device specifications, while others ask you to calibrate using a reference object (like a credit card).
Best for: measuring small objects directly against the screen (screws, washers, small parts, paper margins, quick “is this about 2 inches?” checks).
Main limitation: you can only measure as long as the screen is, and cases/screen protectors can affect alignment.
2) Camera/AR ruler (measure in the environment)
AR measurement uses the camera plus iOS frameworks (often ARKit) to estimate distance by tracking surfaces and motion. On newer iPhones/iPads, additional sensors (like LiDAR on some models) can improve stability and scale, but results still depend on lighting, texture, and the surface you’re measuring.
Best for: room dimensions, furniture sizing, checking fit before buying, and estimating longer distances.
Main limitation: accuracy varies more with conditions, and you need a clear view of surfaces and edges.
Step-by-step: how to get accurate results with a ruler app
Use this workflow to reduce errors, whether you’re using a screen ruler or camera/AR tool.
- Decide the measurement type.
- If the object can touch the phone: use a screen-based ruler.
- If it’s across a gap or in the room: use camera/AR.
- Set units before measuring. Choose inches, centimeters, or millimeters first so you don’t misread the scale later.
- Calibrate (if the app supports it). Use a known reference like a standard credit card (85.60 mm wide) or a physical ruler. Calibrating once can dramatically improve a screen ruler’s accuracy.
- Align the “zero” edge carefully. For screen rulers, line the object’s edge with the zero mark—not the bezel. For AR rulers, confirm the start point snaps to the correct corner/edge.
- Keep the phone square to the object. Angled viewing introduces parallax error (your eye or camera isn’t perpendicular), which shifts where the edge appears.
- Measure twice. Flip the object or re-measure from the other direction. If two readings match closely, you can trust it more.
- Record the measurement with context. Note whether you measured the outside edge, inside edge, or center-to-center spacing (common in hardware and mounting holes).
Rule of thumb: If your measurement affects a cut, drill location, or purchase decision, verify with a second method (a physical ruler, tape, or another pass).
Accuracy checklist: the most common sources of error
Screen ruler pitfalls (and fixes)
- Case lip or thick screen protector: The object may sit above the glass, shifting the edge. Fix: remove the case for critical measurements.
- Wrong calibration: Even small calibration errors scale up across the screen. Fix: calibrate using a known reference and repeat if you switch devices.
- Bezel confusion: Users align to the phone’s edge instead of the app’s zero line. Fix: trust the on-screen scale, not the hardware frame.
- Fractions misread: 1/16" increments are easy to misinterpret. Fix: switch to millimeters for small parts when possible.
AR ruler pitfalls (and fixes)
- Poor lighting or low texture surfaces: AR struggles with blank walls or dim rooms. Fix: add light or aim at textured areas (edges, seams, corners).
- Soft edges: Fabric or rounded corners make endpoints ambiguous. Fix: measure to a hard reference (wall corner, trim edge, table corner).
- Device motion: Moving too fast reduces tracking stability. Fix: slow down and pause briefly at start/end points.
Practical DIY uses for a ruler app
Here are situations where a ruler app is genuinely handy, especially when you’re mid-project and need a fast check:
- Hardware sizing: approximate screw length, washer diameter, anchor size, and bracket spacing.
- Home improvement planning: quick checks for clearance (cabinet gap, drawer width, shelf depth).
- Craft and print work: confirm margins, label sizes, envelope flap depth, or small cut lines.
- Tool setup: verify spacer thickness, shim width, or drill stop depth (with a second check before drilling).
- Shopping decisions: confirm whether an item will fit (phone-as-ruler for small items; AR for bigger items).
Reading inches, fractions, and millimeters (without mistakes)
If you grew up using fractional inches, you may still want decimals or millimeters for clarity—especially on a phone screen. Converting common fractions can prevent costly “off by a hair” errors.
| Fraction (in) | Decimal (in) | Millimeters (mm) |
|---|---|---|
| 1/16 | 0.0625 | 1.59 |
| 1/8 | 0.125 | 3.18 |
| 1/4 | 0.25 | 6.35 |
| 3/8 | 0.375 | 9.53 |
| 1/2 | 0.5 | 12.70 |
| 3/4 | 0.75 | 19.05 |
Tip: When measuring small parts (like a bolt diameter), switching the ruler app to millimeters can make reading and recording more precise.
Under the hood: pixels, points, and real-world length (why calibration matters)
Screen rulers ultimately rely on converting display units (pixels/points) into inches or centimeters. Even with high-quality device specs, tiny mismatches can happen—especially if the app is designed to work across many models.
Here’s a simplified example of how a screen measurement can be calculated when you know the screen’s pixel density (PPI, pixels per inch):
// Conceptual example (not full app code)
// Convert pixels to millimeters using PPI.

let ppi: Double = 460.0              // example value; depends on device
let pixelsMeasured: Double = 320.0    // from the on-screen scale/overlay

let inches = pixelsMeasured / ppi
let millimeters = inches * 25.4

print(millimeters)
If the assumed PPI is off, the measurement is off. That’s why many of the best ruler apps either (a) detect the exact device model correctly or (b) provide a calibration step using a known object.
Offline use, privacy, and reliability
DIY often happens in garages, basements, job sites, cabins, or outdoors—places where connectivity is unreliable. An offline ruler app has two practical advantages:
- It works anywhere: no waiting for a signal to load ads, assets, or measurement features.
- It’s more privacy-friendly by default: fewer network calls means less data leaving your device.
If offline capability matters to you, look for apps that clearly state they operate without an internet connection and don’t require an account to measure.
When you should not rely on a ruler app
A ruler app is a tool—not a guarantee. Avoid using it as the sole source of truth when:
- You’re cutting expensive material (stone, hardwood, custom countertops).
- You need tight tolerances (joinery, cabinetry, metal parts, 3D printer calibration).
- The measurement is safety-critical (ladder angles, structural layouts, load-bearing placements).
- The surface is irregular (soft fabrics, rounded edges, reflective/transparent materials in AR).
In these scenarios, use the ruler app for a quick estimate, then confirm with a tape measure, combination square, calipers, or a known standard.
A simple “trusted measurement” routine
If you want consistent results, adopt a repeatable habit:
- Calibrate the ruler app once.
- Measure twice from two orientations.
- Write down units (mm vs inches) immediately.
- Verify with a physical tool when the outcome is costly or permanent.
That routine makes a phone-based measurement tool far more dependable in real-world DIY.
Conclusion
A well-configured ruler app on iPhone is a practical everyday tool: fast, portable, and surprisingly useful for small measurements and planning checks. Accuracy comes from choosing the right measurement mode, calibrating when possible, and reducing parallax and alignment mistakes.
If you prefer an offline iOS toolkit that includes a ruler alongside other practical measurement tools, apps like Level Tool combine multiple utilities in one place—useful when you’re moving between projects and locations.
