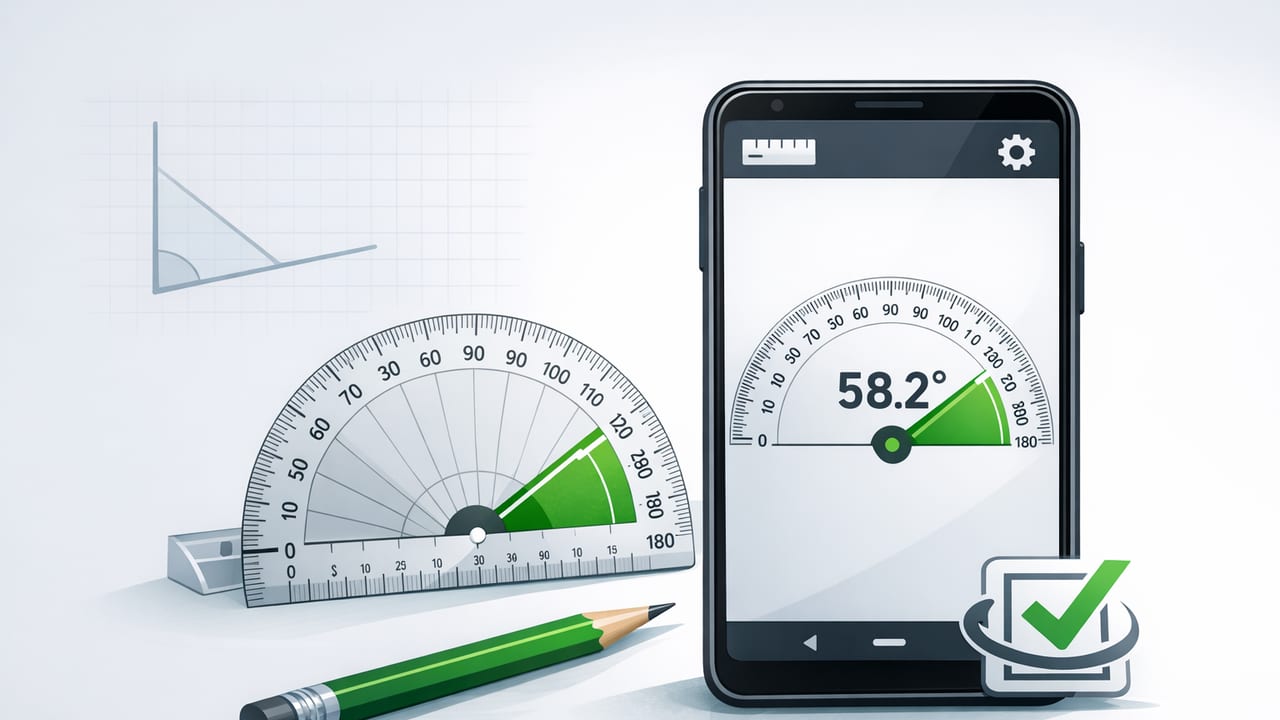
Measuring angles sounds simple—until you’re trying to match an existing slope, replicate a trim angle, or set a precise tilt on a bracket with only a tape measure. That’s where a protractor app on iPhone can earn a spot in your everyday toolkit. Used correctly, it can help you capture angles quickly, repeat them reliably, and reduce waste from “cut, test, recut” workflows.
This guide explains how an iPhone protractor (often called an angle finder or digital inclinometer) works, how to get accurate readings, and practical DIY + field use cases—especially when you need offline functionality and consistent results.
What a protractor app does (and what it doesn’t)
A typical protractor app on iOS measures angles in one of these ways:
- Tilt/Incline measurement: Uses the iPhone’s motion sensors (accelerometer/gyroscope) to measure the device’s angle relative to gravity. This is the most common and most reliable method for construction-style tasks.
- Surface-to-surface angle capture: Lets you “zero” on a reference plane, then measure the angle difference against another surface (useful when nothing is truly level).
- On-screen protractor overlay: Some apps provide a visual semicircle protractor for aligning edges on the screen. This can be handy for drawings or quick checks, but physical alignment is often less precise than sensor-based tilt readings.
What it doesn’t do: replace calibrated shop tools for critical tolerances (e.g., machining), or guarantee accuracy if your phone is in a bulky case, resting on an uneven camera bump, or used on a flexible surface.
How angle measurement works on iPhone (in plain English)
Most DIY-focused angle tools are essentially a digital level that reports angles instead of (or in addition to) bubbles. Your iPhone detects the direction of gravity; from that it can compute tilt relative to a reference axis.
Common readings you’ll see:
- Degrees (°): 0° is level (horizontal) or plumb (vertical), depending on the mode.
- Slope (% grade): Used for ramps and drainage. (Example: 10% grade rises 10 units over 100 units of run.)
- Rise/Run: Often used for roof pitch and stair layout.
Practical takeaway: The phone isn’t “measuring the wall.” It’s measuring itself. So your results depend on how well the phone is referenced to the surface you care about.
Set up your iPhone for accurate protractor readings
1) Remove sources of wobble
- Take off thick cases if they rock on corners or add flex.
- Mind the camera bump: If the phone can’t sit flat, place it so the bump hangs off the edge or use a slim spacer under the opposite side to stabilize it.
- Clean the contact surface (dust and debris can change the tilt by fractions of a degree).
2) Choose the right contact edge
Different iPhone edges can have slightly different “feel” against a surface (and a case can exaggerate that). For repeatability, pick one edge or face and use it consistently for a given project.
3) Calibrate (or at least validate)
Even a great protractor app benefits from a quick sanity check. Use a simple “flip test”:
- Place the phone on a known flat surface (a countertop, a quality level, or a straight board you trust).
- Note the reading (for example, 0.3°).
- Rotate the phone 180° on the same spot (same face down), then note the new reading.
- If the readings are equal magnitude but opposite sign (e.g., +0.3° and −0.3°), you’re in good shape. If not, use the app’s calibration/zero feature if available.
Why this works: Any consistent bias tends to show up when you reverse orientation, revealing whether your “level” is truly centered.
Two measurement modes you’ll use most
Mode A: Measure relative to level (0°)
This is the default for most angle finder tools: you’re asking, “How far from perfectly level (or perfectly plumb) is this surface?”
Best for:
- Checking shelf tilt
- Setting a slight counter-slope for drainage
- Finding roof pitch angles when you can reference a horizontal baseline
Mode B: Measure relative to a custom zero (reference plane)
This is the pro move for remodels and old houses. If the floor is out of level, you can still replicate angles accurately by setting your own “zero” on a reference surface.
Workflow:
- Place the phone on your reference surface (e.g., an existing trim piece you want to match).
- Tap Zero / Calibrate (wording varies).
- Move the phone to the target surface (e.g., the new trim cut line or saw base).
- Read the angle difference directly.
Best for: matching existing angles, duplicating miter joints, and transferring angles from one location to another without needing a perfectly level room.
DIY use cases where a protractor app shines
1) Cutting trim and miters with fewer test fits
When walls aren’t square, the “45° + 45°” assumption fails. Use a protractor app to measure the actual corner angle (or the angle difference between two walls), then adjust miter settings accordingly.
Tip: For inside corners, take multiple readings (top/middle/bottom). If the angle changes, prioritize the visible line (often the top) and use caulk/scribe techniques for the rest.
2) Setting stair stringer and ramp slopes
Building code requirements vary by location, but measuring slope is universal. If your app offers % grade or rise/run, it can speed up layout decisions and help you verify consistency across multiple supports.
| Project | Common target | How to measure reliably |
|---|---|---|
| Accessibility ramp check | % grade (project-dependent) | Place phone on a straight board laid on the ramp surface |
| Stair stringer layout | Rise/run consistency | Measure the reference board, not carpet or tread nosings |
| Outdoor drainage | Slight fall away from foundation | Use a long straightedge to average bumps in soil/pavers |
3) Drilling and mounting at a controlled angle
For brackets, handrails, or angled fasteners, you can use the phone as a quick inclinometer:
- Set the desired angle on a jig (or mark it).
- Hold the phone against the drill body (on a flat portion).
- Adjust until you match the target reading.
Safety note: Don’t balance a phone where it can fall into moving parts—use a simple taped-on reference block if needed.
4) Verifying tool setups (table saw, miter saw, sander tables)
If you don’t have a dedicated digital angle gauge, an iPhone can help with “good enough” verification:
- Zero on the tool’s base (or table).
- Move the phone to the blade guard face (where safe) or to a reference plate aligned with the blade.
- Read the angle difference.
Important: Use the phone on a non-moving reference surface only, and keep hands clear.
5) Outdoor navigation and terrain checks
Angle tools aren’t just for home improvement. In the field, measuring slope can support route choices, campsite selection, and photography setup (tripod leveling and consistent tilt). Because many iOS measurement tools can run offline, you can still get angle readings without service—useful in remote areas.
Quick conversions: degrees, percent grade, and rise/run
If your protractor readout is in degrees but you need percent grade, this approximation can help:
- % grade = tan(degrees) × 100
- degrees = arctan(% grade / 100)
Here’s a small code snippet you can use (for example in a scratch Swift/Playground or any calculator that supports trig). It assumes your trig functions use radians:
// Convert degrees to percent grade
func percentGrade(fromDegrees deg: Double) -> Double {
    let radians = deg * .pi / 180
    return tan(radians) * 100
}

// Convert percent grade to degrees
func degrees(fromPercentGrade grade: Double) -> Double {
    let radians = atan(grade / 100)
    return radians * 180 / .pi
}
Rule of thumb: small angles change quickly—an error of 0.5° can matter a lot more on a long run than on a short one.
Accuracy tips that make the biggest difference
- Use a straightedge to “average” uneven surfaces: Put a straight board on top of tile, brick, soil, or textured surfaces, then place the phone on the board.
- Take multiple readings: Especially on bowed lumber, plaster walls, or anything not truly flat.
- Watch for magnetic/metal interference (if your app bundles other tools like compass): while tilt readings are gravity-based, you may still misinterpret combined displays if the compass is being pulled off by nearby metal.
- Stabilize before reading: Set the phone down, wait a second, then record. Don’t read while you’re still adjusting pressure.
- Don’t mix reference faces mid-project: If you start measuring with the phone face-down, keep doing that for consistency.
Troubleshooting: when readings seem “wrong”
Problem: The angle changes when I move the phone slightly
Cause: The surface isn’t flat, or the phone is rocking on an edge/case.
Fix: Remove the case, use a longer straightedge, and measure in several spots to find the average.
Problem: I can’t get 0.0° on anything
Cause: The reference surface isn’t level, or the app hasn’t been zeroed recently.
Fix: Use the flip test and zero on a known reference. If you’re matching an existing angle, stop chasing perfect level and use a custom zero instead.
Problem: My miter still doesn’t close
Cause: Compound issues—walls may be twisted, trim may be bowed, or the saw detents may be off.
Fix: Measure at multiple heights, verify your saw settings, and consider scribing or coping for inside corners.
Choosing the right protractor app features (what matters)
When comparing options, prioritize:
- Clear degree readout (large and easy to read at arm’s length)
- Zero / calibration for custom reference planes
- Dual-axis display if you often care about twist and tilt
- Offline capability (especially if you work in basements, garages, job sites, or outdoors)
- No account required if you prefer minimal setup and better privacy
If you prefer an offline iOS measurement toolkit that includes angle/level functionality alongside other tools, one option is Level Tool, which combines several sensor-based utilities in a single app.
