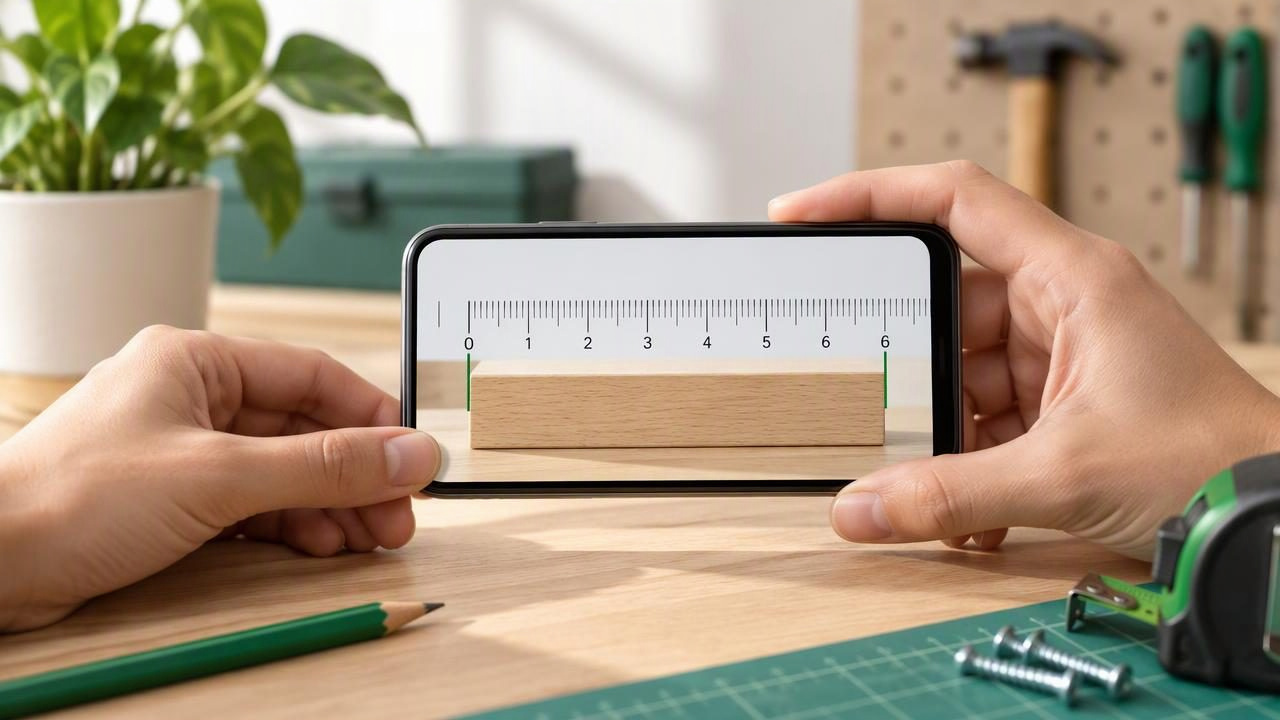
A phone ruler app can help you check the length or width of a small item when a tape measure is not nearby. It is handy for quick DIY decisions, such as checking whether a screw, trim sample, or small bracket will fit. But a phone ruler is not a substitute for every measuring tool: results depend on the app’s scale, how you align the item, and the level of precision your project needs.
This guide explains how to use a phone ruler app, how to check its reading, and when to reach for a physical ruler instead. The method is based on direct alignment with the object, not estimating size from a photograph.
What does a phone ruler app do?
A phone ruler app provides a ruler-style measurement interface on your iPhone. Depending on the app, it may show a scale on the display or present measurements in another format. Interfaces differ, so check the app’s instructions before measuring. Do not assume that every app uses the screen in the same way or that an unverified display is already scaled correctly.
For an on-screen ruler, the basic process is to place a small object beside the displayed scale, line up its starting edge with zero, and read the value at the other edge. This works best when the item is straight, short enough to compare with the visible scale, and easy to align. A phone ruler app is generally more useful for quick checks than for cutting, drilling, or fitting parts where a small error could cause a problem.
How to use a phone ruler app: step by step
- Choose a suitable object. Start with a small, rigid item with clear edges, such as a short strip of wood, a tile sample, or a paper template. Flexible, curved, or irregular objects are harder to align consistently.
- Set the app to the right units. Select millimetres, centimetres, or inches if the app provides a unit choice. Match the units to your project plan so you do not have to convert a reading while working.
- Check the scale before relying on it. If the app offers a scale adjustment or calibration option, follow its directions. Otherwise, compare the displayed ruler with a known physical ruler. Do not assume that the number shown is accurate simply because the app is on a phone.
- Place the item beside the scale. Set the phone and object on a stable surface. Align the object’s starting edge with the ruler’s zero mark. Keep the object parallel to the scale rather than angling it across the display.
- Read the far edge carefully. Look straight down at the display to reduce visual misalignment. Read the mark that meets the end of the item, and note whether the app shows a whole unit or smaller divisions.
- Repeat the measurement. Lift and reposition the object, align it again, and take a second reading. If the readings differ, check the zero point, the item’s alignment, and the app’s scale before using the result.
Example: checking a small tile sample
Suppose you have a small tile sample and want to know whether its width is close to the opening in a display frame. Open the ruler view and confirm that its scale has been checked against a physical reference. Place the tile beside the displayed ruler on a stable surface, line up one side with zero, and read across to the opposite side. Keep the tile straight, with its edges parallel to the scale.
For example, if the edge appears to fall near the 60 mm mark, treat that as a quick estimate until you confirm the size with a standard ruler or calliper. Then measure the frame opening using an appropriate physical tool. Compare the two results and account for any clearance the frame requires. Do not order a custom-cut part or make an irreversible cut based only on an unchecked phone reading.
This example also shows an important limitation: the phone ruler measures only what you can align against its scale. It does not automatically measure the frame, see around an obstruction, or determine whether a part will fit once material thickness and installation clearance are considered.
How to check whether a phone ruler reading is useful
A quick verification can reveal scale or alignment problems before they affect your project. Compare the app’s scale with a known ruler at the same units. Check both the zero point and a longer mark, rather than comparing only one small section. If the scales do not match, look for an app adjustment option and follow its instructions. If there is no way to establish a trustworthy scale, use a physical ruler for measurements that matter.
Repeatability is another useful check. Measure the same straight object two or three times, removing and repositioning it each time. Similar readings suggest that you can align the scale consistently, but repeatability alone does not prove accuracy: an incorrectly scaled ruler can give the same incorrect result each time. Comparing against a known reference checks the scale; repeating the measurement checks your technique.
Also consider the smallest division shown. If the display has marks every millimetre, that does not guarantee millimetre-level accuracy. The thickness of an object’s edge, screen visibility, alignment, and the app’s scale can all affect the result. Avoid reporting more precision than you can reasonably verify.
When a phone ruler app is useful—and when it is not
| Situation | Phone ruler app | Better choice when precision matters |
|---|---|---|
| Quickly checking a small, straight sample | Useful for an initial estimate after checking the scale | Ruler or calliper for confirmation |
| Measuring a long board or wall | Usually too limited by the visible scale | Tape measure or long ruler |
| Checking a small gap or narrow part | May be difficult to align and read | Calliper, feeler gauge, or suitable physical gauge |
| Marking a cut or drilling location | Not ideal as the sole reference | Verified measuring and marking tools |
| Estimating an object from a photo | Not a direct ruler measurement | Measure the real object with a suitable tool |
Use a physical tool when the work involves long distances, a tight fit, expensive material, or a cut that cannot be undone. A phone’s body is not a dependable substitute for a ruler either: device dimensions vary, cases change the edges, and the body does not provide a clearly verified measurement scale.
Common phone ruler app mistakes
- Skipping scale verification: A ruler display may need adjustment, and app interfaces vary. Check the scale instead of assuming it matches the real world.
- Starting away from zero: Even a small gap at the starting edge changes the final reading. Align the object’s end precisely with the zero mark.
- Measuring at an angle: An item that is not parallel to the scale can appear longer than it is. Keep both aligned.
- Using a soft or curved item: A flexible cable, rounded handle, or irregular edge does not provide a stable endpoint. Use a straight reference or a more suitable tool.
- Trusting extra decimal places: A detailed-looking number is not proof of accuracy. Consider the app’s verified scale and the limits of your alignment.
- Confusing visual estimates with measurements: A photograph or screen image can distort apparent size. Measure the object directly rather than inferring its dimensions from an image.
Choosing a phone ruler app for DIY
Look for a clear interface, the units you commonly use, and understandable instructions for checking the scale. Offline availability can be useful when you are working in a garage, workshop, or outdoor area without a reliable connection. If you need several kinds of measurements, an app that combines tools may be convenient, but each tool still has its own proper use and limitations.
For home improvement, treat a phone ruler as a practical backup for small, low-risk checks—not as a certified measuring instrument. Verify the scale, align the real object with the ruler, and repeat the reading. Then use a physical tool for critical dimensions and confirm measurements before cutting or fitting materials. If a project also involves checking an angle, this guide to measuring angles on an iPhone covers a related measurement task. Level Tool includes a ruler among its iPhone measurement tools.
