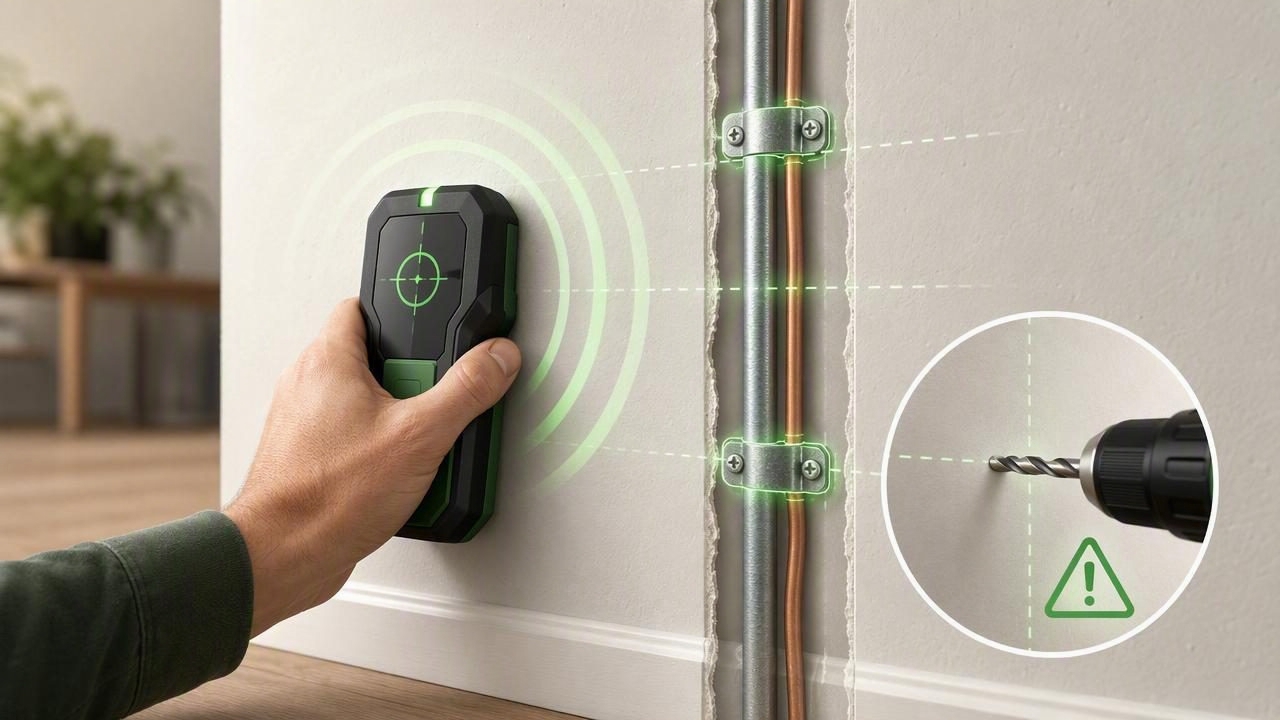
Using a phone metal detector to locate wires can be surprisingly helpful—as long as you understand what it’s actually detecting. Most “metal detector” features on iPhone apps rely on the device’s magnetometer (the same sensor used for compass heading). That sensor doesn’t “see” electrical current or insulation. Instead, it detects changes in the local magnetic field, which often come from ferrous metal like steel nails, screws, metal studs, corner bead, nail plates, or some types of conduit.
So can a phone metal detector directly find a copper cable inside a wall? Usually no. But it can help you infer wire routes by locating the hardware that typically accompanies wiring—then confirming the route with safer, purpose-built checks before you drill, cut, or fasten.
Safety note: Never rely on a phone sensor alone before drilling into a wall. Treat phone scanning as a clue-gathering step, then verify with appropriate tools and practices.
What a Phone “Metal Detector” Can and Can’t Do
What it can do well
- Find ferrous fasteners (screws/nails) in drywall over wood studs.
- Highlight metal studs or corner bead (common in modern construction).
- Detect nail plates (steel protective plates installed where wiring passes through studs).
- Reveal patterns that hint at a stud line or protected wire path.
What it usually can’t do reliably
- Detect copper wire unless it’s producing a strong magnetic effect nearby (rare in a typical wall).
- Differentiate between “wire” vs “pipe” vs “screw” based solely on readings.
- See through dense materials like thick plaster, tile backer, or multiple layers of drywall.
- Confirm if a wire is live or safe to drill near.
How Phone Metal Detection Works (In Plain English)
The iPhone’s magnetometer measures the strength of the magnetic field around the device. Earth’s magnetic field is always present; metal objects (especially ferrous steel) distort it. A “metal detector” mode typically displays a changing value (often in microteslas, µT) or a relative meter. When you move the phone near a hidden screw, nail plate, or metal stud, the reading spikes or dips.
This is why the technique is best used as a mapping tool: you scan an area, note where readings change sharply, and mark those spots. Over a few minutes, you can build a picture of what’s behind the surface.
When It’s Useful for Locating Wires
A phone metal detector to locate wires is most useful in these real-world situations:
- Hanging shelves, TV mounts, or cabinets where you want to avoid drilling near protected wire runs.
- Installing bathroom accessories on walls that may have metal corner bead or stud framing.
- Cutting a drywall opening (e.g., old-work electrical box) where you want to avoid existing cables.
- Tracing likely wire paths between outlets, switches, and fixtures.
Step-by-Step: Use Phone Scanning to Infer Wire Paths
1) Start with the “logic map” of wiring
Before scanning, use common wiring conventions to predict where wires are likely to run:
- Wires typically run vertically from a switch to a fixture, or from an outlet up/down to another point.
- Wires often travel horizontally between outlets at a consistent height.
- Wires commonly pass through studs via drilled holes; where they’re close to the face of a stud, builders may install steel nail plates.
Practical tip: Identify the nearest outlet/switch/fixture relative to your drilling point. That’s where you’ll focus your scan first.
2) Calibrate and reduce interference
- Remove or distance MagSafe accessories, magnetic phone grips, and metal cases.
- Move away from large metal objects (appliances, ladders) while you take baseline readings.
- If your app supports it, do a quick compass calibration (the classic “figure-eight” motion).
3) Scan a grid, not a line
Instead of swiping randomly, scan a simple grid around the intended drill area.
- Mark a 12 in × 12 in (30 cm × 30 cm) square with painter’s tape.
- Hold the phone flat to the wall and move in slow horizontal passes, 1–2 inches apart.
- Repeat with vertical passes.
- Mark spots where readings spike sharply and consistently.
Consistent spikes along a straight vertical line often indicate a stud line with screws. A broad, continuous response can indicate a metal stud or corner bead. A single strong plate-like area near a stud edge may indicate a nail plate—often the sign you should not drill there.
4) Look for telltale nail plate patterns
Nail plates are often placed:
- Near outlets/switches where wiring passes through studs.
- At standard stud intervals (16" or 24" spacing) where wiring crosses framing.
- At a consistent height when wires run horizontally.
If your scan reveals a rectangular “hot spot” about the size of a small plate (often a few inches long) near where you’d expect a stud edge, treat that area as a wire-protected zone.
5) Confirm with a safer second method
Phone scanning is a first pass. Before any drilling/cutting, confirm using at least one:
- Quality stud finder with AC detection (better at indicating energized wiring).
- Non-contact voltage tester (useful around outlets/switch boxes; can also pick up induced fields).
- Visual inspection from attic/basement/crawlspace when possible.
Rule of thumb: If two different methods suggest “something’s there,” assume it’s real and relocate your fastener or change your plan.
Best Practices for Interpreting Readings
Differentiate “fastener lines” from “random metal”
- Fastener lines: evenly spaced points (drywall screws) forming a straight line = likely stud.
- Random hits: one-off spikes = could be a pipe strap, a nail plate, a corner bead, or debris.
- Wide area response: continuous signal across a broad region = likely metal stud, mesh lath, or corner reinforcement.
Use offsets to avoid the danger zone
If you suspect a stud and you must drill near it, aim for:
- The center of the stud (reduces chance of hitting edge-protected wiring).
- Avoid areas where you detect a potential nail plate—move up/down or to the next stud bay.
Comparison Table: Ways to Locate Wires Behind Walls
| Method | What it detects | Best use | Limitations |
|---|---|---|---|
| Phone magnetometer (“metal detector”) | Ferrous metal distortion | Finding screws, nail plates, metal studs to infer wire routes | Doesn’t reliably detect copper wire; prone to interference |
| Stud finder with AC mode | Density + energized field indicators | Finding studs and warning of live wiring | False positives possible; depends on wall composition |
| Non-contact voltage tester | Electric field near live conductors | Checking near outlets, switches, junction areas | Won’t locate exact cable path deep in wall; can miss shielded/low-field cases |
| Inspection via access (attic/basement) | Actual cable routing | High confidence planning before major cuts | Not always possible; time-consuming |
Common Mistakes (and How to Avoid Them)
Mistake: Assuming “strong signal = wire”
A strong signal often means a steel object—like a drywall screw cluster, corner bead, or nail plate. Treat it as a warning sign, not a wire confirmation.
Mistake: Scanning too fast
Move slowly. Magnetometer-based readings can lag slightly. A slow sweep makes spikes easier to pinpoint and repeat.
Mistake: Letting magnets on accessories ruin the baseline
MagSafe rings, magnetic mounts, and some cases can shift readings dramatically. Remove them during scanning for more consistent results.
Mistake: Drilling near outlets without extra caution
Wires commonly route vertically/horizontally from outlets and switches. If you’re within the same stud bay and near the height line, assume there may be a cable path.
Quick Safety Checklist Before You Drill
- Scan and mark metal anomalies; avoid nail-plate-like hits.
- Confirm with an AC-capable stud finder or a non-contact voltage tester.
- Shut off the correct breaker when working near electrical areas.
- Use a drill stop or depth collar to avoid over-penetration.
- When unsure, relocate the mount point or use an alternate fastening method.
Optional: What Magnetometer Readings Look Like in iOS (For the Curious)
If you’re technically inclined, iOS exposes magnetometer data via Core Motion. Many “metal detector” features display changes in the magnetic field magnitude. A simplified example (illustrative only):
import CoreMotion

let manager = CMMotionManager()
manager.magnetometerUpdateInterval = 0.1

if manager.isMagnetometerAvailable {
    manager.startMagnetometerUpdates(to: .main) { data, error in
        guard let field = data?.magneticField else { return }
        let magnitude = sqrt(field.x*field.x + field.y*field.y + field.z*field.z)
        print("Magnetic field magnitude: \(magnitude)")
    }
}
In real use, you’d smooth readings and look for repeatable spikes as you move across a surface.
FAQ
Can a phone metal detector find live wires?
Not directly. A phone magnetometer detects magnetic field distortion (often from steel). It does not reliably detect the electromagnetic field of household wiring the way a dedicated voltage detector can.
Why do I get readings everywhere in an older home?
Plaster walls, metal lath, abundant nails, and layered repairs can create widespread magnetic anomalies. In these cases, phone scanning is less useful; rely more on access inspection and purpose-built detectors.
What should I do if I detect a nail plate?
Don’t drill there. Nail plates are installed specifically to protect something (often wiring or plumbing). Move your fastener location, adjust your mount, or consult a professional.
Wrap-Up: Use Phone Scanning as One Smart Layer
Using a phone metal detector to locate wires works best when you treat it like a reconnaissance tool: it helps you find the metal clues (fasteners, studs, nail plates) that suggest where wires are likely routed. Combine that map with wiring logic and a second verification method before you commit to drilling or cutting.
If you already keep an offline measurement toolkit on your iPhone for DIY and field work, apps like Level Tool can sit alongside your other utilities—just remember that safety decisions should always be confirmed with the right dedicated electrical checks.
