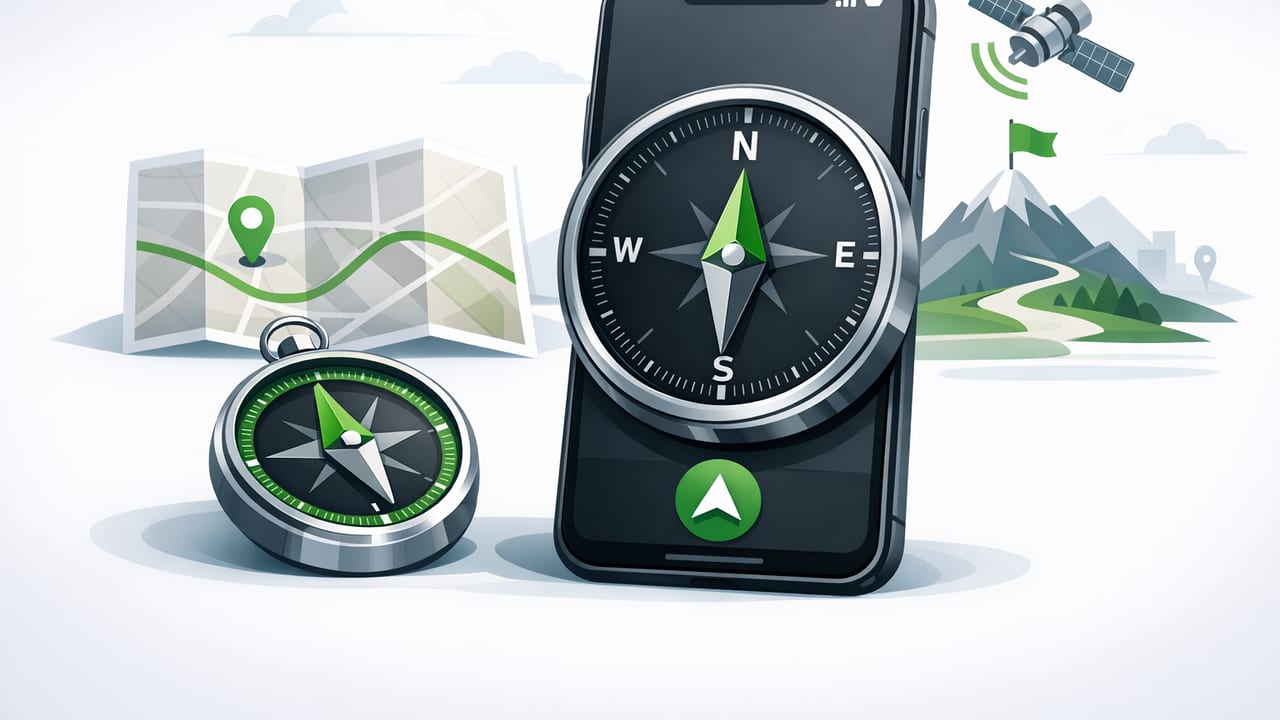
A navigation compass app can turn an iPhone into a practical, pocket-sized heading tool for hiking, travel, fieldwork, and everyday wayfinding—especially when you need a quick bearing and don’t want to rely on cell service. But using a phone as a compass is different from using a traditional baseplate compass, and the difference matters when accuracy, safety, and repeatability are important.
This guide explains how a navigation compass app works, how to calibrate and verify your heading, and how to use bearings and simple navigation techniques with confidence—whether you’re in a city grid, on a trail, or working in remote areas where offline functionality is essential.
What a navigation compass app actually measures
Most iPhone compass apps combine data from multiple sensors to estimate your direction (your heading):
- Magnetometer: detects Earth’s magnetic field and nearby magnetic interference.
- Gyroscope: tracks rotation for smoother, more stable heading updates.
- Accelerometer: helps determine device orientation (flat, upright, tilted).
- GPS (optional): provides location and course over ground when you’re moving.
In practice, the magnetometer provides the “compass” reference, while the gyroscope and accelerometer help keep readings stable and usable as you tilt or move the device. Some apps can also show true north vs. magnetic north depending on your location and available data.
Key idea: A phone compass is highly capable, but it’s also more sensitive to nearby metal, magnets, and electronics than a dedicated hiking compass.
True north vs. magnetic north (and why you should care)
When navigating, you’ll usually see one of two references:
- Magnetic heading: direction relative to magnetic north (what the magnetometer senses).
- True heading: direction relative to geographic north (what maps typically use).
The difference between them is called magnetic declination. Declination varies by location and changes gradually over time. For casual use, it may not matter. For route planning, land navigation, and bearing-based navigation, it can matter a lot—especially over long distances.
Practical rule
If you’re using paper maps or map coordinates, prefer true north (or be consistent and apply declination correctly). If you’re using a compass-only workflow without maps, magnetic is often fine—as long as you’re consistent.
Set up your iPhone for the most accurate compass readings
Before you trust any navigation compass app, do a short setup and verification routine.
1) Remove common interference sources
- Take your phone out of magnetic cases, wallet cases, and some rugged mounts.
- Move away from vehicles, fences, steel structures, and toolboxes.
- Keep distance from speakers, magnetic clasps, and power banks while reading.
2) Calibrate (only when needed, but do it well)
iOS may prompt calibration when heading quality drops. If your app suggests calibration:
- Hold the phone naturally (not pressed against your body).
- Rotate smoothly through different orientations (a slow “figure eight” motion often helps).
- Re-check the heading in a low-interference area.
3) Confirm the compass isn’t “lying”
Use a quick sanity check:
- Pick a distant landmark (tower, peak, street line).
- Read the bearing, then step 10–20 feet and read again.
- If it swings wildly without reason, you likely have interference or poor calibration.
Core skills: bearings you can actually use
A navigation compass app becomes far more useful when you treat it like a tool for repeatable bearings, not a novelty that always points “somewhere north.”
Taking a bearing to a landmark
- Stand still and hold the phone level (or follow your app’s recommended posture).
- Aim the phone’s top edge toward the landmark.
- Wait for the heading to stabilize.
- Record the bearing (e.g., 072°).
Following a bearing (without drifting)
In the real world, you rarely walk a perfect line. Use “stepping-stone” navigation:
- Set your bearing.
- Pick an object in that direction (a tree, rock, sign).
- Walk to it, then re-check and choose the next object.
This reduces error compared to continuously staring at your phone while moving.
Back bearing (quick verification)
If you took a bearing to a point, the reverse direction is roughly ±180° from it. For example:
- 072° forward
- 252° back bearing
If your back bearing seems very different when you turn around, suspect interference, tilt issues, or calibration problems.
Offline navigation workflow: compass + map (digital or paper)
Offline navigation is less about “no internet” and more about having trustworthy references when the network disappears. A good workflow is:
- Download maps in advance (if you’re using a mapping app).
- Save key waypoints: trailheads, junctions, shelters, parking, emergency exits.
- Use your navigation compass app to keep a stable heading while you compare your direction to the map.
- Verify regularly at known features: streams, ridgelines, roads.
If you’re using a paper map, align the map to north using your compass app (true north preferred for map alignment). Then you can translate map directions into real-world bearings.
What affects compass accuracy (and how to fix it)
| Issue | What you’ll notice | Fix |
|---|---|---|
| Magnetic interference (cars, steel, tools) | Heading jumps, inconsistent bearings | Move away 10–30+ feet; remove cases/mounts |
| Magnetic phone case / wallet magnets | Consistent but wrong heading | Remove the case; test again |
| Tilt / poor orientation | Heading drifts as you angle the phone | Hold level; use an app that supports stable tilt handling |
| Calibration needed | Low accuracy warnings; jitter | Recalibrate; restart app; test in open area |
| Electrical noise (chargers, power banks) | Unexplained shifts near cables/devices | Unplug accessories; keep distance while reading |
Advanced technique: simple triangulation (position estimate)
If you can identify two or three visible landmarks on a map, you can estimate your position by triangulation:
- Take a bearing to Landmark A and convert it to a back bearing (bearing +/−180°).
- On your map, draw a line from Landmark A along that back bearing.
- Repeat with Landmark B (and C if available).
- Your approximate location is where the lines intersect (or form a small triangle).
This works best when your bearings are steady and landmarks are far apart (wide angles between them reduce error).
For developers: reading heading data on iOS (Swift example)
If you’re building an iOS tool that uses heading, iOS provides heading updates via Core Location. This snippet shows a minimal pattern for getting magnetic and true heading:
import CoreLocation

final class HeadingReader: NSObject, CLLocationManagerDelegate {
    private let manager = CLLocationManager()

    override init() {
        super.init()
        manager.delegate = self

        // If your app needs it, request authorization.
        manager.requestWhenInUseAuthorization()

        // Higher values reduce noise but update less often.
        manager.headingFilter = 1 // degrees

        if CLLocationManager.headingAvailable() {
            manager.startUpdatingHeading()
        }
    }

    func locationManager(_ manager: CLLocationManager, didUpdateHeading newHeading: CLHeading) {
        let magnetic = newHeading.magneticHeading   // 0-360
        let trueH = newHeading.trueHeading          // -1 if invalid
        let accuracy = newHeading.headingAccuracy   // degrees

        print("Magnetic: \(magnetic), True: \(trueH), Accuracy: \(accuracy)")
    }
}
Tip: Always surface a quality indicator (like headingAccuracy) so users know when readings are unreliable due to interference.
Safety and reliability tips (don’t skip these)
- Bring a backup in remote terrain: a simple baseplate compass and paper map weigh little.
- Don’t navigate while staring at the screen; take readings, then move.
- Check battery planning: offline is great, but a dead phone isn’t.
- Use airplane mode when appropriate to save power—your compass can still work offline.
- Re-check after environment changes: moving from a car to outdoors is a classic moment for interference-induced errors.
Quick checklist: choosing a good navigation compass app
Not all apps handle sensor data equally. Look for:
- Clear bearing display (degrees with stable updates)
- True vs. magnetic north options
- Accuracy/quality indicator for heading reliability
- Offline functionality (no required login or subscription just to see a compass)
- Extra field tools (optional): level, ruler, barometer—useful for DIY and outdoor context
FAQ
Can an iPhone replace a real compass?
For many everyday situations, a navigation compass app is accurate enough. For critical backcountry navigation, treat the phone as a strong tool—but keep a dedicated compass as a backup because phones are more sensitive to interference and battery limits.
Why does my heading change when I rotate the phone slightly?
Tilt can change how sensors are fused, and interference can amplify small movements into big heading jumps. Hold the phone level, step away from metal, and recalibrate if needed.
Do I need internet for a compass?
No. Compass headings come from on-device sensors. Some features (like declination lookup, map tiles, or location-based true heading) may benefit from location services, but a basic compass can function offline.
Bottom line
A navigation compass app is most reliable when you use it like a measurement instrument: minimize interference, calibrate when needed, take steady bearings, and verify using landmarks or map features. If you want an all-in-one offline toolkit that combines compass navigation with other practical measurement tools for DIY and field use, apps like Level Tool are designed around that multi-tool approach.
