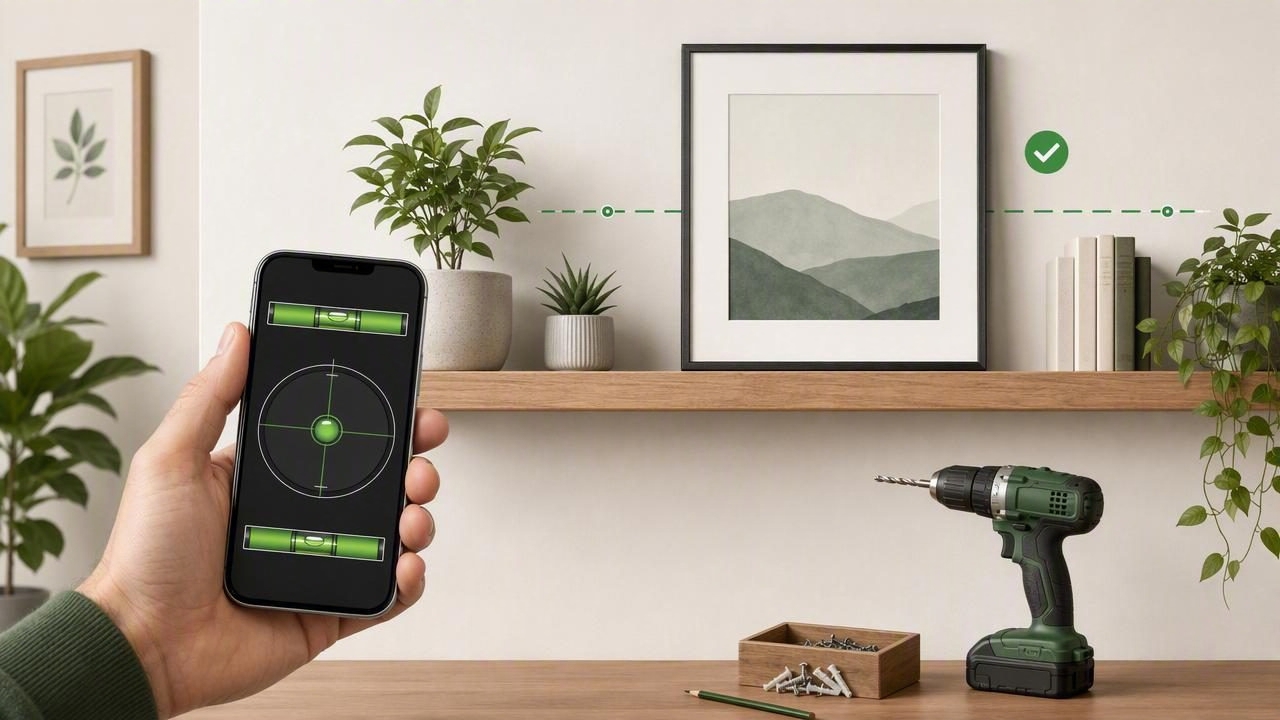
A reliable level app can make common home improvement projects faster, simpler, and more accurate. Whether you are hanging a floating shelf, aligning a gallery wall, installing a towel bar, or checking cabinet doors, your iPhone can provide a convenient digital reference for level and plumb work.
That convenience does not eliminate the need for sound DIY technique. Walls may be uneven, floors can slope, and a phone must be calibrated and positioned correctly to deliver dependable results. This guide explains how to use a level app effectively, where it works best, and how to verify your layout before drilling into a wall.
What Does a Level App Measure?
A level app uses the motion sensors inside an iPhone to measure its orientation relative to gravity. When the device is resting on a surface, the app can show whether that surface is perfectly horizontal, tilted left or right, or tilted forward or backward.
Most quality level apps include two primary modes:
- Single-axis level: Measures a surface along one direction, such as the length of a shelf.
- Dual-axis or bubble level: Measures tilt in two directions at once, which is useful for tabletops, appliances, and flat surfaces.
- Plumb mode: Helps identify a true vertical line for wall décor, trim, posts, and cabinet sides.
- Angle display: Shows the amount of tilt in degrees, percentages, or rise-over-run measurements.
For wall projects, the most useful reading is usually 0.0°, indicating that the phone is level. However, a small deviation may be intentional in older homes where matching an existing architectural line looks better than forcing a new installation to absolute level.
When a Level App Is Useful for DIY Projects
A level app is especially useful when you need a quick, portable reference and do not have a traditional spirit level nearby. It is ideal for short runs, initial layout checks, and confirming that parts are aligned before final tightening.
| Project | How a Level App Helps | Important Check |
|---|---|---|
| Floating shelves | Confirms the shelf board and mounting rail are horizontal. | Verify after loading the shelf. |
| Picture frames | Aligns individual frames and gallery-wall rows. | Check visual spacing as well as level. |
| Towel bars | Helps mark both mounting points at the same height. | Use anchors or studs where needed. |
| Cabinet installation | Checks cabinet bases, shelves, and side panels. | Shim cabinets before fastening. |
| Appliances | Levels washing machines, refrigerators, and workbenches. | Follow the appliance manufacturer’s instructions. |
| Outdoor signs | Checks posts, signs, and small garden structures. | Account for uneven ground and drainage slope. |
For very long runs, structural work, or tasks that require high precision, use a dedicated long spirit level, laser level, or professional surveying equipment. A phone-based level is best treated as a highly capable compact tool, not a replacement for every specialized instrument.
Prepare Your Phone Before Measuring
Accurate readings start with proper preparation. A level app measures the orientation of the phone itself, so anything that changes how the device sits on a surface can affect the result.
1. Remove Uneven Accessories
Bulky cases, raised camera bumps, ring holders, grips, and warped protective accessories may prevent the phone from lying flat. If possible, remove the case before taking important readings. If the case must stay on, always use the same phone edge or surface while measuring so your reference remains consistent.
2. Clean the Contact Surface
Dust, screws, paint drips, and debris can create a small but meaningful tilt. Wipe the shelf, bracket, countertop, or tool surface before placing the phone down. Avoid resting the phone on soft material such as carpet, insulation, or loose fabric.
3. Calibrate on a Known Level Surface
Calibration adjusts the app’s zero point. Many apps provide a calibration option that lets you place the phone on a trusted, known-level surface and set that position to 0.0°. A stable countertop verified with a traditional level is a good choice.
If you do not have a known level surface, use the flip test described below before relying on the app for a permanent installation.
The Flip Test: A Simple Way to Check Accuracy
The flip test is one of the most practical ways to identify a calibration issue. It compares readings while reversing the phone on the same surface.
- Place the phone on a stable flat surface and note the reading.
- Rotate the phone 180 degrees while keeping it in the same location.
- Note the second reading.
- Compare the two values.
If the first measurement is +0.3° and the second is -0.3°, the surface may be level while the readings reflect a minor device offset. If both readings are similar and point in the same direction, the surface is likely tilted. If the difference is inconsistent or large, recalibrate the level app and repeat the test.
DIY tip: Do not trust a single reading when accuracy matters. Checking twice from opposite directions is quick and can prevent a visibly crooked finished project.
Step-by-Step: Use a Level App to Install a Shelf
Installing a shelf provides a useful example because it combines planning, marking, mounting, and final verification. The same basic method works for picture ledges, wall hooks, and many other horizontal fixtures.
Plan the Position First
Decide the desired height and shelf location before opening the app. Use a tape measure to mark the approximate height at both ends of the wall area. Consider nearby trim, furniture, electrical outlets, and the objects you plan to place on the shelf.
Locate wall studs with a stud finder when possible. A shelf mounted into studs can hold substantially more weight than one installed only with drywall anchors. Select anchors and screws that match the wall type and the expected load.
Create a Level Reference Line
Hold a straight board, metal ruler, or the shelf mounting rail against the wall. Place the phone carefully on top of that straight reference. Adjust the position until the level app reads 0.0° or your intended angle.
Then lightly mark the wall along the reference edge. For longer shelves, make several small marks rather than relying on only the two end points. Connect those marks with a straightedge or use a laser projection feature if your app provides one.
Mark and Drill the Mounting Points
Position the mounting bracket along your level line. Mark every screw hole, then set the bracket aside before drilling. This prevents the bracket from shifting and helps keep dust away from the hardware.
Install anchors if required, attach the bracket loosely, and check the bracket again with the level app before fully tightening the screws. Small adjustments are much easier at this stage than after the shelf is in place.
Verify the Finished Shelf
Set the shelf on its bracket or secure it according to the manufacturer’s instructions. Place the phone on the shelf surface and check the reading in both directions. Finally, add a few lightweight items and recheck. A shelf can change position slightly under load if brackets, fasteners, or wall materials flex.
Common Mistakes That Cause Crooked Results
- Measuring on an uneven phone case: The case can introduce an offset that makes a true level surface appear tilted.
- Using the phone directly against a textured wall: Textured paint, tile, and uneven drywall can prevent stable contact. Use a straightedge or bracket as an intermediary.
- Ignoring the wall’s condition: A perfectly level shelf can still look wrong against a sloped ceiling, crooked trim, or uneven tile line.
- Checking only once: Repeat readings and use the flip test for important work.
- Forgetting hardware movement: Tightening screws can shift a bracket. Recheck after each final adjustment.
- Using a level app as a stud finder: These are separate functions. Always use an appropriate method to locate studs and hidden utilities.
Level Versus Visually Aligned: Which Should You Choose?
In modern construction, true level is usually the right goal. In older homes, however, floors, ceilings, molding, and door frames may have settled over time. A shelf that is mathematically level may look noticeably crooked if it clashes with a nearby ceiling line or backsplash.
Before drilling, step back several feet and compare your proposed line with nearby visual references. If the room is significantly out of square, you may choose a slight intentional adjustment. This is common for décor such as gallery walls or curtain rods, where visual balance matters more than strict engineering alignment.
For functional installations, including appliances, cabinets, workbenches, and doors, prioritize true level and plumb. These items often depend on accurate orientation for proper operation and long-term stability.
Best Practices for Reliable Level App Measurements
- Use a hard, straight reference surface between the phone and uneven materials.
- Calibrate before precision work and repeat the flip test when readings seem questionable.
- Measure at multiple points along long shelves, rails, and countertops.
- Use a tape measure for height and spacing; a level app measures orientation, not distance.
- Keep your device secure and away from drill paths, wet paint, and falling hardware.
- Use a traditional level or laser tool to independently confirm demanding projects.
Make Everyday DIY Layout More Confident
A level app is a practical addition to a home improvement toolkit because it is always close at hand, quick to open, and useful for many small tasks. With calibration, a stable contact surface, and a second verification reading, it can help you install shelves, align décor, and troubleshoot uneven furniture with greater confidence.
For users who want offline access to leveling alongside other sensor-based measurement utilities, Level Tool offers an iOS option designed for everyday DIY and field use. Whatever tool you choose, careful setup and verification are what turn a digital reading into a professional-looking result.
