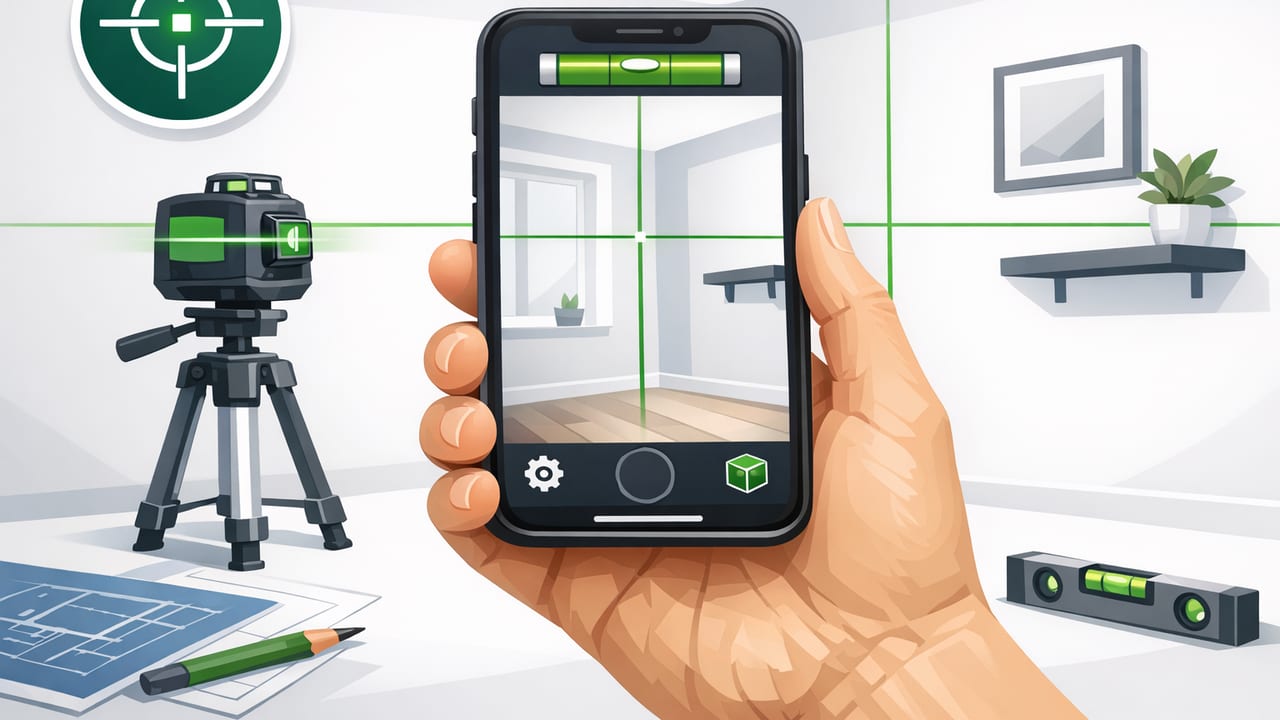
A laser level app can be a surprisingly practical way to project or simulate straight reference lines for common DIY tasks—hanging frames, leveling shelves, aligning cabinet hardware, planning tile layouts, or marking a consistent slope. While a phone can’t replace every job a dedicated construction laser handles, iOS devices have excellent motion sensors and cameras that make a laser-style workflow possible when you understand setup, accuracy limits, and technique.
This guide explains how laser-style leveling apps work, how to get reliable results, and when you should still reach for a dedicated laser level.
What a “laser level app” actually does
Most laser leveling experiences on iPhone fall into two categories:
- Line projection overlays (camera/AR): The app shows a horizontal/vertical line over the camera view so you can align objects in real time. Some apps add a “laser-like” projected line effect for visibility.
- Digital level + alignment tools: The app uses the phone’s sensors (accelerometer/gyroscope) to determine level/plumb and can guide you to the exact angle (0° / 90° / a target slope). Some include a visual “laser” indicator or a screen-based line that you transfer to the work surface.
In both cases, the iPhone is relying on sensor fusion—combining motion sensors and sometimes camera-based tracking—to estimate orientation. That’s why stability, calibration, and a good workflow matter more than the “laser” visual effect.
How iPhone sensors enable leveling (in plain English)
iOS devices use multiple sensors to infer orientation and movement:
- Accelerometer: Detects gravity direction and movement; great for determining “which way is down.”
- Gyroscope: Detects rotation; helps keep readings smooth and responsive.
- Magnetometer (compass): Helps with heading; not always required for leveling but can support orientation features.
- Camera/AR tracking (optional): Helps anchor lines to surfaces in view, especially in AR-based tools.
Because the phone is estimating orientation, tiny changes—hand pressure, case flex, uneven phone backs, or vibration—can shift readings. The goal is to control those variables.
Set up for accuracy: a repeatable workflow
If you want a laser level app to be useful (not frustrating), treat it like a measurement tool, not a novelty. Use this setup routine before you mark anything permanent.
1) Choose the right reference surface
- Prefer flat, rigid surfaces: A countertop, a straight board, a metal level, or a sturdy tripod mount works better than a soft couch arm or a textured wall.
- Remove bulky cases if they rock: Some cases have curved edges that prevent stable contact. If the phone wobbles, accuracy suffers.
2) Clean the contact points
Dust or grit can introduce a tiny tilt. Wipe the back of the phone and the surface where it sits—especially when using the phone as a physical level.
3) Let the sensors settle
Open the app and hold the phone still for a few seconds. Many sensor readings stabilize after brief motion stops. If you rush, you may “lock in” a line while the device is still drifting.
4) Calibrate using a simple flip test
A quick way to sanity-check leveling accuracy:
- Place the phone on a flat surface and note the reading (for example, 0.2°).
- Rotate the phone 180° in the same spot (top becomes bottom).
- If the reading is now -0.2° (or close), you’re in good shape. If it becomes 1.0° or more, recalibrate in the app if available.
Tip: Even if an app has an auto-calibration feature, the flip test helps you decide whether your phone/case/surface setup is the real issue.
Practical projects where a laser level app shines
Below are real-world tasks where a laser-style line or level guidance helps you work faster and more confidently.
Aligning a row of frames (gallery wall)
- Goal: Keep frame tops aligned across multiple hooks.
- Workflow: Establish a single horizontal reference line (AR overlay or leveled line). Mark small pencil ticks at multiple points. Measure down to hook points consistently.
- Why it works: You’re using the app for alignment, then using a ruler/tape for offsets—reducing compounded error.
Installing floating shelves
- Goal: Brackets perfectly level and consistent across studs/anchors.
- Workflow: Use the app to set the bracket line level; mark hole locations. Re-check level after drilling pilot holes (drilling can shift brackets).
- Pro detail: If your shelf system has slotted holes, aim for dead level before final tightening.
Tile layout lines (backsplash or bathroom wall)
- Goal: Establish reference lines for straight courses.
- Workflow: Pick a reference line (often one tile height above the counter/tub). Use the app to verify it’s level and mark it along the run. Use spacers; periodically re-check.
- Why it works: A small tilt becomes obvious across many tiles; the app helps you catch drift early.
Cabinet hardware alignment (pulls/knobs)
- Goal: Consistent hole placement across doors/drawers.
- Workflow: Use the app line as a quick visual check that your template/jig is square and not creeping. Then drill using the jig.
Outdoor layout: posts, string lines, and slopes
- Goal: Maintain a consistent slope for drainage (for example, a small grade away from a foundation).
- Workflow: Use an app that displays angle/slope. Set a target (e.g., 1–2% grade), verify a straight board, then transfer that angle to the project.
- Reality check: Wind and handholding introduce noise—support the phone against a rigid straightedge.
Laser level app vs. dedicated laser level: what to expect
Apps are great for convenience and quick checks. Dedicated lasers still win for visibility, range, and hands-free precision. Here’s a practical comparison.
| Feature | Laser Level App (iPhone) | Dedicated Laser Level |
|---|---|---|
| Setup speed | Fast (open app) | Moderate (tripod, leveling, positioning) |
| Hands-free use | Limited unless mounted | Excellent (tripod-mounted) |
| Line visibility in bright light | Depends on screen/camera view | Better (especially green lasers) |
| Range across a room | Best for short-range alignment | Designed for long straight runs |
| Accuracy consistency | Good with calibration + stable support | Typically more consistent under jobsite conditions |
| Offline use | Often available (varies by app) | Always offline |
Best practices to improve accuracy (and reduce frustration)
Use a mount when you can
Handheld use is the #1 reason people lose trust in a laser level app. Even a small phone tripod, clamp, or magnetic mount helps by keeping the orientation fixed while you mark points.
Measure twice: combine line alignment with physical measurement
Use the app to establish the reference, then confirm with a tape measure or ruler for offsets. This hybrid approach is how many pros work even with dedicated lasers: align first, measure second.
Be mindful of parallax when marking from the screen
If you’re aligning based on a camera overlay line, try to keep the phone centered and square to the wall. Extreme angles can make a straight overlay feel “off” compared to what your eye expects on the surface.
Account for real-world “not level” surfaces
Floors, counters, and ceilings are often not truly level. Decide what matters:
- True level: Best for shelves, picture rails, and anything that must look level against gravity.
- Match existing lines: Sometimes you want to align with an existing countertop edge or trim line (even if it’s slightly off level) because it looks more consistent visually.
Troubleshooting common issues
The reading keeps drifting
- Move away from vibration (running washer, HVAC rumble, shaky ladder).
- Rest the phone on a stable surface for 5–10 seconds.
- Close other motion-heavy apps and try again.
The line looks level, but the final result looks crooked
- Confirm the object itself is straight (some shelves/frames are slightly warped).
- Check that you didn’t mark from an angled viewing position (parallax).
- Verify you didn’t switch reference edges on the phone (top edge vs. side edge) mid-process.
My phone doesn’t sit flat
- Remove the case or use a flat shim (thin card) to eliminate rocking.
- Use a straight board as an intermediary: phone on board, board on work surface.
For makers: capturing tilt data on iOS (simple example)
If you’re curious how apps read “level,” iOS provides device-motion data through Core Motion. The snippet below shows how an app could read pitch/roll (conceptually similar to what many leveling tools do). This is a simplified example for learning—not a complete laser level implementation.
import CoreMotion

let motion = CMMotionManager()
motion.deviceMotionUpdateInterval = 1.0 / 60.0

if motion.isDeviceMotionAvailable {
  motion.startDeviceMotionUpdates(to: .main) { data, error in
    guard let attitude = data?.attitude else { return }
    let rollDegrees  = attitude.roll  * 180.0 / .pi
    let pitchDegrees = attitude.pitch * 180.0 / .pi
    print("roll=\(rollDegrees), pitch=\(pitchDegrees)")
  }
}
In practice, leveling apps add filtering, calibration offsets, UI guidance, and sometimes AR anchoring for stable on-screen lines.
Offline functionality matters more than you think
For home improvement and jobsite tasks, offline tools are often the most reliable: garages with weak Wi‑Fi, basements with no signal, or outdoor projects away from coverage. A laser level app that works fully offline is also simpler—no logins, no “feature locked” surprises mid-project, and fewer interruptions when you just need a straight line right now.
Quick checklist: before you drill, tile, or mount
- Stabilize the phone (mount or firm surface).
- Calibrate (flip test if possible).
- Mark multiple points along the line, not just one.
- Confirm with a physical measure for offsets and spacing.
- Re-check after drilling (hardware can shift).
Bottom line
A laser level app is most effective when you treat it as a reference and alignment tool—excellent for quick layouts, repeatable marks, and everyday DIY accuracy—especially when paired with a stable mount and a short calibration routine. For long-range visibility in bright light, hands-free work across large spaces, or demanding tolerances, a dedicated laser level still earns its place.
If you prefer keeping a set of measurement tools available offline on iOS (including laser-style alignment alongside leveling and other utilities), an app like Level Tool can make a handy all-in-one kit—just remember the technique matters as much as the tool.
