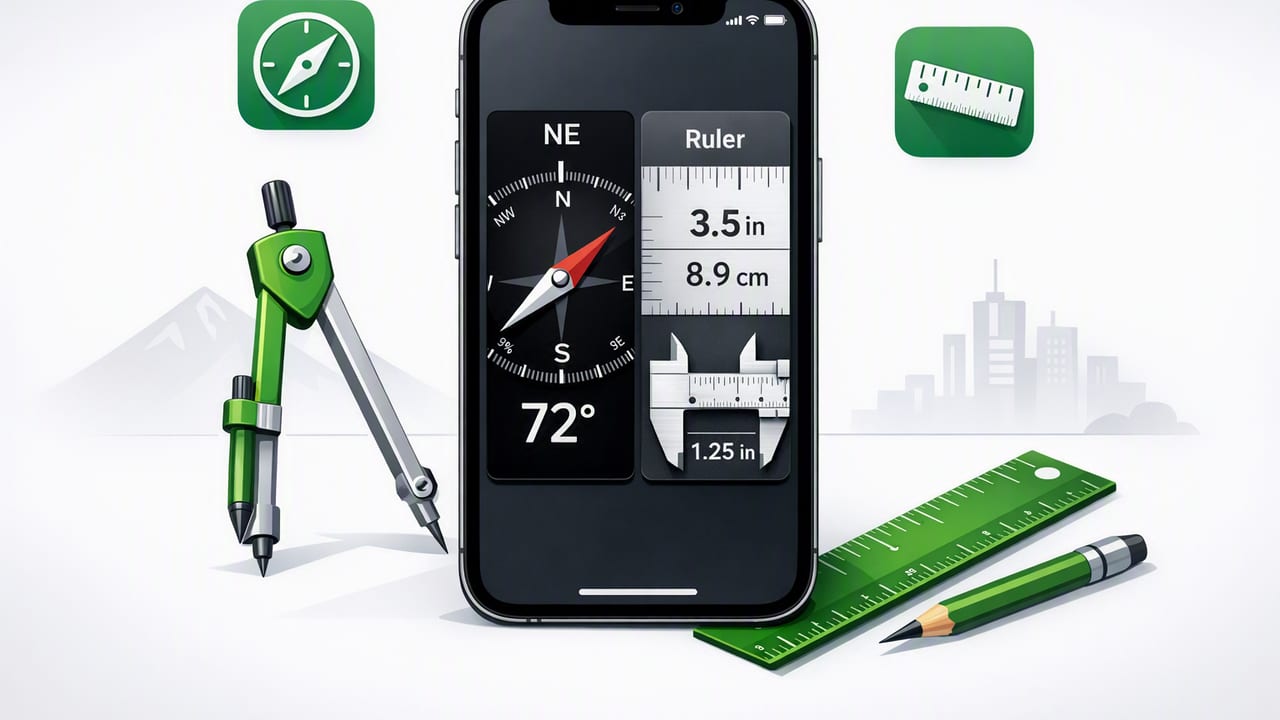
A compass and ruler app for iPhone can replace (or at least back up) two of the most frequently reached-for tools: a basic ruler for quick measurements and a compass for orientation and direction. When you’re hanging frames, spacing hardware, laying out a small project, or navigating a trail, having both tools in your pocket can save time—especially when the app works offline and uses your phone’s sensors rather than internet-dependent maps.
This guide explains when a compass + ruler on iPhone is genuinely useful, how to get reliable readings, and what limitations you should expect so you can measure and navigate confidently.
What a compass + ruler app can (and can’t) do
Best-use scenarios
- DIY layout and spacing: quick marks for pilot holes, outlet spacing, hinge placement, and furniture clearances.
- Simple navigation: keeping a consistent heading while hiking, scouting property lines, or orienting a map.
- Field notes: recording approximate dimensions and bearings before you return with full-size tools.
- Emergency backups: when your physical ruler is missing or your compass is packed away.
Limitations to understand upfront
- Screen-size constraints: a ruler on iPhone is limited to the display length unless it supports clever workarounds (and even then, accuracy varies).
- Compass interference: magnets, metal, speakers, and even some cases can skew readings.
- Not a survey instrument: for property boundaries, structural work, or code-critical measurements, use calibrated physical tools or professional equipment.
Rule of thumb: A phone is excellent for planning, quick checks, and repeatable small measurements. For final cuts and safety-critical tasks, verify with a trusted physical tool.
How iPhone ruler measurements work (and how to improve accuracy)
Most “ruler” features are essentially a screen-based scale. The app knows your device model and display pixel density, then converts on-screen distance to real-world units (inches/mm). This can be surprisingly good for small measurements—if you set it up correctly.
Ruler accuracy checklist
- Confirm units: inches vs millimeters. Don’t assume—verify before measuring.
- Use a flat reference: place the phone on the same plane as the object (tabletop is ideal).
- Keep the phone straight: angle changes can cause parallax errors when you “eyeball” edges.
- Measure small spans: the shorter the distance, the less error you’ll typically see.
- Check against a known reference: compare the app to a physical ruler once, then trust it for quick tasks.
Practical trick: measure by “indexing”
If you need to measure something longer than the screen, you can often do a repeatable approximation by indexing:
- Measure from the start point to the end of the screen.
- Mark that end point with painter’s tape or a pencil tick.
- Slide the phone so the screen start aligns with your mark.
- Repeat and add the segments.
This isn’t perfect, but for quick layout (e.g., spacing hooks along a wall) it can be more consistent than guessing.
How iPhone compass readings work (and how to keep them reliable)
The iPhone compass uses a magnetometer (and other motion sensors) to estimate magnetic north. Some apps also display a corrected heading toward true north depending on settings. Either way, the compass is sensitive—so your environment and your habits matter.
Compass accuracy checklist
- Calibrate when needed: if headings jump or drift, recalibrate (many apps prompt a simple motion).
- Move away from metal: steel benches, cars, toolboxes, rebar in concrete, and even metal phone stands can distort readings.
- Remove magnetic accessories: some cases, mounts, and wallets contain magnets that can bias the sensor.
- Hold level and steady: tilting can reduce stability in some situations.
- Compare once: if you have a real compass, compare headings in an open area to validate.
True north vs magnetic north (why it matters)
Magnetic north differs from true north by declination, which depends on your location. For casual hiking, magnetic is often “good enough.” For map-and-compass navigation, you’ll want to know which north your app is showing.
| Use case | Magnetic north OK? | Better with true north? |
|---|---|---|
| Quick orientation (find general direction) | Yes | Optional |
| Hiking on well-marked trails | Usually | Helpful |
| Using a printed topographic map | Sometimes | Yes |
| Marking bearings for repeat visits | Depends on precision needed | Often |
DIY examples: combining ruler + compass in real projects
1) Spacing wall hooks evenly along a hallway
When you want hooks at consistent spacing, your phone ruler can help you create uniform gaps without hunting for a tape measure.
- Decide spacing (e.g., 6 in / 150 mm).
- Mark the first position with painter’s tape.
- Use the ruler feature to mark subsequent positions at the same interval.
- Verify visually, then confirm one or two gaps with a physical tool if you need higher confidence.
2) Aligning hardware on a cabinet run (directional consistency)
A compass helps when your “straight line” is more about consistency than absolute north—especially in workshops or garages where visual references are cluttered.
- Stand in the same spot and note the heading of the cabinet face direction.
- As you move down the run, keep the phone aligned to maintain the same orientation.
- Use the ruler feature for repeatable offsets from the cabinet edge.
This can reduce small rotational errors that add up when you’re doing repeated placements.
3) Outdoor map orientation in the field
If you carry a printed map, the compass feature can help you align the map to your surroundings:
- Place the map flat.
- Use the compass to identify north direction.
- Rotate the map so map-north matches the compass heading (accounting for declination if you’re being precise).
Offline matters: why it changes reliability
Many people associate navigation with connectivity. But a compass doesn’t need the internet—only your phone’s sensors. Likewise, a screen ruler doesn’t require connectivity to function. An offline iOS app can be more predictable for:
- Remote areas: no signal doesn’t stop your heading tool.
- Worksites and basements: poor reception and thick walls won’t break the measurement features.
- Privacy and speed: fewer background lookups; faster access when you just need a quick tool.
Common problems and quick fixes
Problem: the ruler seems slightly off
- Fix: verify you’re using the correct device model settings (if the app has them) and confirm units.
- Fix: measure a known item (e.g., a credit card is 85.60 mm wide) to sanity-check.
- Fix: avoid screen protectors with thick edges that make it hard to align to the true screen boundary.
Problem: the compass heading drifts or jumps
- Fix: step away from vehicles, toolboxes, steel beams, or reinforced concrete.
- Fix: remove magnetic accessories and re-test.
- Fix: recalibrate and hold the phone steady at a consistent tilt.
Problem: different apps show slightly different headings
This is normal to a degree because apps may apply different smoothing, filtering, and true-north corrections. Use one trusted app consistently, test it in an open area, and prioritize repeatability over perfection for everyday tasks.
Choosing the right compass and ruler app for iPhone: a mini checklist
Not all measurement apps are built the same. When evaluating a compass and ruler app for iPhone, look for:
- Offline support: core tools should work without internet.
- Clear calibration prompts: especially for compass/sensor tools.
- Unit flexibility: inches, feet, cm, mm—fast switching helps in mixed-tool environments.
- Readable UI in bright light: outdoor usability is a real differentiator.
- No forced subscriptions for basics: measurement utilities are often most useful when permanently available.
Optional: log measurements and bearings in a consistent format
If you want repeatability, write down measurements and headings in a consistent template. Here’s a simple format you can paste into Notes:
Project:
Location:
Date:

Measurements:
- Item:
  - Length:
  - Width:
  - Offset from reference edge:

Bearings (compass):
- Reference direction:
- Bearing to target:
- Notes (nearby metal? case removed?):
This makes it easier to compare readings later and spot when environmental interference might have affected your compass.
Safety and accuracy reminders
- Don’t rely on a phone compass near hazards: in areas where wrong direction has serious consequences, carry a dedicated compass.
- Verify before cutting or drilling: use your iPhone tools for layout, then confirm with a tape measure/level if the result is irreversible.
- Keep expectations realistic: your phone is a powerful toolkit, but not a substitute for professional surveying instruments.
Wrap-up
A well-designed compass and ruler app for iPhone is most valuable when you treat it as a fast, always-available tool for quick measurements, consistent spacing, and basic orientation. Focus on repeatable technique—steady alignment for the ruler, interference-free calibration for the compass—and you’ll get dependable results for everyday DIY and outdoor tasks.
If you prefer having several sensor-based tools available offline in one place, an iOS app like Level Tool can bundle a ruler and compass alongside other measurement utilities.
