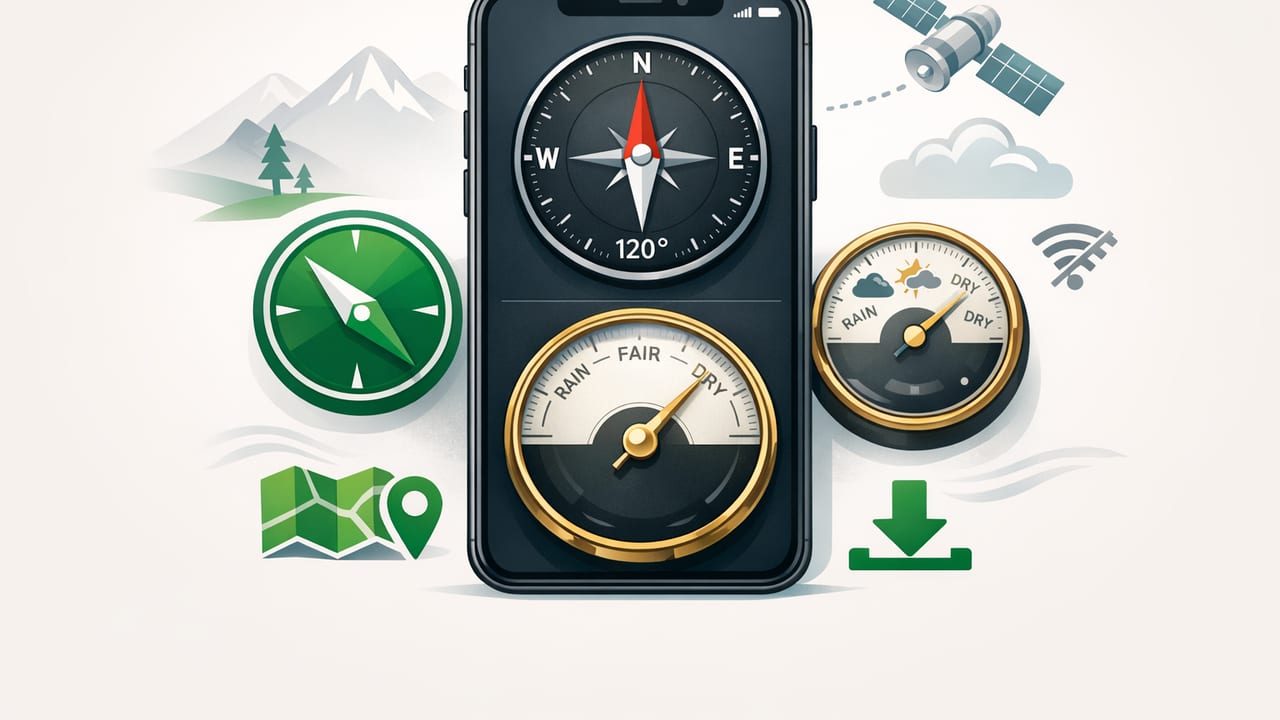
When you’re outdoors (or working on a site) with unreliable signal, the most useful “navigation stack” isn’t necessarily maps—it’s the sensors already inside your iPhone. A compass and barometer offline app can help you maintain direction, estimate elevation changes, and spot weather shifts without depending on cell service, subscriptions, or cloud features.
This guide explains how the iPhone’s compass and barometer work, how to use them together, and how to get more reliable readings in real-world conditions—whether you’re hiking, boating, doing property checks, or planning a DIY project that depends on orientation and weather.
What an Offline Compass + Barometer Setup Can (and Can’t) Do
Compass: direction and bearings
The iPhone compass typically combines a magnetometer (detects magnetic fields) with gyroscope/accelerometer data (stabilizes orientation). Used correctly, it can:
- Show heading (the direction your phone is facing)
- Help you follow a bearing (e.g., “walk 240°”) when visibility is low
- Support basic navigation tasks when you don’t have reception
Limitations: magnetic interference, poor calibration, and localized anomalies can cause drift. A phone compass is not a substitute for a dedicated navigation compass in high-risk conditions.
Barometer: air pressure and trends
Many iPhone models include a barometric pressure sensor. A barometer can:
- Show current air pressure (often in hPa/mbar)
- Help infer altitude changes (pressure drops as you go up)
- Reveal weather trends by tracking pressure changes over time
Limitations: altitude estimates depend on weather and a reference pressure; pressure changes can be caused by both elevation and meteorology.
Why “Offline” Matters for Compass and Barometer Tools
“Offline” isn’t just about saving data—it’s about reliability. In practice, an offline measurement tool means:
- No signal required to read heading or pressure
- Fast startup because features don’t depend on network calls
- More predictable behavior in remote areas, basements, or metal-heavy job sites
GPS can still work without cell service, but map tiles and online calibration services may not. A compass and barometer offline app keeps the core instruments available even when everything else is spotty.
How to Get Accurate Compass Readings (Step-by-Step)
1) Check your environment for interference
Before calibrating, move away from common sources of magnetic distortion:
- Cars, bikes, toolboxes, rebar, steel beams
- Speakers, magnets (including magnetic phone mounts)
- Power tools, generators, electrical panels
Tip: If your heading jumps around by 10–30° while standing still, assume interference first, not “bad sensors.”
2) Calibrate the compass the practical way
Most iPhones prompt for calibration automatically. If not, a reliable approach is:
- Hold the phone level, screen up.
- Rotate your body slowly in a full circle.
- Then tilt the phone slightly and repeat a slow rotation.
This helps the phone sample the magnetic field in multiple orientations, improving the magnetometer model.
3) Use a stable grip and avoid “tilt bias”
Even with sensor fusion, an angled phone can yield noisier headings. For best results:
- Keep the phone flat or in the orientation the app expects.
- Pause for 1–2 seconds to let the heading settle.
- Use the same holding position when comparing readings.
4) Understand True North vs Magnetic North
Bearings can be referenced to magnetic north or true north. The difference is declination, which varies by location. In some regions, declination can exceed 10°—enough to miss a trail junction or waypoint.
Field rule: If you’re following a printed map or topographic bearing, confirm whether it uses true north and adjust accordingly.
How to Use the Barometer for Weather Awareness (Without Internet)
Pressure basics that actually help
Barometers are most useful for trends. A single pressure value is less informative unless you know the typical baseline for your area. Watch how the number changes over 30–180 minutes.
| Pressure Trend | Common Interpretation | Practical Action |
|---|---|---|
| Steady (small changes) | Stable conditions likely | Proceed, but still monitor clouds/wind |
| Falling gradually | Weather may worsen | Plan a shorter loop or earlier turnaround |
| Falling quickly | Front or storm approaching | Seek shelter; avoid exposed ridges/water |
| Rising | Improving conditions | Good sign, but don’t ignore local hazards |
Separating altitude change from weather change
If you’re hiking uphill, pressure will drop even if the weather is stable. To interpret the barometer correctly:
- Take readings during stops (same altitude for several minutes).
- Compare pressure at the same location over time (camp, trailhead, job site).
- Use the barometer alongside observations: cloud type, wind shift, humidity, visibility.
Using Compass + Barometer Together: Practical Scenarios
Scenario 1: Staying on a bearing in low visibility
Fog, snow, or dense forest can erase landmarks. A practical technique is “bearing hopping”:
- Pick a bearing (e.g., 300°) toward your next safe waypoint.
- Use the compass to line up the direction.
- Walk to a visible object in that direction (tree, rock).
- Repeat from the new point.
Where the barometer helps: if pressure is dropping fast, reduce exposure time and choose conservative routes (avoid ridge lines or open water crossings).
Scenario 2: DIY or property work when weather timing matters
If you’re planning exterior painting, roofing patches, concrete pours, or even just moving materials, pressure trends offer a quick offline “sanity check.” A steady or rising trend supports the plan; a sharp drop suggests you might want a backup schedule.
Scenario 3: Estimating elevation change without maps
In a canyon or dense terrain, you may care more about how much you’ve gained or lost than your exact GPS altitude. Barometric trends can approximate that change. It won’t be survey-grade, but it can help answer: “Have we climbed most of the route yet?”
A Simple Pressure-to-Altitude Approximation (For Reference)
If your app provides pressure readings, you can estimate altitude relative to a reference pressure using a standard approximation. Below is a commonly used formula (International Standard Atmosphere). It’s not perfect in real weather, but it’s helpful to understand what your device is doing conceptually.
// Approximate altitude (meters) from pressure (hPa) using ISA model
// p0: reference pressure at sea level (or known reference point)
// p: measured pressure

altitude_m = 44330 * (1 - (p / p0)^(1/5.255))
How to use it well: set p0 from a known location (trailhead sign, benchmark, or local station before you go offline). If weather changes significantly, the estimate drifts—so treat it as a relative indicator, not a definitive elevation.
Troubleshooting: Common Issues and Fixes
Compass readings are unstable or wrong
- Move away from metal: even a belt buckle or tool pouch can matter.
- Remove magnetic accessories: cases, mounts, wallets with magnets.
- Recalibrate and retest in a different spot.
- Restart the app if sensor access got “stuck.”
Pressure seems “off” compared to forecasts
- Check units: hPa and mbar are effectively equivalent; inHg is different.
- Remember altitude effect: a higher location naturally reads lower pressure.
- Focus on trend: the change over time is often more useful than the absolute number.
Your phone doesn’t show barometer data
Not every iPhone model includes a barometer, and some apps won’t expose it clearly. If you need pressure readings, verify your hardware supports barometric measurements and that the app can access the sensor.
Checklist: Best Practices for Reliable Offline Field Readings
- Pre-trip: calibrate the compass in a low-interference area.
- Carry a backup: paper map and a basic compass for critical outings.
- Log a baseline: note pressure at the trailhead or site start.
- Watch trend windows: 30–180 minutes gives more meaningful pressure signals.
- Use consistent handling: same orientation, steady pause, avoid tilt.
Choosing an Offline Compass and Barometer App: What to Look For
When evaluating a compass and barometer offline app, prioritize function over flash:
- Offline-first: core readings must work with no service.
- Clear units: hPa/mbar, ° headings, and optional true/magnetic toggles.
- Fast, readable UI: outdoor use demands high contrast and minimal clutter.
- Calibration guidance: prompts or simple steps to improve accuracy.
- Extra tools (optional): level, ruler, or altimeter can reduce app switching.
Final Thoughts
Compass and barometer tools are most powerful when you treat them like instruments: calibrate, control your environment, and interpret trends rather than obsessing over single numbers. Used that way, an offline setup can add real confidence to navigation decisions, weather timing, and on-the-go measurement tasks.
If you prefer having multiple sensor-based tools in one place, apps like Level Tool combine offline measurement utilities (including compass and barometer) so you can stay prepared even when reception disappears.
