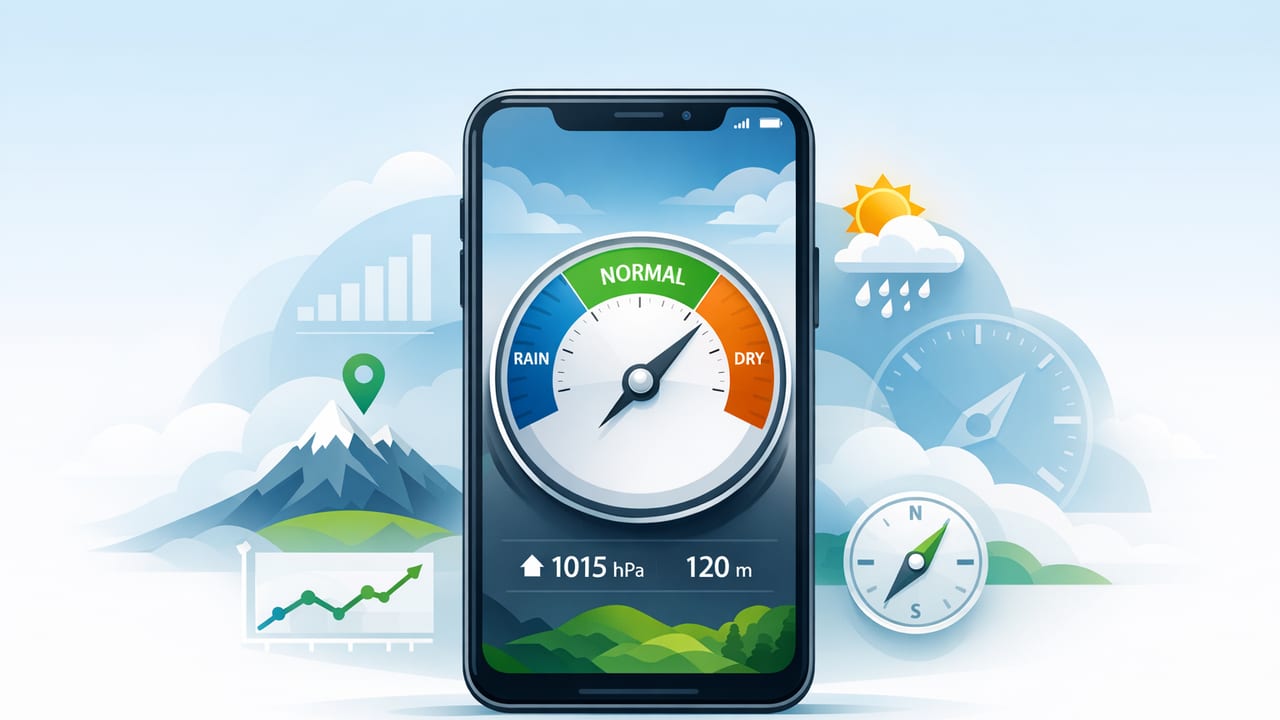
A barometer app turns your iPhone into a portable pressure gauge by using the device’s built-in sensors. Unlike a typical weather forecast (which relies on internet-fed models), a barometer app can show local air-pressure changes right where you’re standing—useful for hikers watching for storms, boaters tracking fronts, or DIYers planning weather-sensitive work.
This guide explains what your iPhone barometer measures, how to interpret readings, how to improve accuracy, and practical ways to use pressure trends for outdoor navigation and home projects—especially when you need offline functionality.
What a barometer app actually measures
A barometer measures atmospheric pressure: the force the air exerts on a surface. Your iPhone (many models) includes a MEMS barometric sensor that detects small pressure changes and reports them to iOS. A barometer app typically displays pressure in one or more units:
- hPa (hectopascals) or mbar (common in meteorology; 1 hPa = 1 mbar)
- inHg (inches of mercury; common in the U.S.)
- mmHg (less common in modern weather apps)
Key idea: pressure changes with both weather and altitude. That’s why a barometer app can help you detect approaching storms and, with the right settings, estimate elevation changes.
Barometer app vs. weather app: why both matter
Forecast apps are excellent for planning ahead, but they rely on network data and regional models. A barometer app is different: it’s like a “live instrument panel” for the air around you. Here’s a practical comparison:
| Feature | Barometer app (sensor-based) | Weather app (forecast-based) |
|---|---|---|
| Works offline | Often yes | Usually limited |
| Shows local pressure trends | Yes (where you are) | Sometimes (often generalized) |
| Predicts future conditions | Indirectly (trend interpretation) | Directly (models) |
| Helps estimate altitude changes | Yes (with calibration) | Not typically |
If you spend time outdoors or need dependable on-site readings, pairing a forecast with a barometer app gives you both the “plan” and the “now.”
How to read pressure like a pro (the trend is the signal)
One isolated pressure value is less useful than a trend over time. Most barometer apps show a live number and may include a graph. Focus on whether pressure is rising, steady, or falling.
Quick interpretation guide
- Falling pressure: often indicates deteriorating weather, increasing wind, or an approaching front.
- Rising pressure: often indicates improving conditions and clearing skies.
- Steady pressure: suggests stable weather, though local terrain and season matter.
Rule of thumb: The faster the pressure changes, the more likely you’ll notice a meaningful weather shift soon.
Common sea-level pressure ranges (contextual, not absolute)
Pressure varies by region and season, but this table helps you recognize “unusually low or high” values when your barometer app is set to sea-level pressure (more on that below).
| Sea-level pressure | What it often suggests |
|---|---|
| Below ~1000 hPa (29.53 inHg) | Lower-pressure system nearby; unsettled or stormier potential |
| ~1000–1020 hPa (29.53–30.12 inHg) | Typical range; use trend for insight |
| Above ~1020 hPa (30.12 inHg) | Higher-pressure system; often fairer weather |
Note: If your app displays station pressure (pressure at your current elevation), the numbers will be lower at higher altitudes—even in perfectly calm weather.
Station pressure vs. sea-level pressure (and why it matters)
Many people get confused because the same location can show different “normal” values depending on which pressure type is displayed:
- Station pressure: measured where you are. Great for altitude change detection (stairs, hills, climbs).
- Sea-level pressure: station pressure corrected as if you were at sea level. Better for comparing to weather maps and forecasts.
If your goal is weather tracking, prefer sea-level pressure. If your goal is elevation change, station pressure is often more straightforward.
How to improve barometer app accuracy on iPhone
iPhone barometric sensors are sensitive, but your results depend on setup and environment. Use these tips to get more consistent readings.
1) Give the sensor time to stabilize
After moving from indoors to outdoors (or a warm car to cold air), wait a minute or two. Rapid temperature changes can temporarily skew readings and trend lines.
2) Avoid pressure “micro-environments”
Pressure can differ slightly in enclosed or artificially ventilated spaces. For cleaner weather signals, measure:
- Outside, away from strong HVAC exhaust or intake vents
- Away from open windows where gusts create brief pressure spikes
- Not pressed against a pocket or tight case opening (give the phone airflow)
3) Confirm what unit you’re viewing
Switching between hPa and inHg is fine, but be consistent. If you follow online guidance, many meteorology resources use hPa/mbar.
4) Calibrate for altitude when needed
For altitude estimation, you usually need a known reference point. Practical calibration options include:
- Known elevation: trailhead sign, topo map, or a benchmark marker
- Known sea-level pressure: nearby airport METAR (if you have connectivity beforehand)
Even with calibration, remember that weather changes affect pressure—so altitude estimates can drift during changing conditions.
Practical uses of a barometer app (outdoors + DIY)
A barometer app is more than a curiosity. Here are realistic ways people use local pressure readings.
Use case 1: Spotting an approaching storm on the trail
If you’re hiking and see pressure falling steadily over 30–60 minutes, it can be a strong signal that conditions are changing—especially if clouds build and winds increase. This is where offline capability helps: you can watch pressure trends even without service.
Use case 2: Estimating elevation change on climbs and descents
Because pressure decreases as altitude increases, your iPhone can detect changes from climbing a hill, moving between floors, or ascending a ridge. This is helpful when:
- You want a rough sense of vertical gain without a dedicated altimeter watch
- GPS is unreliable (dense forest, narrow canyons)
Use case 3: Timing weather-sensitive home improvement tasks
Pressure trends can support decisions that depend on stable weather—like exterior painting, sealing, roof patching, or pouring small slabs. You still need a forecast, but pressure is a useful “second opinion” on stability.
- Rising/steady pressure can align with calmer windows for outdoor work.
- Falling pressure can be a hint to protect materials or pause if rain risk increases.
Use case 4: Basic indoor experiments and troubleshooting
While a phone isn’t a lab instrument, a barometer app can help you observe pressure changes from opening doors, running exhaust fans, or moving between sealed rooms and open spaces. It won’t replace professional HVAC testing tools, but it’s a quick way to visualize “something changed.”
A simple pressure-trend routine you can follow
If you want a repeatable way to use a barometer app, try this routine (outdoors or at a job site):
- Pick your mode: sea-level pressure for weather; station pressure for elevation changes.
- Log a baseline: note the time and reading.
- Check again in 15–30 minutes: note the difference.
- Confirm with context: wind, cloud type, humidity, and temperature changes.
- Decide: continue, turn back, or secure materials based on trend + conditions.
This habit is especially helpful when you’re offline and want a more data-driven read on local conditions.
For developers: reading the iPhone barometer in iOS (Swift)
If you build your own tools, iOS provides barometric data through Core Motion’s altimeter APIs (on supported devices). Here’s a minimal example that streams relative altitude and pressure:
import CoreMotion

final class BarometerReader {
    private let altimeter = CMAltimeter()

    func start() {
        guard CMAltimeter.isRelativeAltitudeAvailable() else {
            print("Barometer/altimeter not available on this device")
            return
        }

        altimeter.startRelativeAltitudeUpdates(to: .main) { data, error in
            if let error = error {
                print("Error: \(error)")
                return
            }
            guard let data = data else { return }

            // data.pressure is in kilopascals (kPa)
            let pressureKPa = data.pressure.doubleValue
            let pressureHPa = pressureKPa * 10.0

            // data.relativeAltitude is in meters (relative to start)
            let relAltMeters = data.relativeAltitude.doubleValue

            print("Pressure: \(pressureHPa) hPa, Relative Alt: \(relAltMeters) m")
        }
    }

    func stop() {
        altimeter.stopRelativeAltitudeUpdates()
    }
}
Tip: For user-facing “weather style” pressure, you’ll typically convert/adjust readings and optionally compute sea-level pressure using temperature and elevation inputs. For many apps, showing stable trends is more valuable than perfect absolute calibration.
Common mistakes (and how to avoid them)
- Mistake: Treating one number as a forecast.
Fix: Watch the trend line over time. - Mistake: Comparing station pressure to online sea-level charts.
Fix: Ensure you’re viewing the same pressure type. - Mistake: Assuming altitude is wrong when weather changes.
Fix: Recalibrate if you’re using pressure for elevation during a front. - Mistake: Measuring in a pocket or sealed case environment.
Fix: Give the phone airflow and stable conditions.
Choosing a good barometer app: a practical checklist
If you’re selecting a barometer app for iPhone, look for features that support real-world use rather than flashy graphics:
- Offline readings (sensor data should work without internet)
- Clear unit selection (hPa/mbar and inHg)
- Trend chart with adjustable time window (minutes to hours)
- Station vs sea-level mode (or at least transparency about what’s shown)
- Export/logging if you want to track conditions over a trip or project
If you also want related iOS measurement tools (like level, compass, and ruler) in one place, an all-in-one offline utility such as Level Tool can be a convenient way to keep essential instruments together without relying on subscriptions.
