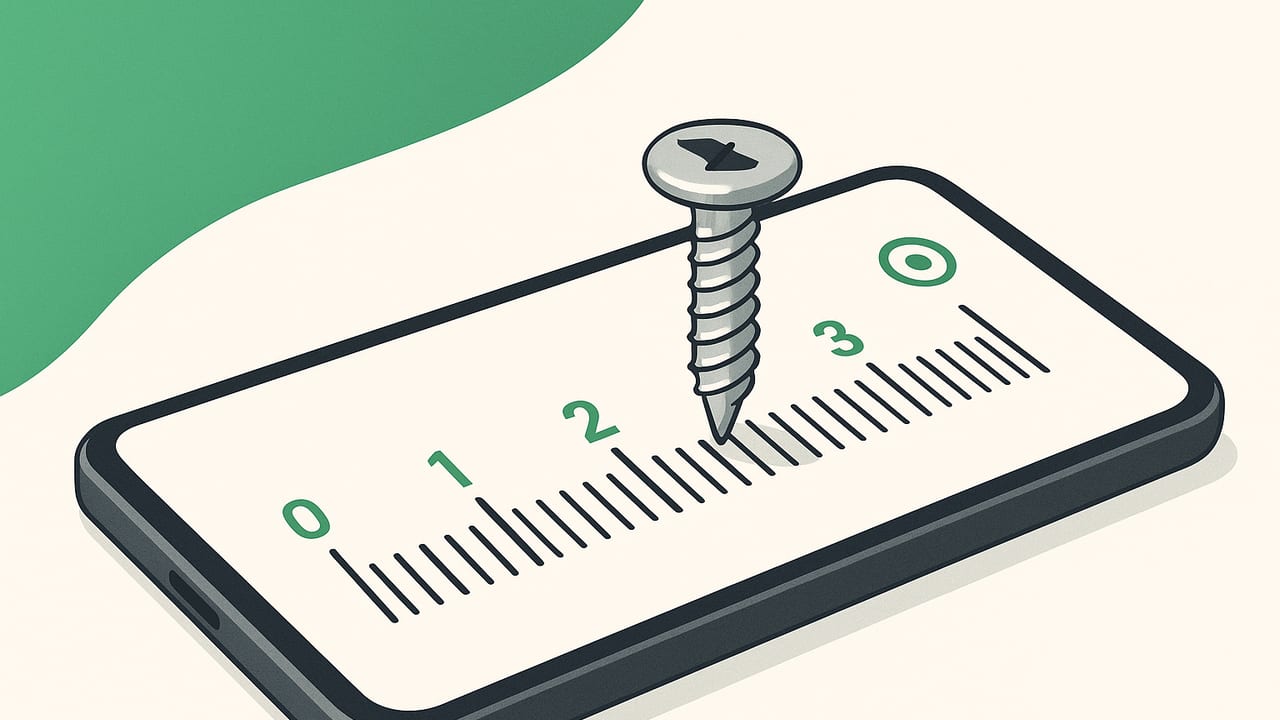
Need a quick measurement but don’t have a physical ruler or caliper handy? You can measure small objects with a phone ruler quickly and accurately when you use the right method and a bit of calibration. This guide covers the best ways to measure tiny parts—like screws, coins, buttons, O-rings, and jewelry—with your smartphone, plus the common pitfalls to avoid so your readings are trustworthy.
What “Phone Ruler” Really Means
A phone can act as a ruler in two main ways:
- Screen ruler: Lay the object directly on your phone’s screen and align it with on-screen markings. Best for flat, small items (coins, washers, SIM trays).
- Camera/AR ruler: Use your camera to measure distance or length with augmented reality or scaled photos. Best for objects that don’t sit flat on the screen or are slightly larger.
Each method has different accuracy and setup needs. For the smallest objects, screen-based measurement tends to be the most repeatable because you eliminate camera perspective error. The trick is calibrating the display scale once, or validating it with a known reference.
Before You Start: Accuracy Fundamentals
- Know your goal: Do you need a rough size (±2–3 mm) or a precise measurement (±0.2–0.5 mm)? Choose your method accordingly.
- Calibrate or validate: Compare your phone ruler against a known reference like a credit card (85.60 mm wide) or a printed ruler you trust.
- Eliminate parallax: For screen rulers, view straight-on. For camera methods, keep the lens perfectly perpendicular.
- Use good lighting: High contrast edges reduce alignment errors, whether on-screen or in a photo.
- Protect the screen: Place a thin sheet of paper or a screen protector between sharp metal parts and the glass.
Method 1: Screen Ruler (Lay the Object on the Display)
This is the fastest way to measure small, flat items. Accuracy can be very good (often within ±0.5 mm) if you calibrate and align carefully.
Step-by-Step
- Open your phone ruler app and switch to millimeters for small parts.
- Add a protective layer: Put a thin white paper sheet on the screen to avoid scratches and to improve contrast.
- Calibrate once: Place a known reference on the screen—e.g., a credit card at 85.60 mm width. Adjust the app’s scale (if supported) until the on-screen reading matches the known dimension.
- Place your object: Set the item on the paper so it lies flat with a well-defined edge touching the zero mark.
- Align carefully: Look straight down to avoid parallax. Move the on-screen cursor or tick mark until it meets the far edge of the object.
- Note the reading: Record length, width, or diameter. For round objects, rotate 90° and re-check to confirm roundness.
Pro Tips
- Sub-millimeter trick: Take a photo of the object on the ruler view, then pinch-zoom and align precisely before reading.
- Edge clarity: If the object blends into the paper, outline it lightly with a pencil and measure the outline.
- Small diameter rods or wires: Measure across a printed grid (e.g., 1 mm grid) placed on the screen to improve visual alignment.
Method 2: Camera/AR Measure (When the Object Won’t Sit Flat)
Augmented reality and camera-based rulers are convenient for longer items or those with height. Precision is typically lower than a screen ruler due to lens distortions and perspective, but you can still get useful results.
Step-by-Step
- Set up a flat surface: Place your object on a contrasting background with a known reference (credit card, coin, or printed scale) beside it.
- Hold the phone perpendicular: Keep the camera square to the surface; a mini tripod or a stack of books helps.
- Tap to focus: Ensure the edges are crisp. Use strong, diffuse light.
- Measure edge-to-edge: Use your AR ruler to mark start and end points right on the object’s edges; include the reference in-frame.
- Validate: Confirm the app’s reading by also measuring the known reference in the same frame. If the reference reads off by, say, +2%, apply that correction to your object’s measurement.
When to Prefer Camera/AR
- Objects thicker than a few millimeters that wobble on the screen
- Non-flat shapes where a top-down photo is clearer
- Objects larger than your display
Method 3: Photo + Known Scale (Manual but Reliable)
If your app doesn’t include AR, you can capture a photo and measure later. Place a known reference in the frame, then compute a scale factor to convert pixels to millimeters.
Workflow
- Put your object and a known reference (card, ruler) on a flat surface.
- Take a perpendicular, well-lit photo with the phone.
- Open the image in any editor that shows pixel counts or overlay grids.
- Measure the reference in pixels, compute a scale factor, and apply it to your object.
scale_mm_per_px = known_mm / measured_px
object_mm = object_px * scale_mm_per_px
Accuracy often reaches ±0.5–1 mm if you keep the camera perpendicular and focus sharply.
Quick Comparison of Measurement Methods
| Method | How it works | Setup time | Typical accuracy | Best for | Watch-outs |
|---|---|---|---|---|---|
| Screen ruler | Object on display; align to on-screen scale | Very low | ±0.2–0.5 mm (with calibration) | Coins, washers, SIM trays, flat parts | Scratches; parallax; needs calibration |
| Camera/AR | AR anchors or tap-to-measure edges | Low–medium | ±1–3 mm (varies) | Larger or non-flat objects | Perspective, lens distortion, focus issues |
| Photo + scale | Measure pixels, apply scale factor | Medium | ±0.5–1 mm | Detailed documentation, repeatable checks | Must keep camera perpendicular and include reference |
Calibrating Your Screen Ruler
Some apps allow fine calibration so the on-screen scale matches real-world units exactly. If yours doesn’t, you can still validate accuracy.
Two Simple Calibration Options
- Credit card method: Place a standard ID/credit card on the screen. Align the app’s endpoints to both edges. Adjust the scale slider or calibration setting until the reading is 85.60 mm.
- Paper ruler method: Use a verified paper ruler (check against a metal ruler). Align and tune until 50 mm on paper equals 50 mm on-screen.
After calibration, test several distances (e.g., 10 mm, 30 mm, 60 mm). If the error is consistent across lengths, you’re set. If it drifts, your viewing angle or alignment needs attention.
Special Cases: Measuring Common Small Items
Screws and Bolts
- Length: Lay the screw on the display, head to zero, measure to tip. For countersunk screws, measure from the tip to the top of the head; for pan heads, measure under the head to the tip (depending on your standard).
- Diameter: Roll the screw gently until the widest part is visible; measure across the shank (not the threads) for major diameter approximations.
- Thread pitch: Photograph the screw alongside a millimeter scale, count thread peaks over a known distance, then compute pitch.
Coins, Washers, and O-Rings
- Outer diameter (OD): Align one edge to zero and read the far edge.
- Inner diameter (ID): For washers/O-rings, outline the inner hole with a pencil on the paper layer and measure the width of the opening.
- Cross-section (O-ring thickness): Photograph with a side view and a reference ruler, or compare against stacked feeler gauges if available.
Jewelry and Beads
- Bead size: Place between two fine-tipped marks on the screen. Rotate and re-measure to confirm roundness.
- Ring sizes: Measure inner diameter and consult a ring size chart. Validate with a known ring for reliability.
Resolving Units, DPI, and Pixel Math (Optional)
If your app supports raw pixel measurement or if you’re building a quick internal tool, you can convert pixels to millimeters using display density. However, device-reported values may vary by model and zoom settings, so calibration is still recommended.
// Convert pixels to millimeters given known PPI
mm = px * 25.4 / PPI

// Example: if your screen is 460 PPI and object is 200 px
// mm = 200 * 25.4 / 460 ≈ 11.04 mm
Because PPI can differ and operating systems sometimes use logical points instead of physical pixels, validate your result against a known object to ensure real-world accuracy.
Common Errors and How to Avoid Them
- Parallax: Looking at an angle makes the object seem shorter. Always view directly above the zero line.
- Soft edges: Fuzzy shadows and reflections hide the true edge. Use diffuse light and a matte background.
- Uncalibrated scales: Trust but verify. Check your phone ruler against a credit card or verified ruler before critical measurements.
- Screen curvature or protector thickness: Modern screens are flat, but thick protectors can add tiny visual offsets. Re-check after installing a new protector.
- Object not flat: Slight tilts can shorten apparent length. Tap the object flat or switch to a camera method with perpendicular alignment.
How Precise Can You Get?
With a well-calibrated screen ruler and careful technique, expect repeatable results around ±0.2–0.5 mm for small, flat parts up to the size of your display. Camera/AR methods often land around ±1–3 mm, depending on distance, lighting, and lens distortion. The photo + scale method usually sits in between, with ±0.5–1 mm typical when executed carefully.
Workflow Checklist for Reliable Results
- Decide the method that matches your accuracy target.
- Calibrate or validate with a known reference (credit card works great).
- Ensure strong, even lighting and high-contrast edges.
- Use a protective paper layer on the screen for metal objects.
- Align precisely and look straight down; re-measure at least once.
- Document your result with a quick photo if you’ll need to share or repeat.
FAQ
Is it safe to place metal objects on my screen?
Use a thin sheet of paper or a screen protector to avoid scratches. Avoid dragging sharp edges across glass.
Can I measure curved or flexible objects?
Yes. For cords or irregular shapes, lay them flat along the on-screen scale. For curved surfaces, use a string to follow the contour, then measure the string length.
What if my app won’t calibrate?
You can still validate. Measure a known reference and note the error percentage. Apply that correction to your readings.
How do I measure thickness?
Thickness is hardest with a screen ruler. Use the camera with a side view and a known scale, or compare against feeler gauges. Alternatively, measure weight and dimensions to estimate if you know material density, though that’s more involved.
Bottom Line
You can confidently measure small objects with a phone ruler when you pick the right method, calibrate against a known reference, and control lighting and viewpoint. For flat, tiny parts, the screen ruler is fastest and most precise. For taller or larger pieces, switch to camera or photo methods with a reference scale. A little preparation—perpendicular alignment, protective paper, and a quick validation step—goes a long way toward sub-millimeter results.
Note: If you prefer an offline iOS toolkit that includes a screen ruler alongside a level, compass, barometer, and other measurement aids, the Level Tool app provides an integrated, no-subscription option.
