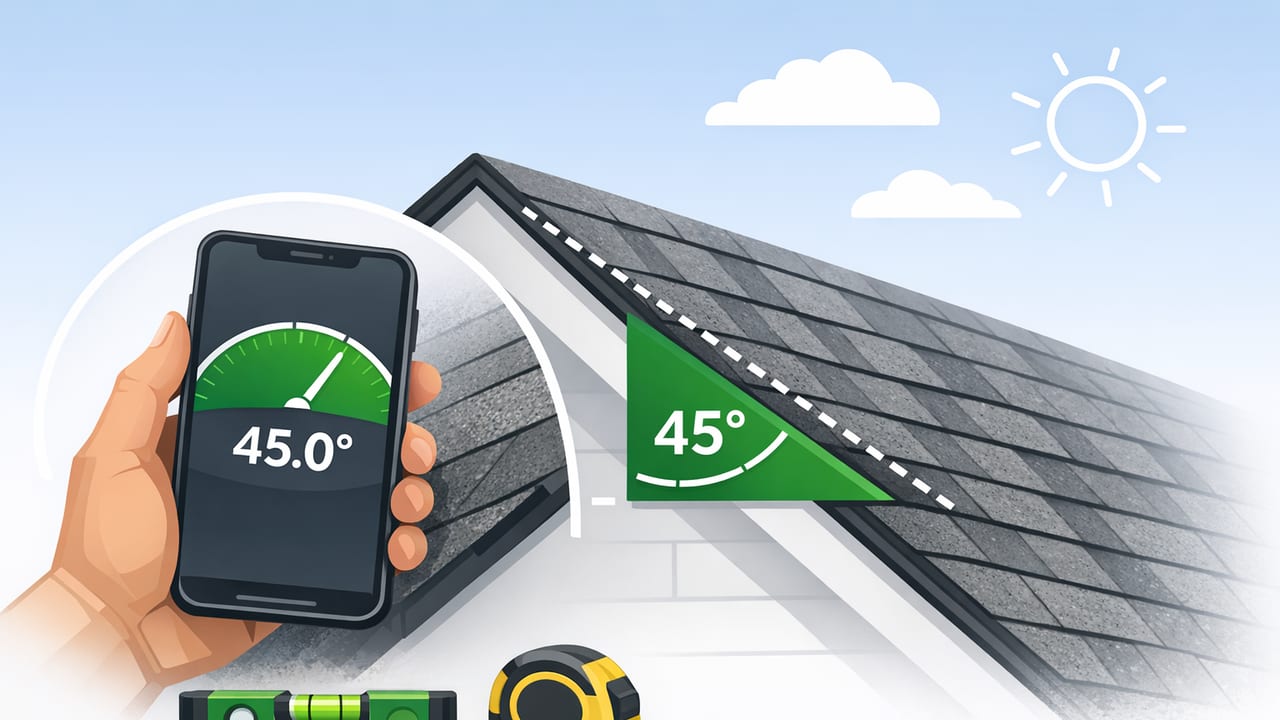
Knowing your roof pitch (also called roof slope) helps with everything from estimating shingles and underlayment to choosing the right flashing, gutters, ladders, and safety gear. The good news: you can measure roof pitch using phone angle finder tools (a phone inclinometer/angle gauge) with surprisingly high accuracy—if you use the right method and avoid common mistakes.
This guide explains multiple safe ways to measure pitch, when to measure from the ground vs. the roof surface, and how to convert an angle reading (degrees) into standard roofing pitch (rise over 12).
What roof pitch means (and why it matters)
Roof pitch describes how steep a roof is, typically expressed as:
- Pitch: rise in inches for every 12 inches of run (e.g., 6/12).
- Angle: roof slope in degrees (e.g., 26.6°).
Why you may need it:
- Material planning: steeper roofs need more surface-area coverage than the footprint suggests.
- Compatibility: some roofing materials have minimum slopes.
- Water shedding & snow load: pitch affects drainage and buildup risk.
- Safety: pitch informs ladder choice, roof anchors, and whether you should stay off the roof.
Safety first: choose a method that keeps you off the roof when possible
Measuring pitch can be done without walking on the roof. If you must climb, use proper fall protection. A phone is not worth a fall.
Quick safety checklist
- Work in dry, low-wind conditions.
- Use a stable ladder on firm ground; maintain 3 points of contact.
- Wear non-slip footwear.
- Keep your phone secured (wrist strap or zipped pocket).
- If the roof is steep (commonly > 7/12) or high, measure from the attic or ground instead.
Before you start: what you need
- An iPhone with an angle finder/inclinometer (tilt meter) feature.
- A straight edge (optional but helpful): a level, a rigid ruler, or a straight board.
- Paper/notes to record degrees and pitch.
Tip: If your measurement app works offline, that’s ideal for roofs and job sites with weak reception.
Method 1 (recommended): Measure from the attic using the rafter
This is often the safest and most accurate way to measure roof pitch using phone angle finder, because you’re reading the roof’s slope directly from structural framing.
Steps
- Find a rafter or top chord in the attic. Pick a section you can access safely.
- Open your phone’s angle finder and set it to measure degrees (0–90°).
- Place the phone flat against the rafter (or against a straight board held flush to the rafter). Make sure the phone isn’t rocking on nails, fasteners, or texture.
- Hold still and record the angle. Take 2–3 readings in nearby spots and average them.
- Convert degrees to pitch (see conversion methods below).
Why this works well
- No shingle texture or granules to throw off the phone’s contact.
- Minimal wind and less risk of dropping the phone.
- Rafters typically represent the true roof plane.
Method 2: Measure directly on the roof surface (only if safe)
If you can safely access the roof, this is straightforward. However, surface texture and phone case shape can introduce small errors.
Steps
- Find a clear spot on the roof plane away from ridges, hips, and valleys.
- Remove or flatten bulky phone cases that prevent full contact.
- Lay the phone flat with the long edge aligned up/down the slope (toward ridge to eave).
- Read the angle, then repeat in a second spot and average.
Accuracy tip
For better contact, place a straight board on the shingles and rest the phone on the board. This bridges shingle tabs and reduces rocking.
Method 3: Ground/ladder method using a straight edge (safer alternative)
If you can’t access the attic and don’t want to get on the roof, you can still measure roof pitch using phone angle finder by measuring the angle of a straight edge aligned with the roofline.
Steps
- From a ladder (set safely), hold a long straight board so it visually matches the roof’s slope (aligned with the rake edge or the fascia line when possible).
- Place your phone on the board and read the angle.
- Repeat and average.
Note: This method depends heavily on how well you align the board with the true roof plane, so it’s best for approximate pitch.
Convert the angle (degrees) to roof pitch (X/12)
Most angle finders show degrees. Roofers often talk in X/12 pitch. Here are three easy ways to convert.
Option A: Use a conversion table (fastest)
| Angle (degrees) | Approx. Pitch (rise/12) | Common name |
|---|---|---|
| 18.4° | 4/12 | Low-to-moderate |
| 22.6° | 5/12 | Moderate |
| 26.6° | 6/12 | Standard |
| 30.3° | 7/12 | Steep |
| 33.7° | 8/12 | Steeper |
| 36.9° | 9/12 | Very steep |
| 45.0° | 12/12 | 45-degree |
Option B: Use the formula (most precise)
Pitch (rise per 12) relates to angle by the tangent function:
Rise per 12 = tan(angle) × 12
Example: if your phone reads 26.6°, then tan(26.6°) ≈ 0.5. Multiply by 12 and you get 6, so the roof is about 6/12.
Option C: A tiny calculator snippet (if you want to automate)
You can paste this into any browser console (or a simple page) to convert degrees to rise/12:
// Convert angle in degrees to rise per 12 (pitch)
function pitchFromDegrees(deg) {
  const rad = deg * Math.PI / 180;
  return Math.tan(rad) * 12;
}

console.log(pitchFromDegrees(26.6).toFixed(2)); // ~6.00
Round the result to the nearest whole number for common pitch notation (e.g., 6.02 becomes 6/12).
How to improve accuracy (common mistakes to avoid)
1) Not zeroing/calibrating
Many errors come from assuming the phone is perfectly calibrated. Before measuring, set your angle finder to 0.0° on a known level surface (like a quality bubble level or a countertop you’ve verified). If you can’t calibrate, take readings in multiple spots and average.
2) Measuring the wrong direction
Make sure the phone is aligned up-and-down the slope (ridge to eave). If you measure across the roof (left-right), you’ll read something closer to 0° and get the wrong pitch.
3) Rocking on shingles, ribs, or fasteners
Textured surfaces can tilt the phone slightly. Use a straight board as a stable platform when measuring on roofing material.
4) Confusing pitch with rise/run of the whole house
Roof pitch is based on the roof plane, not the overall building height. If you try to estimate pitch from “how tall it looks,” you’ll be off—especially on complex roofs.
5) Measuring near valleys/hips
Valleys and hips are intersection lines, not the primary roof plane. Measure on a clean section of the plane you’re trying to match.
What pitch numbers mean in practical terms
- 2/12 to 4/12: low slope; materials and waterproofing details matter more.
- 5/12 to 7/12: common residential range; generally easier for standard installation.
- 8/12 and above: steep; higher fall risk and typically slower installation.
If your phone reads around 45°, that’s about 12/12—a notably steep roof that many DIYers should avoid walking without proper equipment.
Quick workflow: from reading to final pitch
- Pick the safest method (attic > ground/ladder > roof surface).
- Calibrate/zero your angle finder.
- Take 3 readings and average.
- Convert degrees to rise/12 using the table or tan(angle)×12.
- Round to the nearest standard pitch (e.g., 5/12, 6/12, 7/12).
FAQ
Is a phone angle finder accurate enough for roof pitch?
For most DIY estimating and planning, yes—when you use a stable contact surface and repeat readings. For critical work (engineering, structural changes, or warranty-sensitive installs), confirm with professional tools or documentation.
Can I measure pitch without climbing at all?
Often yes: the attic rafter method avoids roof access. If the attic is inaccessible, a carefully aligned straight edge from a ladder can provide a reasonable estimate.
What if my readings vary by 1–2 degrees?
That’s common on textured or uneven contact points. Average multiple readings and use a board to stabilize the phone. Even a 2° difference can shift the pitch estimate by roughly a full “/12” step on some slopes.
Final tip: choose an offline tool you can trust
When you’re on a ladder, in an attic, or on a remote property, offline functionality matters. If you want a single iOS toolkit that includes an angle/level function alongside other measurement utilities, Level Tool is one example that bundles multiple sensor-based tools in an offline app.
