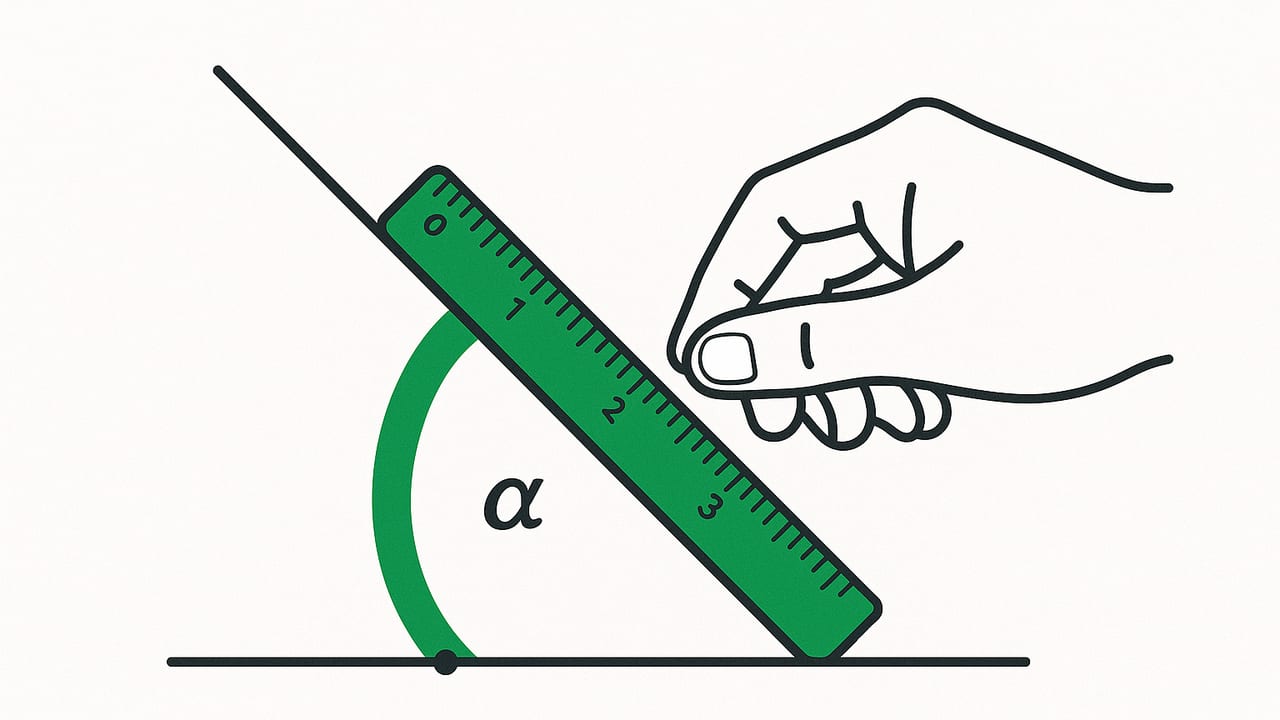
Don’t have a protractor or digital gauge on hand? You can still measure angles accurately using nothing more than a handheld ruler and a bit of geometry. Whether you’re tackling a DIY project, checking a roof pitch, laying out a stair stringer, or verifying a cut in the field, the techniques below convert straight-line measurements into degrees using reliable, repeatable steps.
This guide covers five practical approaches—tangent (rise/run), the classic 3-4-5 triangle, a chord-and-arc trick, an equal-offset technique with the law of cosines, and a simple pitch-to-degree conversion. Use the method that best matches your situation and the tools you have available.
What you can (and can’t) do with just a ruler
A ruler measures length, not angles. The key idea is to turn the angle you care about into a triangle you can measure. Once you have sides, trigonometry gives you the angle. The trade-off: precision depends on how carefully you draw, mark, and measure. Longer baselines (within reason), sharp pencil lines, and millimeter-scale readings dramatically improve accuracy.
Below, you’ll see several ways to measure angles with handheld ruler setups. Some require marking a reference line; others use known triangles or arcs. Choose the simplest method that fits your material and workspace.
Method 1: Tangent (Rise/Run) — The Fast Field Method
This is the quickest way to measure an angle formed by a line (or edge) relative to a horizontal or vertical reference. It’s ideal for slopes, ramps, or any straight edge whose steepness you can sample over a distance.
- Draw or visualize a right triangle using the angle’s line as the hypotenuse. From a point on that line, drop a perpendicular down to a level (or vertical) reference to create a right angle.
- Measure the run (horizontal distance) and the rise (vertical distance) with your ruler.
- Compute the angle with θ = arctan(rise/run).
Example: If over a 200 mm run your line rises 80 mm, then θ ≈ arctan(80/200) = arctan(0.4) ≈ 21.8°.
Not using a calculator? The quick-reference table below gives common ratios you can aim for while laying out measurements.
Quick tangent reference
| Angle (°) | tan(θ) | Rise:Run (approx.) |
|---|---|---|
| 10 | 0.176 | 18:100 |
| 15 | 0.268 | 27:100 |
| 22.5 | 0.414 | 41:100 |
| 30 | 0.577 | 58:100 |
| 36.87 | 0.750 | 3:4 |
| 45 | 1.000 | 1:1 |
| 53.13 | 1.333 | 4:3 |
| 60 | 1.732 | 173:100 |
Tip: For better accuracy, measure a longer run (e.g., 300–600 mm) as long as the line remains straight and you can measure the rise precisely.
Method 2: The 3-4-5 Triangle (Pythagorean Field Trick)
The 3-4-5 triangle is a jobsite favorite because it’s easy to lay out and guarantees a right triangle. Once you have a right triangle, the other two angles are fixed at approximately 36.87° and 53.13°.
- From the angle’s vertex, mark 3 units along one ray and 4 units along the other (units can be centimeters, inches, or any consistent length).
- Connect those two marks. If that connecting segment measures 5 units, you’ve formed a precise 3-4-5 triangle.
- The angle opposite the side of length 3 is about 36.87°. The angle opposite the side of length 4 is about 53.13°.
Why it works: 3² + 4² = 5². Any scaled multiple (e.g., 6-8-10) works the same. This is excellent for checking squareness and creating known angles without a protractor.
Method 3: Chord-and-Arc (No Protractor Needed)
If you can draw an arc, you can recover the angle from two length measurements—radius and chord—using a simple formula. This is a clever workaround when you want the angle at a point and have room to swing an arc.
- Place the arc’s center at the angle’s vertex. With any convenient radius R, mark an arc that intersects both rays.
- Measure the straight-line distance between the intersection points on the arc. That distance is the chord length c.
- Compute the angle with θ = 2 × arcsin(c / (2R)).
Example: If R = 100 mm and the chord between arc intersections is c = 120 mm, then θ = 2 × arcsin(120/200) = 2 × arcsin(0.6) ≈ 2 × 36.87° = 73.74°.
Pro tip: For the arc, you don’t need a compass; you can fix your ruler at the vertex and sweep a steady radius using a pencil at a chosen mark on the ruler. Keep the radius consistent for both intersections.
Method 4: Equal Offsets + Law of Cosines (Angle Between Two Lines)
When you’re measuring the angle between two lines that meet at a point (think interior trim corners, odd wall junctions, or pipe joints), this technique is robust and doesn’t require vertical/horizontal references.
- From the vertex, mark the same distance a along each line (e.g., 150 mm). Call these points P and Q.
- Measure the straight-line distance c between P and Q.
- Use the law of cosines: cos θ = (a² + a² − c²) / (2a²) = 1 − (c²)/(2a²), so θ = arccos(1 − c²/(2a²)).
Example: If a = 200 mm on both rays and c = 260 mm, then cos θ = 1 − (260²) / (2 × 200²) = 1 − 67600/80000 = 1 − 0.845 = 0.155. Thus θ ≈ arccos(0.155) ≈ 81.1°.
This method shines for obtuse angles where rise/run is awkward, and it avoids the need to locate a level reference.
Method 5: Convert Slope, Pitch, or Percent Grade to Degrees
Carpenters and roofers often work in pitch (rise per 12 inches) or percent grade (rise per 100 units). You can convert to degrees using tangent again.
- From pitch (in per foot): θ = arctan(pitch / 12)
- From percent grade (%): θ = arctan(percent / 100)
| Pitch (in/ft) | Angle (°) |
|---|---|
| 3:12 | 14.0° |
| 4:12 | 18.4° |
| 5:12 | 22.6° |
| 6:12 | 26.6° |
| 8:12 | 33.7° |
| 10:12 | 39.8° |
| 12:12 | 45.0° |
These values are rounded; measuring a longer baseline and reading carefully will reduce your error before conversion.
Accuracy tips for ruler-only angle measurements
- Go long (within reason): The longer your run or radius, the smaller the percentage error from a given reading uncertainty.
- Use millimeters: Metric subdivisions are smaller and easier to read consistently than fractional inches.
- Mark sharply: Use a fine, hard pencil and a straightedge. Avoid thick marker lines that shift readings.
- Avoid parallax: Keep your eye directly above the measurement marks to avoid reading skew.
- Measure twice: Repeat from a second baseline or swap which side you call “rise” and “run” to confirm consistency.
- Check squareness: For rise/run, make sure your vertical and horizontal are truly perpendicular (use a known square edge if possible).
- Average results: Take multiple measurements and average the angles for better reliability.
Field rule: doubling the baseline halves your angular error—so long as the line is straight and you can keep your measurements crisp.
Worked example: Measure a stair stringer angle
Goal: Find the angle of a stair stringer relative to the floor using only a ruler.
- Lay the stringer on a flat surface. Choose two points along the bottom edge of the stringer that are 300 mm apart horizontally (your run).
- At the second point, measure the perpendicular height up to the sloped top edge of the stringer. Suppose the rise is 165 mm.
- Compute θ = arctan(165/300) ≈ arctan(0.55) ≈ 28.8°.
- For a cross-check, extend to 600 mm run and re-measure rise. If you read 330 mm (same ratio), you’ll confirm the same angle within reading error.
Now you can set saw bevels or layout marks based on the computed angle, even without a protractor.
Quick reference: Formulas and a tiny helper
// Given rise (opposite) and run (adjacent)
θ = arctan(rise / run)

// Given equal offsets a on both rays and chord c between them
θ = arccos(1 - (c*c) / (2*a*a))

// Given chord c and radius R from an arc centered at vertex
θ = 2 * arcsin(c / (2*R))

// Pitch in inches per foot
θ = arctan(pitch / 12)

// Percent grade G%
θ = arctan(G / 100)
If you like a minimal calculator, you can paste this into a browser console:
// Tangent method
function angleFromRiseRun(rise, run) {
  return Math.atan(rise / run) * 180 / Math.PI;
}

// Equal-offset cosine method
function angleFromEqualOffsets(a, c) {
  return Math.acos(1 - (c*c) / (2*a*a)) * 180 / Math.PI;
}

// Chord-and-arc method
function angleFromChordRadius(c, R) {
  return 2 * Math.asin(c / (2*R)) * 180 / Math.PI;
}
Choosing the right method (and when to switch tools)
- Use tangent (rise/run) for slopes, ramps, and edges relative to level or plumb.
- Use 3-4-5 when you need a guaranteed right angle or one of its complementary angles.
- Use chord-and-arc when you can swing an arc from the vertex and want the included angle directly.
- Use equal offsets + law of cosines for arbitrary angles between intersecting lines where level references are impractical.
- Use pitch/grade conversions in roofing, ramps, and roadwork where ratios are standard.
There are limits to ruler-only methods—surface irregularities, cramped spaces, and tiny baselines can inflate error. When precision matters or time is tight, a protractor, sliding bevel with a digital readout, or an inclinometer app can save the day. If you prefer to verify your result digitally, the Level Tool app on iOS includes an offline bubble level and ruler you can use to cross-check your measurements without subscriptions.
FAQ
Can I really measure angles with handheld ruler accuracy?
Yes—expect a couple of degrees of accuracy with careful layout and longer baselines. With practice and consistent technique, sub‑degree results are possible for clean, accessible edges.
What if I need 0.5° or better?
Use longer baselines, repeat and average, and consider switching to a bevel gauge plus a digital inclinometer for verification.
Is there a fastest method?
For most tasks, tangent (rise/run) is fastest. The equal-offset method is best for corners where a level reference is hard to establish.
Armed with these techniques, you can confidently measure angles with handheld ruler methods anywhere you can draw and measure straight lines—and know when it’s worth switching to a dedicated tool.
