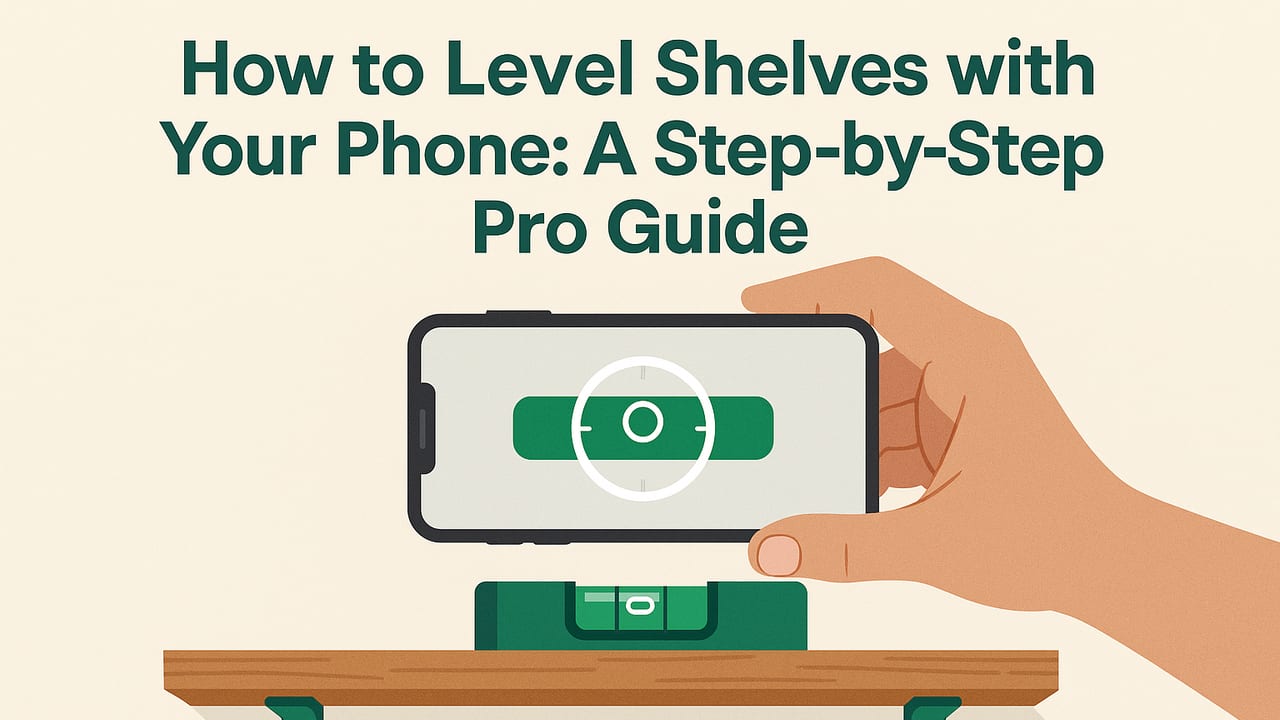
If you’ve ever hung a shelf only to see objects slowly slide to one side, you know how unforgiving gravity can be. The good news: you don’t need a dedicated spirit level to get professional results. This guide explains how to level shelves with phone tools you already have, covering calibration, layout, mounting techniques, and accuracy so your shelves stay straight and secure.
How Your Phone Works as a Precision Level
Modern smartphones contain accelerometers and gyroscopes that measure small changes in orientation. A leveling app converts those sensor readings into angles (degrees) along two axes:
- Pitch (front-to-back): Ensures a shelf doesn’t slope toward or away from the wall.
- Roll (left-to-right): Keeps the shelf visually straight and functionally flat across its width.
When calibrated and used correctly, the phone’s bubble level or numeric inclinometer can be precise to within a few tenths of a degree—good enough for cabinetry, floating shelves, and most DIY projects.
Pro tip: Always verify both axes. A shelf can look level left-to-right and still tilt forward if pitch is off.
What You’ll Need
- Smartphone with a reliable leveling app
- Pencil, tape measure, masking or painter’s tape
- Drill/driver, bits, and necessary screws
- Stud finder (or alternative locating method)
- Wall anchors suited to your wall type and load
- Straightedge or the shelf board itself
- Personal protective equipment (safety glasses, dust mask)
Step-by-Step: How to Level Shelves with Phone Accuracy
1) Plan height, span, and load
Sketch the shelf location and measure clearances. Estimate the heaviest load you’ll place on the shelf. This determines fastener type and whether you must hit studs or can use anchors. Common spans are 24–48 inches; longer spans demand stronger brackets or thicker shelves.
2) Find studs or choose proper anchors
- Studs: Use a stud finder to locate framing. Confirm by driving a small test nail in an inconspicuous spot and patching afterward if needed.
- Drywall anchors: For light loads, use quality toggle or self-drilling anchors; avoid basic plastic anchors for anything heavy.
- Masonry walls: Use masonry bits and sleeve or wedge anchors designed for brick or concrete.
Tip: Lightly run a strong magnet along the wall to pick up screw heads in studs behind drywall—helpful if a stud finder is inconclusive.
3) Calibrate your phone level
For best results, calibration matters:
- Remove thick cases or magnetic accessories that can tilt or influence sensors.
- Place the phone on a verified flat surface (countertop or a known straight board). Zero the app if it allows “Set 0°.”
- Flip the phone 180° on the same surface and confirm readings match. If not, recalibrate.
Environment matters too. Avoid vibrating surfaces, extreme temperatures, and strong magnets while calibrating.
4) Mark a level reference line
- Tape a strip of painter’s tape at the approximate shelf height to protect the wall and improve pencil visibility.
- Hold a straightedge against the wall at the target height. Place your phone (level app open) on top of the straightedge.
- Rotate the straightedge until the phone reads 0.0° left-to-right. Trace a light line. This is your horizontal reference.
If you don’t have a straightedge, you can place the phone directly against a smooth, flat-backed bracket.
5) Mount the first bracket
- Position the first bracket so its top aligns with the reference line.
- Pre-drill holes. For studs, use a bit slightly smaller than the screw shank; for anchors, follow the anchor’s instructions.
- Fasten the bracket but leave a touch of adjustability so you can fine-tune before fully tightening.
Check the bracket’s top with your phone; shim if the wall is uneven so the bracket sits truly level.
6) Level to the second bracket
- Place the shelf board or a straightedge across the first bracket, extending to where the second bracket will go.
- Set the phone on the board. Adjust the second bracket’s height until the phone reads 0.0° left-to-right (roll). Mark holes.
- Pre-drill and mount the second bracket. Recheck the reading before fully tightening fasteners.
For floating shelves with hidden hardware, use the same method: hold the internal mounting rail in place, set a straightedge across, and dial in 0.0°.
7) Verify front-to-back pitch
Place your phone on the shelf board near the front edge and then near the back edge:
- If pitch is off (tilted forward/backward), shim behind brackets or adjust the mounting rail until pitch reads 0.0°.
- Small intentional back-tilt (about 0.1–0.2°) can help keep lightweight items from creeping forward, but keep it subtle.
8) Secure, recheck, and finish
Fully tighten fasteners, then recheck both axes. Install any remaining brackets for longer shelves, repeating the straightedge and 0.0° process. Finally, erase stray pencil marks and remove tape.
How Flat Is “Flat Enough”? Practical Tolerances
A minor tilt is rarely visible, but it can affect how objects sit. Use these guidelines for typical interior shelves:
| Shelf span (left-to-right) | Max roll (°) | Equivalent mm per meter | Notes |
|---|---|---|---|
| ≤ 24 in (≤ 610 mm) | ±0.3° | ≈ 5.2 mm/m | Visually flat for most uses |
| 24–48 in (610–1220 mm) | ±0.2° | ≈ 3.5 mm/m | Good for decor, books |
| ≥ 48 in (≥ 1220 mm) | ±0.1–0.15° | ≈ 1.7–2.6 mm/m | Stricter for long spans |
Reference: 1° ≈ 17.45 mm per meter. Many leveling apps show hundredths of a degree; aim for 0.0° or close to it.
Calibration and Accuracy Best Practices
- Case off: Thick or uneven cases can introduce tilt. Remove it during leveling.
- Two-surface check: Verify by flipping the phone 180° on the same surface; readings should mirror within ±0.1°.
- Use a stable reference: A straight, rigid board works better than a flexible tape measure or bowed shelf.
- Avoid magnets: Magnetic mounts or accessories can interfere with sensors. Keep them away while leveling.
- Zero out rebound: Wait a second after moving the phone to let readings stabilize before marking or drilling.
Common Mistakes and How to Fix Them
- Bracket creep while tightening: Tighten in stages and recheck after each screw. Use a clamp to hold position if necessary.
- Trusting a bowed shelf: Always check against a known straightedge. If the shelf itself is crowned, measure on the front edge and flip the board to confirm.
- Ignoring pitch: Verifying only left-to-right leaves forward tilt unnoticed. Check both axes before calling it done.
- Relying on paint lines: Ceilings and trim aren’t guaranteed level. Use your phone level, not visual cues.
- Wrong anchors: Match anchors to wall type and load. If a hole is oversized, step up the anchor size or relocate slightly.
Advanced Techniques
Dual-axis leveling for corner or L-shaped shelves
Place the phone at multiple points—front left, front right, rear left, rear right. All should read near 0.0° for both pitch and roll. If readings differ, shim the lower corner(s) incrementally until both axes are within target tolerance.
Using a slope on purpose
Kitchen rails, plant shelves above sinks, or garage utility shelves can benefit from a slight back tilt (~0.1–0.2°) for safety. Mark your reference line at +0.2° rather than 0.0° if you want a subtle intentional slope.
Uneven walls and shimming
Older plaster and textured walls often cause tiny gaps. Pre-cut thin shims (card stock, plastic laminate offcuts, or dedicated wood shims) and place them behind brackets until your phone reads true level. Trim the excess with a sharp knife.
Phone vs. Traditional Tools
| Tool | Pros | Cons | Best use |
|---|---|---|---|
| Phone level | Always with you; dual-axis; fine-grained angles | Requires calibration; case can skew | General DIY, quick setups |
| Spirit level (24–48 in) | Rugged; visually intuitive bubble | Bulky to store; single-axis at a time | Long spans, carpentry |
| Laser level | Projects long, visible reference lines | Battery reliance; setup time; cost | Multiple shelves, room-wide alignment |
For a single shelf, a phone is typically sufficient, especially when you verify with a straightedge. For a wall of shelves, a laser saves time by maintaining a constant reference line.
Safety and Holding Power Basics
- Know your wall: Drywall over studs behaves differently than plaster, tile-on-drywall, or masonry. Choose anchors accordingly.
- Load path: Heavy loads belong in studs. For drywall-only installs, use high-quality toggles and keep loads moderate.
- Pilot holes: Correct pilot sizes prevent splitting wood shelves and improve screw grip in studs.
- Bracket rating: A perfectly level shelf can still fail if brackets are underrated. Check manufacturer specs.
Quick FAQ: Leveling Shelves with a Phone
Is a phone level accurate enough?
Yes, when calibrated and used on a straight reference, phones can achieve ±0.1–0.3°—plenty for DIY shelving.
Do I need internet access?
No. Leveling features work offline; sensor data is local to the device.
How do I avoid parallax or wobble?
Place the phone flat on a stable surface, keep hands off during readings, and wait a moment for the value to settle.
What if my wall isn’t flat?
Shim behind brackets until both axes read level. Check multiple points across the shelf.
Can I level shelves with phone and no straightedge?
You can place the phone directly atop each bracket or the mounting rail, but a straightedge spanning both supports gives more reliable results.
Putting It All Together
Learning how to level shelves with phone sensors is about process, not gimmicks: calibrate, create a true reference, mount the first support, then tune the others to match 0.0° across both axes. Verify after tightening, and remember that correct anchors and studs matter as much as perfect level. With a careful setup, you’ll get shelves that look clean, bear weight safely, and keep your items where you put them.
If you prefer an all-in-one iOS toolkit that includes a bubble level, dual-axis readouts, a ruler, compass, barometer, and even a metal detector—fully offline with no subscriptions—consider Level Tool as a compact, reliable option for your next project.
