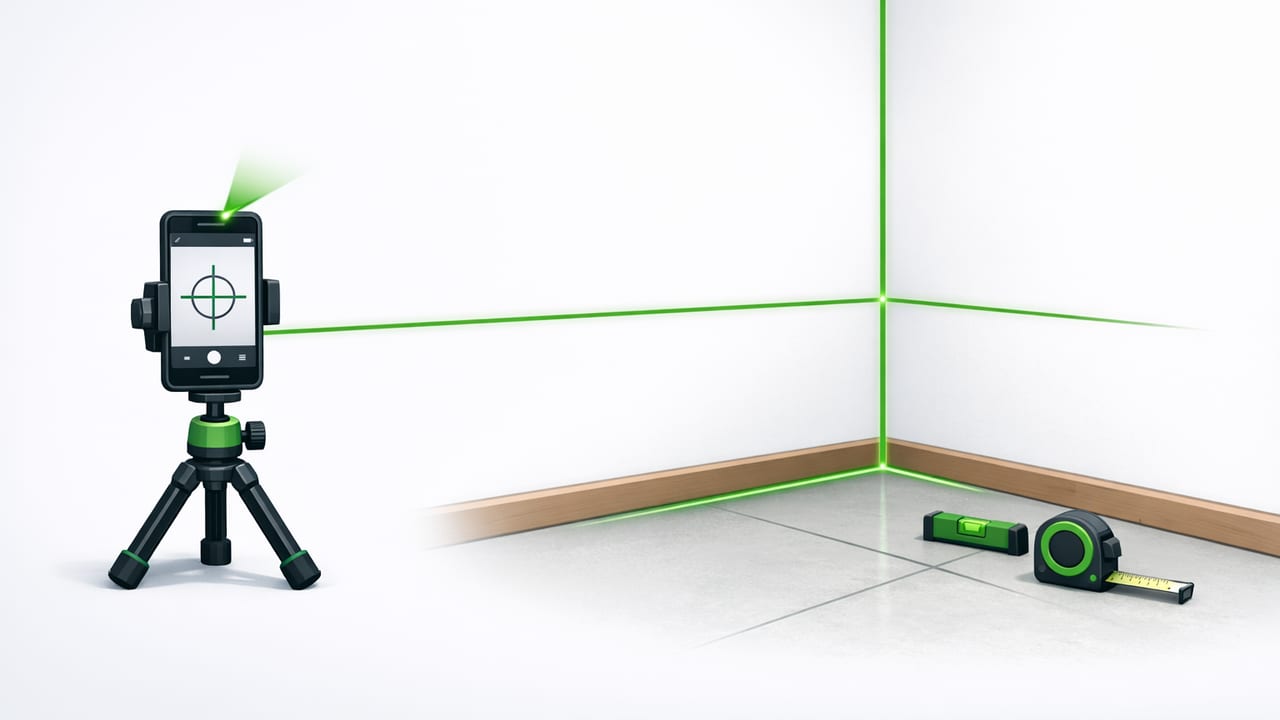
Getting a perfectly straight reference line is one of those small details that separates “good enough” from clean, professional-looking work. Whether you’re setting a row of tile, aligning cabinet hardware, squaring a backsplash, or marking stud locations, the ability to layout straight lines with a phone laser can save time, reduce rework, and help you work more confidently—especially when you don’t have a dedicated laser level on hand.
This guide explains a practical, repeatable workflow for using an iPhone’s sensors plus laser-style projection features (when available in an app) to create straight layout lines. You’ll also learn when this method is appropriate, how to improve accuracy, and how to avoid the most common mistakes.
What “phone laser” layout actually means
A dedicated laser line level projects a true optical line that stays straight over distance. A phone can’t replace that physics, but modern iPhones can do two helpful things:
- Measure level/plumb/angle using motion sensors (accelerometer/gyroscope) for reliable orientation.
- Visually project a reference on-screen (and sometimes via a “laser projection” style overlay or guided alignment) to help you transfer a straight line to a surface.
In practice, you use the phone to establish a level or plumb orientation, then you mark two points (or a series of points) and connect them with a straightedge, chalk line, or long ruler. The phone is the instrument for alignment; the final line is still drawn with a physical marking method.
When this approach works best (and when it doesn’t)
Great use cases
- Picture rails, gallery walls, and consistent frame alignment
- Cabinet pulls/knobs and hardware rows
- Backsplashes and small-to-medium tile layouts
- Shelving, cleats, and brackets
- Baseboard reference marks and trim transitions
- Quick layout checks on site (especially when offline)
Use caution for
- Long-distance layout (e.g., 20–30+ ft) where small angular errors accumulate
- High-stakes precision (structural framing, critical machine setups)
- Bright outdoor sunlight where screen-based alignment is hard to read
If you need long-range accuracy or a continuous visible line across a room, a dedicated laser level is still the right tool. But for many DIY and finish-work tasks, your phone can be surprisingly effective.
Tools and prep checklist
Before you start, gather:
- Your iPhone (ideally with a recent iOS version and healthy sensors)
- A measurement/level app that supports level/plumb and (optionally) a projection/alignment aid
- Painter’s tape (for mark points without damaging walls)
- Pencil or fine marker
- Straightedge: long level, aluminum ruler, or a straight board
- Optional: tripod, phone clamp, or a stable box to rest the phone against
Prep tip: Wipe dust off the phone and the surface. Dust or grit can make the phone “rock” slightly, changing the angle by a fraction of a degree—which matters over distance.
Step-by-step: layout straight lines with phone laser guidance
This workflow applies whether you’re making a level line (horizontal), a plumb line (vertical), or a specific angle (like stair rail brackets or a feature wall pattern).
1) Choose your reference: level, plumb, or a set angle
Decide what “straight” means for your project:
- Level: parallel to gravity (great for shelves, frames, tile rows)
- Plumb: vertical line (great for trim, cabinet alignment, wallpaper seams)
- Fixed angle: e.g., 45° for patterns or miters
2) Stabilize the phone like a tool, not like a camera
Handheld alignment is the #1 source of error. Do one of the following:
- Press the phone’s flat edge firmly against a straightedge (a level or ruler).
- Rest it on a stable surface (countertop, stool, or a box) and avoid touching it once aligned.
- Use a tripod/phone clamp if you need repeatability.
Even a tiny wrist movement can shift your line by several millimeters across a few feet.
3) Calibrate quickly (30 seconds that saves you later)
If your app provides calibration, do it. If not, use a simple “flip test”:
- Place the phone on a flat surface and note the reading (e.g., 0.0°).
- Rotate the phone 180° in the same spot.
- If the readings don’t match (equal and opposite, or both near zero depending on mode), your setup isn’t stable or the surface isn’t flat.
This is especially important when you’re relying on the phone to create a straight layout line rather than just checking one.
4) Set your first point (Point A)
Pick a starting location and mark it. For walls, put a small piece of painter’s tape and mark on the tape. This keeps your line crisp and easy to adjust.
5) Use the phone’s alignment aid to establish direction
Open your level/angle tool and align to:
- 0.0° for level
- 90.0° (or “plumb” indicator) for vertical
- Your target angle for patterns
If your app includes a laser-style projection or guided overlay, use it to keep the phone at the exact angle while you extend the line direction across the surface.
6) Create a second point (Point B) at distance
Move along your intended line and mark a second point. The farther apart your points, the straighter your final line will be—as long as your alignment is stable.
Rule of thumb: Aim for at least 3–6 ft (1–2 m) between Point A and Point B for wall work, and 12–24 in (30–60 cm) for small parts or hardware templates.
7) Connect points with a physical straight line
Use one of these methods:
- Straightedge: align to Point A and Point B and draw.
- Chalk line: best for long runs (floors, large walls).
- Laser cross-check: if you also own a laser level, use it to verify (not required).
This final step is what makes the line truly “real” on the material.
Accuracy: how small angle errors turn into big offsets
When laying out straight lines, tiny angle errors grow with distance. This quick estimate helps you decide whether phone-based layout is suitable for your run length:
offset ≈ distance × tan(angle_error)

Example:
Distance = 8 ft (96 in)
Angle error = 0.3°
Offset ≈ 96 × tan(0.3°) ≈ 96 × 0.00524 ≈ 0.50 in
Half an inch is huge for tile or hardware alignment. The takeaway: stabilize the phone, keep distances reasonable, and use the two-point method instead of trying to “eyeball” a line from the screen alone.
Practical project workflows
1) Cabinet hardware row (pulls/knobs)
- Mark the desired height on the first door/drawer (Point A).
- Use your phone to establish a level line and mark Point B on the next cabinet face.
- Connect the marks with a straightedge (on painter’s tape) and transfer hole centers with a template.
Tip: For repeated installs, create a cardboard or acrylic jig once your line is confirmed.
2) First course of backsplash tile
- Measure up from the countertop at several spots to find the highest point.
- Set Point A slightly above that high point so the first row doesn’t dip.
- Use the phone to set Point B level across the run, then snap a chalk line or draw with a long level.
This prevents a “wave” in the tile line caused by an out-of-level countertop.
3) Gallery wall baseline
- Decide baseline height (e.g., 57 in to center, or a consistent top edge).
- Mark Point A, then use phone alignment to set Point B across the wall.
- Draw the baseline lightly; measure frame offsets from it.
Comparison table: phone-based layout vs other methods
| Method | Best for | Pros | Limitations |
|---|---|---|---|
| Phone level + two-point mark | Small/medium layout lines | Always with you, fast, offline capable | Needs stabilization; errors grow with distance |
| Chalk line | Long straight runs | Very straight, quick across floors/walls | Messy; needs two anchor points |
| Long spirit level / straightedge | Finish carpentry, short runs | Simple, reliable, no batteries | Limited by tool length; needs a good straightedge |
| Laser line level | Room-scale alignment | Continuous visible line, great for solo work | Extra cost; battery dependence; visibility issues in bright light |
Troubleshooting: common problems and fixes
- My line is “straight” but ends up drifting. Use a longer point spacing (A–B), stabilize the phone, and redraw using a straightedge.
- The reading jumps around. Get off soft surfaces (carpet, padding). Avoid touching the phone while marking. Remove bulky cases that rock.
- The wall isn’t flat. Mark points on tape and connect with a rigid straightedge bridging minor texture.
- I need parallel lines (e.g., tile spacing). Make one confirmed baseline, then measure perpendicular offsets at multiple spots and connect points.
Safety notes for DIY layout
Accuracy is important, but safe positioning matters more—especially when marking high walls or ceilings.
- Don’t overreach on ladders to “keep the phone aligned.” Move the ladder instead.
- For drilling lines (hardware, anchors), verify behind-wall hazards and local building guidance.
- Use painter’s tape for marks on finished surfaces to avoid scratches.
FAQ
Can a phone truly replace a laser level?
For long-range, continuous projection across a room, no. But for many everyday layout tasks, a phone can create accurate reference lines when you use stable positioning and the two-point method.
How do I get the best results when using a phone laser-style feature?
Treat the phone like a measuring instrument: stabilize it, calibrate quickly, keep your line run reasonable, and always transfer the result to the surface with two marks plus a straightedge or chalk line.
Do I need internet for this?
No. Sensor-based leveling and angle measurement can work entirely offline, which is useful in garages, basements, job sites, or remote locations.
Wrap-up
If you want to layout straight lines with a phone laser approach, the winning formula is simple: stabilize the phone, verify alignment, mark two points, then connect them physically. That workflow is fast, repeatable, and accurate enough for a wide range of DIY and professional finish tasks.
If you’re looking for an offline iOS toolkit that combines leveling with multiple measurement utilities in one place, Level Tool is one option to explore.
