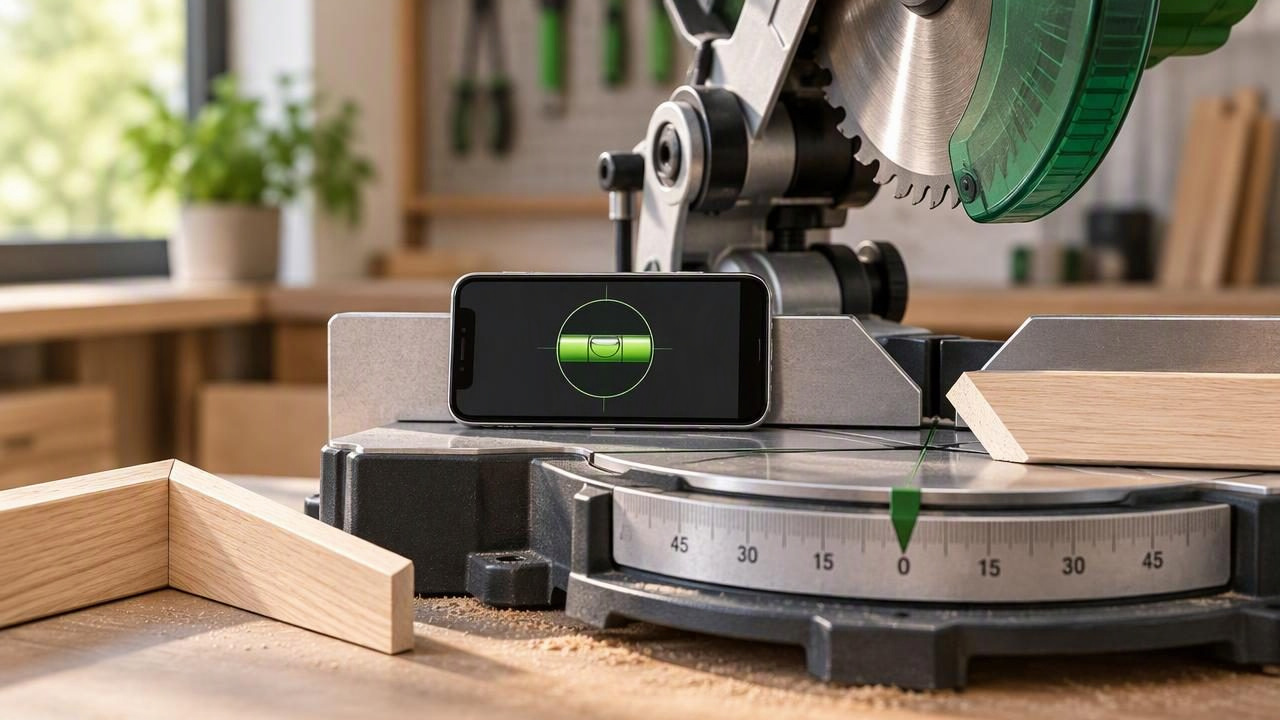
A clean miter cut depends on more than setting a saw to 45 degrees. The saw must sit steadily, the blade must be square to the table when appropriate, and the workpiece needs consistent support. A calibrated iPhone level can help check some of these setup angles and reveal changes between cuts. It cannot, however, directly measure every miter angle or replace a test cut.
The key is knowing what the phone’s sensors can tell you. An iPhone angle meter measures the device’s orientation in relation to gravity. That makes it useful for checking level surfaces and blade tilt, but turning a saw table left or right in the horizontal plane does not change its tilt relative to gravity. Use the phone as one part of a careful setup process, not as a substitute for the saw’s angle scale, a suitable square, or a test fit.
Know the difference between a miter and a bevel
A miter is the angle of a cut across the face of a board, usually set by rotating the saw table. A bevel tilts the blade away from vertical. A compound cut combines both movements.
This distinction matters when using an iPhone level. Because gravity provides the reference, an angle meter can help assess a blade’s tilt or whether a surface is level. It cannot tell you that a horizontally rotated saw table is exactly 45 degrees. For that setting, use the saw’s miter scale as a starting point, then verify the cut with an appropriate angle reference and a test piece.
What a calibrated iPhone level can help you check
- Saw stability: Check whether the saw’s base or supporting bench is tilted or rocks before making a cut.
- Blade bevel: With the saw unplugged, a suitable flat reference placed against the blade plate can help compare blade tilt with a target such as vertical.
- Repeatability: Take readings from the same surface and position before and after an adjustment to see whether the setup changed.
- Workpiece support: Check whether an extension or support surface is level with the saw table where that is appropriate for the task.
These checks are about orientation and consistency. They do not certify a saw’s accuracy, verify the full geometry of its fence, or guarantee that two pieces will meet without a gap.
Calibrate before using the angle reading
Calibration helps establish a useful reference for the phone’s measurement. Follow the app’s calibration instructions on a stable surface, and avoid calibrating while the phone is being held at an angle or resting on an uneven object. If the app offers a reference or zero setting, use a surface whose orientation you have a reason to trust.
- Choose a stable reference. Use a flat, stationary surface, such as a verified workbench or saw table. Remove dust, chips, and anything that could lift one edge of the phone.
- Position the phone consistently. Place it in the same orientation for each reading. A case with a raised camera bump, a flexible cover, or an uneven phone back can affect how it sits, so use a flat contact area or a consistent straightedge when needed.
- Set the reference. Calibrate or zero the angle meter according to its instructions. If you are checking level relative to gravity, do not redefine an unknown slope as zero and then treat that reading as true level.
- Check repeatability. Lift and replace the phone in the same spot. The readings should be reasonably consistent. If they vary, improve the contact, steady the surface, and repeat.
Calibration does not turn an iPhone into a certified measuring instrument. It establishes a practical reference for comparisons. The quality of the result still depends on the phone’s contact with the surface and the accuracy of the reference you choose.
Use the phone safely around a saw
Never place or adjust a phone near a moving blade. Before checking a blade or changing the saw setup, switch the saw off and disconnect it from power. Keep your hands clear of the teeth, and do not balance the phone on a narrow, unstable, or sharp surface.
For a blade-tilt check, use a stable, straight reference alongside the blade plate only if it can be positioned safely and securely. Keep the phone away from the teeth and do not force it against the blade. If the saw’s design does not allow a safe contact point, use the manufacturer’s recommended method and a suitable measuring tool instead.
A practical workflow for cleaner 45-degree trim miters
Imagine cutting two pieces of trim for an outside corner. Each piece needs a matching 45-degree cut, but a small setup error can leave the joint open. Use this sequence to separate setup problems from cutting problems:
- Stabilize the saw. Confirm that the saw is secure and that the supporting surface does not rock. Use the iPhone level on a suitable flat area to compare the surface with your chosen reference. The saw does not always need to be perfectly level to function, but it should be stable and consistently supported.
- Check the blade’s bevel position. If the cut is intended to be a standard flat miter with no bevel, check that the blade is set upright using the saw’s procedure and a suitable square or reference. A calibrated angle meter can help compare tilt, but it cannot establish the horizontal miter setting.
- Set the miter using the saw scale. Set the saw to the intended angle and lock it securely. Confirm that the workpiece sits flat against the table and fence. Clear debris from the contact surfaces; even a small chip can hold the board out of position.
- Make a test cut. Use offcuts from the same stock where possible. Bring the two test pieces together in the intended corner and inspect the joint. This checks the result of the complete setup, including the saw, stock, fence contact, and cutting technique.
- Adjust in small steps. If the joint is open, do not assume the iPhone reading identifies the cause. Check that the pieces were held consistently, that the saw angle stayed locked, and that the fence and material were clear of debris. Make a small adjustment, cut another test, and compare.
- Repeat the setup. Once the test joint fits, keep the saw setting locked and cut the final pieces with the same workpiece support and positioning.
For an inside corner or a corner that is not exactly 90 degrees, the required cut may differ from two 45-degree cuts. Measure the actual corner with an appropriate angle-finding method and calculate or transfer the required angles. Do not assume every room corner is square.
Improve consistency with repeatable contact
When checking a surface with a phone, contact is part of the measurement. Place the device on a clean, broad, flat area rather than across a groove, rounded edge, screw head, or pile of sawdust. Use the same phone orientation and the same location each time. If the reading changes when you move the phone, check for surface irregularities before deciding that the saw has shifted.
It can also help to record a baseline reading before making an adjustment, then check again afterward. Treat that as a comparison, not a precision guarantee. A phone may show that a surface changed or that a setup is repeatable without proving that the surface or cut is perfectly square.
Common mistakes to avoid
- Using a level reading as a miter reading. A level measures tilt relative to gravity; it does not directly read the saw table’s horizontal rotation.
- Skipping test cuts. A displayed angle is not the same as a verified joint. Test pieces expose errors before they affect finish stock.
- Trusting a poor contact surface. Dust, a case edge, an uneven phone back, or a raised feature can change how the device sits.
- Changing several variables at once. Adjust one factor, make another test cut, and compare. Otherwise, it is harder to identify what improved the fit.
- Ignoring the workpiece. Bowed stock, an inconsistent fence position, or a board that lifts during cutting can cause a poor joint even when the saw setting is unchanged.
When to use another measuring tool
Use a suitable square to check whether a blade is perpendicular to the table, and use an angle gauge, protractor, or the saw maker’s recommended method when you need to assess a horizontal miter setting. A test cut remains a practical way to confirm the fit of the actual pieces. For long stock, unusual corners, or work that requires a documented tolerance, choose tools and procedures suited to that accuracy requirement rather than relying on a phone alone.
An iPhone level is most useful for setup checks that relate to gravity, stable references, and repeatability. For a closer look at what an angle meter can measure and how to use it, see Level Tool’s guide to measuring angles with an iPhone. Used carefully alongside the saw’s controls, appropriate reference tools, and test cuts, a calibrated phone can help you troubleshoot setup without confusing blade tilt with miter rotation.
