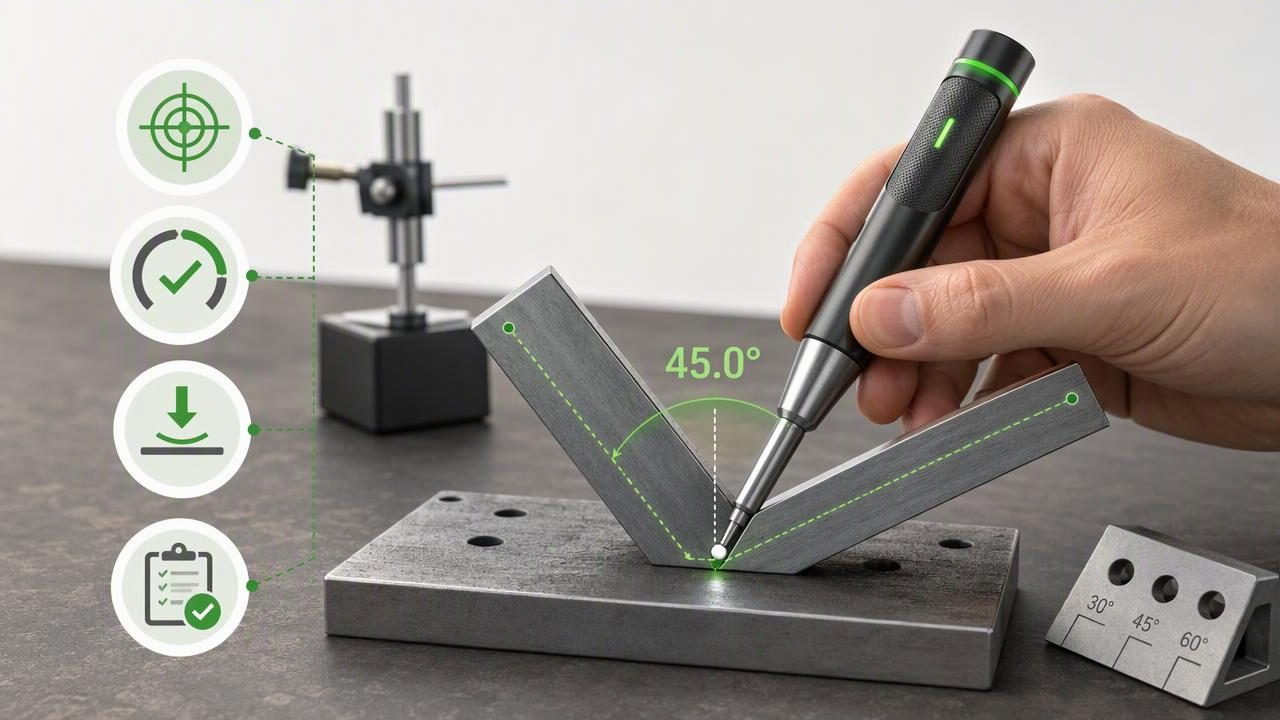
Knowing how to get accurate custom angles with a haptic level tool can make a major difference in DIY work. A shelf bracket may need a slight pitch for drainage, a ramp may need a consistent slope, or a decorative trim piece may need to match an existing angle rather than sit perfectly level. In each case, the goal is not always 0°.
An iPhone angle meter can help you work toward a chosen target angle, while haptic feedback can reduce the need to keep looking at the screen. However, accurate results depend on more than opening an app and placing the phone nearby. Proper calibration, stable contact, sensible tolerances, and repeated checks are what turn a reading into a useful measurement.
This guide explains a reliable method for setting and checking custom angles with a haptic level tool, including a practical example and the limitations to keep in mind.
What Is a Custom Angle?
A custom angle is any target that differs from the common level, plumb, or 45-degree reference points. It can be expressed in degrees, such as 3°, 12°, or 27°, and it may be measured relative to horizontal, vertical, or a reference surface.
Common DIY uses include:
- Setting a 2° to 3° slope on a window sill or outdoor ledge for water runoff.
- Matching the angle of an existing handrail before installing a new section.
- Checking the pitch of a ramp, access path, or garden feature.
- Positioning a drawing board, display stand, or work surface at a preferred tilt.
- Transferring an irregular angle from an existing structure to a new piece of material.
For a custom angle to be meaningful, you need to know the measurement reference. A reading of 5° may mean 5° from level, but it could also mean 5° from a surface you set as the reference. Before beginning, decide which interpretation applies to your job.
How Haptic Feedback Helps With Angle Work
Haptic feedback is a vibration cue from the phone. In a level or angle-meter workflow, it can notify you when the device reaches a target or enters an acceptable tolerance range. This is useful when your hands are occupied adjusting a bracket, shimming a cabinet, or holding a board in place.
Instead of watching the display continuously, you can make a small adjustment, pause, and feel for the confirmation. That can make positioning more controlled, especially when the screen is difficult to see in bright light or when the phone is resting against the workpiece.
Haptics are a convenience feature, not proof of precision. A vibration tells you that the current reading has met the tool's configured target conditions. It does not confirm that the phone is touching a flat surface, that the material is not moving, or that the selected reference is appropriate for the project.
Start With a Stable Measurement Setup
Phone sensors detect orientation, so the device must become part of the measuring setup. The most important habit is to place the iPhone in actual, stable contact with the surface or with a straight reference edge resting on that surface.
A phone case can introduce wobble or prevent the device from sitting flat. If the case has a raised camera area, grip, ring, or curved back, it may change the contact point and affect repeatability. Remove the case when practical, or use a straight, rigid board or known-flat straightedge as an interface between the phone and the workpiece.
| Setup factor | Why it matters | Better practice |
|---|---|---|
| Phone case | Raised features can tilt or rock the device. | Remove it or measure against a stable straightedge. |
| Dust or debris | A small object under the phone can alter the reading. | Clean both contact surfaces first. |
| Uneven material | Texture may not represent the overall surface angle. | Use a longer straight reference edge. |
| Hand movement | Motion can create changing sensor readings. | Pause until the reading settles before judging it. |
Calibrate Before Measuring a Custom Angle
Calibration aligns the app's reference with a surface you trust. It is especially important when you need to match an existing angle or when you are using a custom zero point instead of true level.
For a true-level reference, choose a surface that has already been checked with a dependable physical level or another suitable reference. For a matching task, you may deliberately set the existing surface as zero. The correct choice depends on whether you are trying to achieve level or reproduce an angle.
A Simple Reference Calibration Check
- Place the phone on the selected reference surface and allow the reading to settle.
- Set or confirm the reference according to the app's calibration controls.
- Turn the phone 180 degrees on the same spot without changing the surface.
- Compare the new reading with the first reading.
- If the results differ noticeably, inspect the contact points, remove the case, and repeat the process.
This reversal check does not create certified accuracy. It is a practical way to identify an unstable setup or an inconsistent contact surface before you commit to a cut, installation, or adjustment.
Set a Realistic Target and Tolerance
After calibration, enter or select the desired angle. Then consider the tolerance: the acceptable range around that target. A target of 3° with a tolerance of ±0.5° accepts readings from 2.5° through 3.5°.
A very tight tolerance may cause frequent haptic alerts to stop and start as the material moves slightly. A very wide tolerance may be convenient but unsuitable for fine fitting. Choose the tolerance based on the work, the material length, and the consequence of being off target.
- Rough outdoor drainage: A broader tolerance may be practical if the slope direction is correct.
- Shelving and furniture: A narrower tolerance is usually more appropriate for visible alignment.
- Trim matching: Focus on consistent angle transfer, then verify the physical fit before cutting.
When haptics are enabled, treat the vibration as a signal to stop adjusting and inspect the numerical reading. If the value is inside the intended range and remains stable, the position is more likely to be repeatable.
Concrete Example: Set a 3° Drainage Slope on a Window Sill
Suppose you are installing an exterior window sill and want a 3° outward slope to encourage water runoff. The sill is 180 mm deep, so even a small difference in height can affect the final angle.
- Place a straight, rigid reference edge along the sill's depth, from the indoor edge toward the outside edge.
- Put the iPhone flat against the reference edge rather than directly on rough or unfinished material.
- Calibrate using a known level surface first if your goal is a true 3° slope from horizontal.
- Set 3° as the target. For general installation work, a tolerance such as ±0.5° may be more workable than trying to hold an exact single value.
- Adjust shims or supports gradually until the haptic cue indicates the target range.
- Wait a moment, then read the displayed angle. Do not rely only on the vibration.
- Lift and reposition the phone or straightedge, then measure again in the same direction.
- Check at both ends of the sill to make sure a twist has not been introduced.
The final repeat check matters. A sill can show the correct slope in one location while being uneven across its width. If the left and right readings differ significantly, the issue may be surface twist rather than the front-to-back drainage angle.
Use Repeatability, Not One Reading, as Your Confidence Check
Repeatability means getting similar readings when you measure the same condition again. It is one of the most useful field checks available for phone-based measurement tools.
Take at least three readings. Reposition the phone between each reading, keep the same orientation, and record the values mentally or on paper. If the readings cluster closely around the target, your setup is likely stable. If they vary, investigate before changing the workpiece.
For practical DIY decisions, a consistent set of readings is usually more useful than chasing one perfect-looking number from an unstable setup.
Also measure in the correct direction. A surface can be accurate along its length but tilted sideways. Dual-axis checks are helpful for identifying unwanted cross-slope, particularly on shelves, platforms, cabinets, and RV surfaces.
Important Limitations of a Haptic Level Tool
An iPhone angle meter is useful for setup, alignment, and repeat checks, but it has limits. It should not replace specialized instruments or professional verification where regulated tolerances, structural safety, accessibility requirements, or formal inspection standards apply.
- It cannot confirm that a wall, board, or surface is flat internally.
- It cannot compensate for warped lumber, soft material, or an unstable support.
- It does not measure through a case, gap, or obstacle with the same confidence as direct contact.
- It is not a substitute for a survey-grade inclinometer, calibrated construction instrument, or code-required assessment.
- Haptic cues may be affected by device settings, so always make sure vibration feedback is enabled if you plan to use it.
For critical work, verify the result with an appropriate physical tool and follow applicable building requirements. For everyday DIY alignment, the strongest approach is careful setup, calibration, a sensible tolerance, and repeated measurements.
Make Custom Angle Measurements More Dependable
Accurate custom-angle work is less about staring at a screen and more about building a repeatable process. Create stable contact, use a trustworthy reference, select a target that matches the job, and confirm the result after the first haptic signal.
If you use an iPhone for this type of measurement, Level Tool's guide to measuring angles on iPhone offers additional context on using a phone angle meter carefully. Keep the process simple: calibrate, measure, reposition, and verify. Those steps can help turn haptic feedback into a practical aid for more consistent DIY results.
