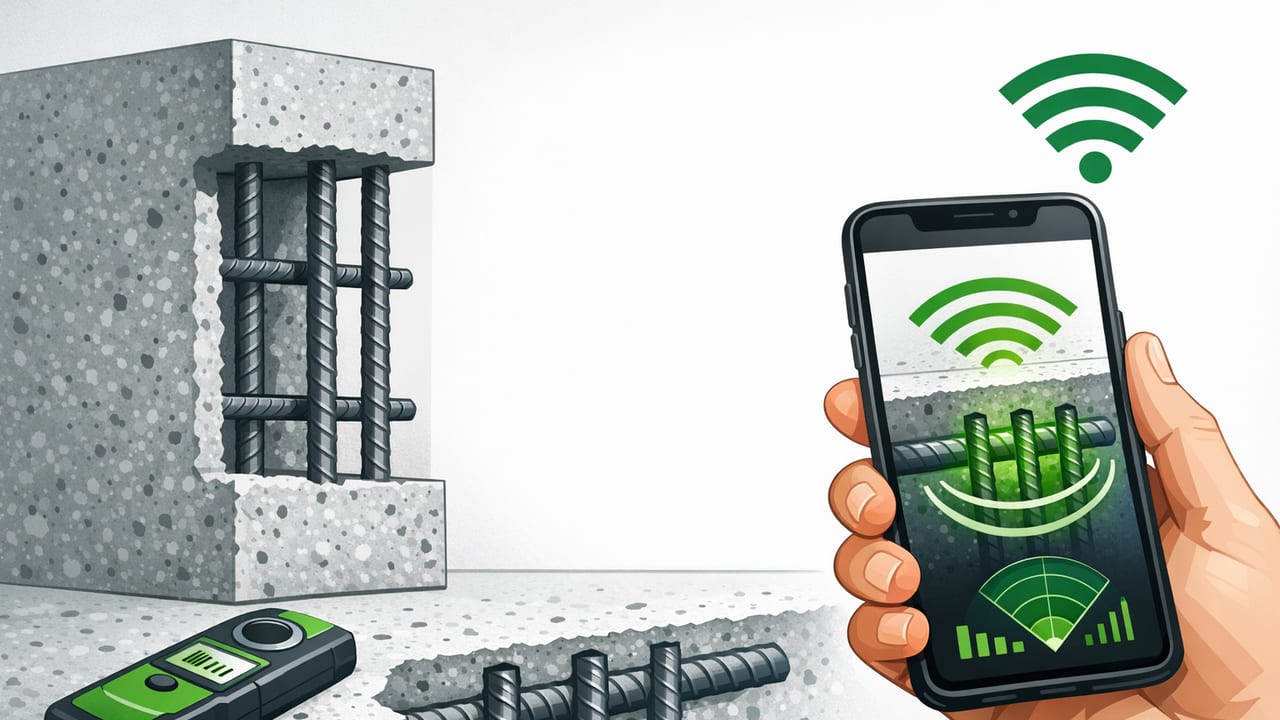
Drilling into concrete without knowing what’s inside can ruin bits, damage tools, and—more importantly—hit reinforcement steel in the wrong place. If you’re trying to find rebar in concrete with phone detector tools, your iPhone can help you do a quick, non-destructive scan before you commit to a hole. While it won’t replace a professional rebar locator or GPR, it can be a practical first pass for DIY work and light jobsite checks.
This guide explains what your phone can (and can’t) detect, a reliable scanning workflow, how to reduce false positives, and how to confirm results before drilling.
What you’re trying to detect: rebar vs. other “metal” signals
Reinforced concrete often contains steel rebar laid in a grid (horizontal and vertical bars). Depending on the structure, you might also encounter:
- Tie wire and rebar chairs (small metal supports)
- Post-tension cables (high-risk; do not drill blindly)
- Embedded conduit, junction boxes, or anchor hardware
- Metal studs behind a concrete veneer or adjacent framing
Most “phone metal detector” apps primarily use the iPhone’s magnetometer (the same sensor used for compass heading). That means your phone is mainly responding to magnetic field changes. Steel rebar typically creates a noticeable disturbance; aluminum, copper, and many stainless alloys may not.
Key takeaway: A phone detector is best at spotting ferromagnetic metals (like steel). It may miss non-magnetic materials entirely.
How a phone detector finds rebar (in plain language)
Your iPhone measures the surrounding magnetic field strength (often shown in microteslas, µT). When you move the phone near steel reinforcement, the measured field tends to spike or dip compared to the baseline reading. The detection is affected by:
- Cover depth (how much concrete is over the rebar)
- Bar size and density (thicker bars = stronger effect)
- Orientation (direction of the bar relative to the phone and Earth’s field)
- Nearby metal (fixtures, tools, mesh, nails, edging, rebar grids)
- Phone case accessories (MagSafe rings, magnetic mounts)
In practice, you’re not “seeing” the rebar like an x-ray—you’re mapping changes in the magnetic field and using those changes to estimate where metal is likely present.
When a phone detector is worth using (and when it isn’t)
A phone-based scan is useful when you need a quick indication of likely rebar locations before:
- Drilling for a small anchor
- Mounting a bracket or TV on a concrete wall
- Installing shelving into a masonry surface
- Checking a slab edge before coring or fastening (light duty)
Skip the phone-only approach and use a dedicated tool (or hire a pro) if you suspect:
- Post-tensioned concrete (garages, high-rises, many slabs)
- Critical structural drilling (large diameter, deep holes, edge conditions)
- Electrical risk (embedded conduit/boxes; mixed materials)
A practical workflow to find rebar in concrete with a phone detector
1) Prep the phone for cleaner readings
- Remove magnetic accessories: MagSafe wallets, magnetic rings, mounts, and some rugged cases can create constant bias or masking.
- Move metal away: Keep keys, watches, utility knives, and drill bits away from the scanning area and away from the phone.
- Close the compass loop: If your detector app includes calibration prompts, follow them. If not, briefly open a compass app and perform a standard figure-8 motion (away from metal objects) to improve stability.
2) Establish a baseline reading
Before scanning the spot you want to drill, take a reading a few feet away from the concrete surface (or at a location you believe is clear). Note the approximate baseline µT value. You’re looking for consistent deviations from that baseline when you scan.
3) Scan in a grid (don’t “wiggle” randomly)
Rebar is typically arranged in a grid, so your scanning method should match that. Use a consistent motion:
- Pick a scan area (for example, a 12" × 12" square around your planned hole).
- Hold the phone flat and keep the same orientation.
- Move slowly in straight lines horizontally across the square, like mowing a lawn.
- Repeat with vertical passes.
As you pass over metal, most apps show a noticeable bump. The real signal is when that bump appears in the same place on multiple passes.
4) Mark peaks and confirm the pattern
Once you see a repeatable spike, mark it with painter’s tape or pencil. Then continue scanning to locate the next likely bar. Many slabs and walls show spacing patterns (often around 6–12 inches / 150–300 mm, but it varies). If your marks form roughly parallel lines, that’s a good sign you’re tracking rebar—not random interference.
5) Choose a drill location between bars (with a safety margin)
Pick the point that appears to be in a “quiet zone” between two marked lines, not right on top of a peak. Give yourself margin because the phone’s “peak” isn’t a perfect centerline indicator, and bar depth can shift the apparent position.
How to improve accuracy (and avoid false positives)
Scan with two orientations
Rotate the phone 90 degrees and repeat the grid scan. Rebar direction can change the response, and rotating helps you confirm the signal isn’t just a sensor orientation quirk.
Control your standoff distance
Keep the phone at the same distance from the concrete during the entire scan. Even a small change (tilting or lifting) can cause the reading to drift and mimic a “hit.” A simple trick is to keep the phone’s edge lightly touching the surface while moving slowly.
Watch for “edge effects”
Concrete edges, corners, and near embedded metal frames can distort readings. If you’re scanning near:
- Door frames
- Metal corner beads
- Base plates or anchors
…expect broader, messier peaks. Try scanning a larger area and looking for the most consistent repeating lines.
Differentiate rebar from random metal clutter
Random clutter tends to produce isolated spikes. Rebar tends to produce repeatable linear peaks and an overall grid-like pattern. If you can’t find a pattern, widen the scan area or relocate the mounting point.
Phone detector vs. dedicated tools (quick comparison)
| Method | Best for | Pros | Limitations |
|---|---|---|---|
| Phone magnetometer (“metal detector” app) | Fast, light-duty checks for steel rebar | Always with you; quick scan; no extra gear | Not precise depth; misses non-magnetic metals; sensitive to interference |
| Stud finder with metal mode | Shallow metal behind finishes | Simple UI; can be more stable than a phone | Limited depth; struggles on thick concrete |
| Rebar locator / cover meter | Locating rebar and estimating cover depth | Designed for concrete; better repeatability | Costs more; still needs technique |
| GPR scanning | Complex slabs, PT cables, mapping utilities | Best detail; can detect multiple materials | Expensive; often requires training |
Confirm before you drill: a safer “two-check” approach
If you’re relying on a phone-based scan, use at least one additional confirmation step:
- Measure from known structure lines: If you can see rebar ends (sometimes at slab edges) or known reinforcement patterns, compare your marked spacing.
- Drill a shallow pilot: Start with a small masonry bit, shallow depth, and low pressure. If you hit metal early, stop immediately.
- Use the right anchor strategy: For some applications, moving the hole a couple inches is easier than fighting rebar.
Common mistakes (and how to avoid them)
- Scanning too fast: Speed creates noisy readings. Slow down and keep passes consistent.
- Holding the phone at changing angles: Tilting changes sensor geometry. Keep it flat and steady.
- Trusting a single spike: Always confirm with perpendicular passes and look for lines/patterns.
- Leaving MagSafe accessories on: Magnets can swamp subtle changes from deeper rebar.
- Ignoring the structure type: Post-tension slabs are a different risk class—don’t treat them like typical reinforced concrete.
Field note template (optional, helps you be consistent)
If you’re scanning multiple points (for example, mounting a long rail), it helps to log what you found so you don’t rescan repeatedly. You can paste something like this into Notes:
Location, Baseline_uT, Peak_uT, Peak_Direction, Spacing_in
Wall A - left, 48, 82, Horizontal, 8
Wall A - center, 47, 79, Horizontal, 8
Wall A - right, 49, 84, Horizontal, 8
This makes it easier to see whether your “hits” form a consistent pattern typical of rebar.
FAQ
Can an iPhone really detect rebar through concrete?
Sometimes, yes—especially if the rebar is relatively close to the surface and the surrounding environment is magnetically “clean.” Your phone is detecting magnetic field disturbances, not imaging the bar.
How deep can a phone detector find rebar?
Depth depends on bar size, concrete cover, and interference. For many real-world situations, the phone method is most reliable for shallow-to-moderate cover; if you need dependable depth and position, use a cover meter or GPR.
Why do I get spikes everywhere?
Common causes include magnetic accessories on the phone, nearby tools, scanning near a metal frame, or a dense reinforcement mesh that makes the entire area “hot.” Move metal away, remove magnetic cases, and scan a larger area to find repeatable lines.
Is this safe for drilling into a slab?
It can reduce risk for light-duty drilling, but it’s not a guarantee. If you suspect post-tension cables or embedded electrical, use professional scanning and follow local safety practices.
Wrapping up
To find rebar in concrete with phone detector tools, the key is process: establish a baseline, scan in a grid, confirm peaks with repeat passes, and look for consistent lines that match a reinforcement pattern. Treat the phone as a fast screening tool, then confirm before drilling—especially on critical structures.
If you already use an offline iOS measurement toolkit for DIY and jobsite checks, an app like Level Tool can keep multiple sensors and utilities in one place—handy when you’re switching between alignment, leveling, and quick detection workflows.
