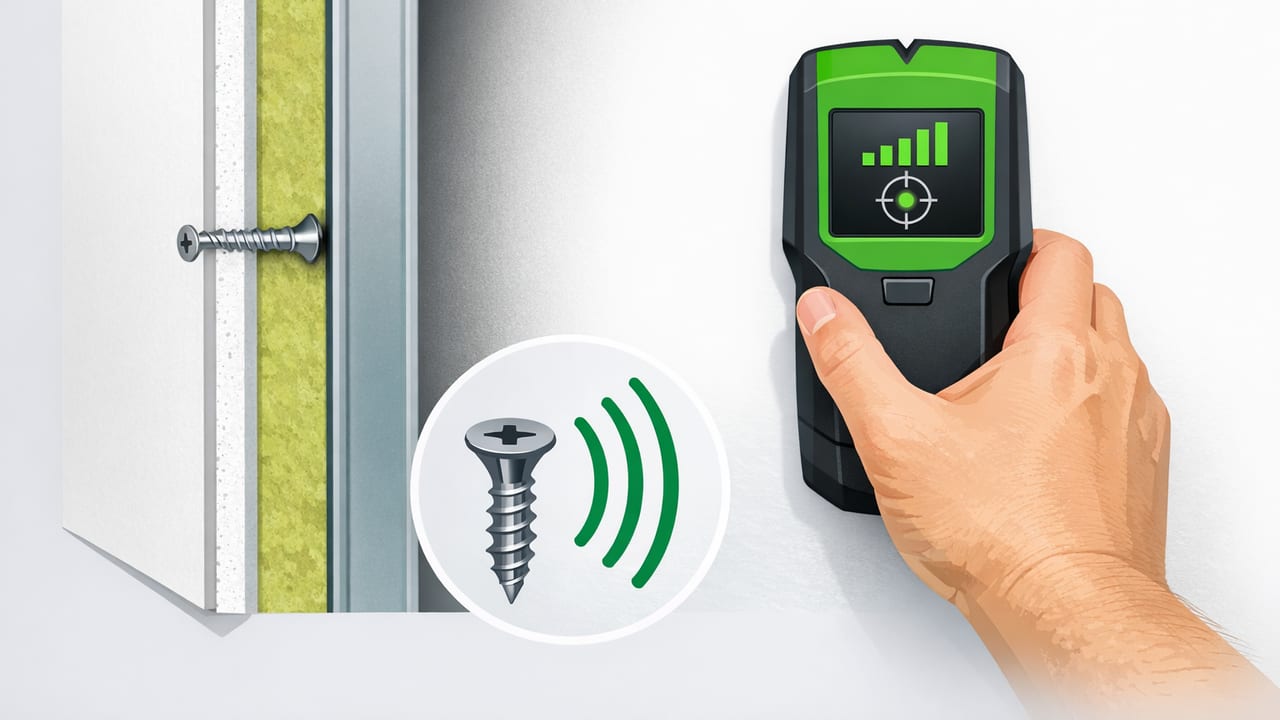
Whether you’re mounting a TV, adding a handrail, installing cabinets, or opening a section of wall for repairs, finding existing fasteners matters. Hitting a hidden drywall screw can dull tools, throw off anchor placement, or reveal that a stud line isn’t where you assumed. The good news: you can locate metal screws under drywall quickly with a repeatable process—no guesswork, minimal wall damage, and fewer false positives.
This guide breaks down the most reliable approaches (from a simple magnet to sensor-based detection), explains how to confirm what you’ve found, and shows how to map screw lines so you can work faster and cleaner.
Why drywall screws are worth finding (and why they’re tricky)
Drywall screws typically sit just below the painted surface, sunk into drywall and anchored into studs or metal framing. They’re often spaced in a line (a “fastener schedule”) that reveals where framing runs. Finding them helps you:
- Identify stud locations when a stud finder is inconsistent.
- Plan cutouts (for access panels, plumbing/electrical repairs) while avoiding fasteners.
- Choose strong mounting points by verifying framing lines.
- Avoid tool chatter and torn drywall paper when drilling.
They’re tricky because screws may be covered by joint compound and paint, studs may be offset or doubled at corners, and metal objects nearby (corner bead, pipes, metal studs, old nails) can confuse detection.
Fastest methods at a glance
Different situations call for different tools. Use this table to pick a workflow.
| Method | Best for | Speed | Accuracy | Common pitfalls |
|---|---|---|---|---|
| Neodymium magnet on a string or in a holder | Finding screw heads through paint and thin mud | Very fast | High (for screws) | Weak magnets, textured walls, thick skim coats |
| Stud finder (multi-sensor / deep scan) | Locating stud edges + fasteners together | Fast | Medium–High | Calibration errors, lath/plaster, dense insulation |
| Phone magnetometer (“metal detector” style) | Quick sweeps, confirming a magnet “hit,” locating larger metal | Fast | Medium | Interference from electronics, brackets, wiring, metal corner bead |
| Rare-earth magnet + painter’s tape grid | Mapping multiple screws to reveal stud lines | Fast after setup | High | Not ideal on very rough textures |
| Inspection hole + borescope (last resort) | High-stakes mounting or remodel verification | Slower | Very high | Requires patching |
Method 1: The magnet sweep (simple, cheap, surprisingly precise)
If your goal is specifically screws and nails, a strong neodymium magnet is often the fastest and cleanest option.
What you’ll need
- Neodymium magnet (strong enough to “grab” through paint/mud)
- Painter’s tape (optional, for marking)
- Pencil (or low-tack marker)
Step-by-step
- Start at a known reference: an outlet box, corner, or window edge. Studs are commonly 16" or 24" on center, but renovations can vary.
- Sweep slowly in horizontal passes about 2–6 inches tall, letting the magnet “drag” lightly.
- Feel for a distinct tug: a real screw hit feels like a small snap or sticking point, not just friction.
- Mark the spot with a small piece of painter’s tape.
- Find at least two more hits above/below in a vertical line. Screws in the field usually form a straight line over a stud.
How to confirm you’ve found a screw (not random metal)
- Look for alignment: three or more hits in a straight vertical line strongly suggests a stud fastener line.
- Check spacing: screws are often spaced 8–16 inches apart vertically (varies by installer and code).
- Compare to adjacent bay: if you find a second vertical line ~16" away, you’re likely mapping studs.
Pro tip: If the magnet sticks everywhere near an outside corner, you may be hitting metal corner bead, not screws. Move 3–6 inches away from the corner and try again.
Method 2: Using a phone “metal detector” sweep (good for quick confirmation)
Many phones include a magnetometer (used for compass heading). Apps can visualize changes in the magnetic field and behave like a basic metal detector. This can help you confirm an area with suspected screws or detect larger metal objects.
Best use cases
- You already have a likely screw line (from a magnet or stud finder) and want a second signal.
- You suspect larger metal behind the wall (brackets, plates, metal studs, pipes), and want a quick sweep before drilling.
- You want to map “hot spots” across a small area before placing mounts.
How to sweep effectively
- Remove magnetic cases or accessories (MagSafe wallet, magnetic ring, etc.).
- Move slowly: 1–2 inches per second, keeping the same distance from the wall.
- Scan in a grid: horizontal passes, then vertical passes over the same area.
- Mark peaks: where readings jump noticeably compared to the surrounding baseline.
Common sources of false readings
- Electrical devices nearby (speakers, motors, power tools, some chargers).
- Metal corner bead and drywall trim.
- Steel electrical boxes or mounting brackets.
- Your own keys or belt buckle if you’re close to the phone during scanning.
Reality check: Phone magnetometers are sensitive, but not surgical. For single screw location, a strong magnet often “pins” the exact point better. For broader “is there metal here?” screening, the phone sweep can be helpful.
Method 3: Stud finder + screw-line mapping (fastest for mounting projects)
If your end goal is mounting something level and secure, the best workflow is to find studs first, then validate by finding screw lines on those studs.
Workflow
- Run the stud finder across your target height and mark left/right stud edges.
- Mark the center of the stud bay based on the edges.
- Use a magnet sweep around that centerline to find actual screw heads.
- Draw a light vertical reference line through multiple screw hits (painter’s tape helps keep it clean).
This approach reduces the classic stud-finder problem: a stud finder may detect density changes (adhesive blobs, plumbing chases, doubled studs) that aren’t where you want to anchor. A screw line is strong evidence of framing behind the drywall.
Quick “no-mess” technique: painter’s tape grid for speed
If you need to find a lot of screws quickly (for removing drywall, locating studs across a wall, or planning a cutout), build a temporary grid.
Steps
- Apply painter’s tape in a rectangle covering your work area (e.g., 2–4 feet wide).
- Make light tick marks every 2 inches along the tape edge as reference points.
- Sweep with a magnet and mark each “hit” directly on the tape.
- Connect the dots: if marks form vertical columns, you’ve found stud lines.
This method is fast because it turns scattered discoveries into a visible map. It also keeps pencil off your paint.
Safety: don’t confuse screws with hazards
Locating screws is one thing; drilling is another. Before you commit to a hole, consider what else might be in the cavity.
Red flags to treat carefully
- Strong metal signal near outlets or switches: could be a metal box, conduit, or protective nail plate.
- Signal that runs horizontally: may indicate pipe runs, conduit, or metal bracing rather than screw lines.
- Clustered signals at one height: might be a mounting bracket, ledger, or old patch hardware.
Practical drilling precautions
- Use a depth stop (or wrap tape around the bit) so you don’t plunge too deep.
- Start with a small pilot hole and feel for resistance changes.
- Avoid drilling directly above/below outlets where wiring commonly runs vertically.
Troubleshooting: when detection isn’t working
If the magnet won’t stick anywhere
- You may be over a section installed with adhesive (fewer screws), or the screws are deeply buried under compound.
- Try a stronger neodymium magnet or scan closer to seams where fasteners are more likely.
- Check a different wall: some finishes (thick texture, plaster skim) reduce the magnet “feel.”
If everything looks like metal
- You may have metal studs, expanded metal lath, or corner bead dominating the signal.
- Move away from corners/edges and look for repeating vertical lines rather than continuous metal.
- On older homes, consider that plaster and lath behaves differently than modern drywall.
If you find screws but the “stud line” seems off
- Studs may be not centered where you expect due to framing adjustments.
- There may be a double stud at a seam, window, or doorway.
- Some screws hit blocking (horizontal wood pieces) used for backing.
Example: a repeatable 5-minute workflow for clean mounting
Here’s a compact routine you can follow when you need speed without sacrificing accuracy.
1) Pick your height and mark it lightly.
2) Scan with a stud finder to identify a likely stud zone.
3) Confirm with a neodymium magnet: find 3 screw hits in a vertical line.
4) Mark the line with painter’s tape and note the stud center.
5) Drill a shallow pilot hole with a depth stop; then fasten.
This workflow is fast because it uses two different principles (density detection + metal confirmation). When both agree, you’re rarely wrong.
FAQ
Can I rely on a phone alone to find drywall screws?
Sometimes, but it’s best as a secondary confirmation. A strong magnet is usually more precise for pinpointing individual screw heads, while a phone sweep can help you identify broader metal presence or confirm a suspicious area.
Do drywall screws always mark stud locations?
Often, yes—but not always. Screws can also be used for corner bead, patches, blocking, or mounting backers. That’s why finding multiple screws in a straight vertical line is more meaningful than a single hit.
What if the wall has metal studs?
Magnets and phone sweeps may detect a lot of metal continuously. In that case, use a stud finder designed for metal framing and focus on locating the stud’s edges; then choose fasteners rated for metal studs.
Conclusion: the fastest way to find screws is to map patterns
To locate metal screws under drywall quickly, don’t hunt for a single perfect “beep.” Instead, use a magnet or sensor sweep to find multiple points, then look for the pattern: vertical lines (studs) versus continuous strips (corner bead or metal studs) versus clusters (brackets/boxes). Mark what you find, confirm with a second method when stakes are high, and drill conservatively.
If you prefer keeping multiple measurement tools in one offline kit on iOS—including a metal-detection style magnetometer view—apps like Level Tool can be a convenient addition to your toolbox.
