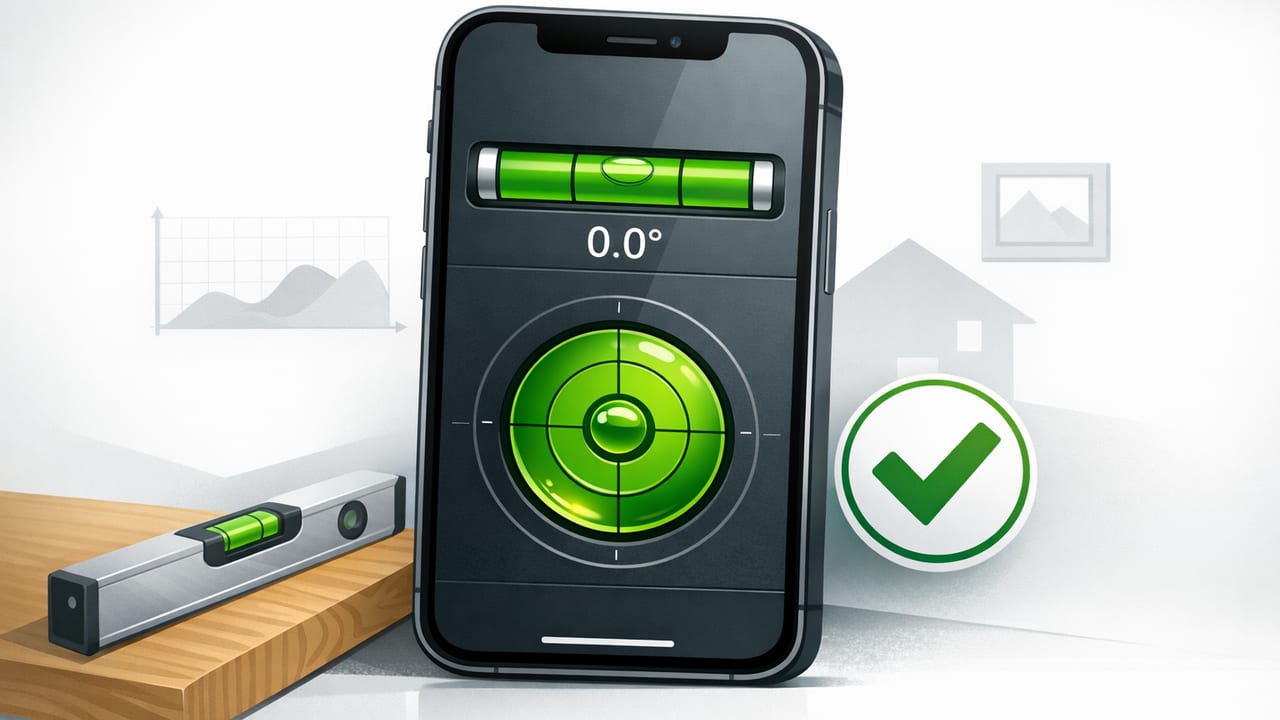
An accurate spirit level app for iOS can save time on DIY projects, quick installs, and on-site checks—if you know what “accurate” actually means and how to set it up. Modern iPhones and iPads include precise motion sensors, but your results still depend on calibration, technique, and the surface you’re measuring.
This guide explains how iOS level apps work, what separates a reliable one from a gimmick, and how to verify accuracy with simple at-home tests. Whether you’re hanging shelves, aligning cabinets, setting a washing machine, or checking a ramp slope, you’ll get practical steps you can repeat anytime.
What an iOS spirit level app is really measuring
A traditional spirit level uses a bubble in fluid to show when a surface is horizontal (level) or vertical (plumb). A spirit level app replicates this by reading your device’s motion sensors—primarily the accelerometer and gyroscope—to estimate orientation relative to gravity.
Most apps display results in one or more of these formats:
- Bubble view (like a classic level)
- Angle in degrees (e.g., 0.3° off level)
- Slope/grade (e.g., 2% incline)
- Dual-axis (front-to-back and left-to-right at the same time)
Key idea: Your device measures its own orientation—not the world. Accuracy depends on how well your phone’s edges/back align with the surface you’re checking.
What “accurate” means for a spirit level app
Accuracy can mean different things depending on your job:
- Repeatability: If you measure the same surface twice, you get the same result.
- Calibration correctness: “0.0°” truly corresponds to level/plumb after calibration.
- Resolution: The smallest change the app can reliably show (e.g., 0.1°).
- Practical tolerance: Whether the error is small enough for your task (picture frames vs. tile vs. cabinetry).
For many home-improvement tasks, being within ±0.2° to ±0.5° is workable. For finish carpentry, long runs (like cabinets across a wall), and layout work, you’ll want consistent readings and a trustworthy calibration routine.
Features that matter when choosing an accurate spirit level app for iOS
Not every “level” app is built the same. Here are the features that most affect real-world reliability.
1) Simple, repeatable calibration
Calibration is how the app defines “zero.” A good app makes it easy to calibrate and re-check calibration quickly (especially after a hard bump, a case change, or an iOS update).
2) Dual-axis leveling
Dual-axis is especially helpful for appliances, camera tripod setups, tables, and any surface that can tilt in two directions. It reduces the “fix one axis, break the other” loop.
3) Clear numeric readouts (degrees and/or slope)
A bubble is intuitive, but numbers are easier for repeatability. For example, “0.3° high on the left” is actionable when shimming or planing.
4) Stable readings (low jitter)
Sensor noise can cause jitter. Look for an app that provides a stable reading without lagging too much—ideally with a subtle smoothing filter and fast refresh.
5) Offline functionality
Offline tools are underrated: they tend to launch faster, work in garages/basements/outdoors with poor signal, and avoid unnecessary data collection. For a measurement tool, reliability and privacy are features.
6) Practical alignment aids
Useful extras include sound/haptic cues near level, a “hold” function to freeze readings, and high-contrast UI for bright job sites.
Common causes of “inaccuracy” (that aren’t the sensors)
Before blaming your iPhone, check the usual culprits:
- Phone case interference: Thick or uneven cases can prevent the phone from lying flat.
- Camera bump rocking: On many models, the back won’t sit flat on a surface. Using the edge of the phone can be more consistent than the back.
- Dirty or textured surfaces: Dust, grout lines, or wood grain can introduce tilt.
- Surface flex: Shelves or drywall can sag under pressure if you press the phone down.
- Temperature and handling: Sudden temperature changes or vigorous movement can temporarily affect readings until the sensors stabilize.
How to test your iOS level app’s accuracy in 5 minutes
You don’t need lab equipment to validate an app. These tests focus on consistency and correctness using simple household items.
Test A: The flip test (best quick check)
This is the most reliable DIY method for validating a level tool.
- Place your phone on a reasonably flat surface (a countertop, a shelf board, or a sturdy table).
- Record the reading (e.g., +0.4°).
- Rotate the phone 180° in the same spot (top becomes bottom) without changing the surface.
- Record the new reading.
How to interpret:
- If the app is correct, the second reading should be approximately the negative of the first (e.g., +0.4° then −0.4°).
- If both readings are the same sign (e.g., +0.4° then +0.5°), your calibration is likely off or the phone isn’t sitting consistently.
Test B: Known reference (a physical level)
If you have a decent bubble level, use it as a reference:
- Level a surface with the physical tool (shim if needed).
- Place your phone in the same orientation each time (preferably on a flat edge).
- Check whether your app reads near 0.0°.
Don’t obsess over tiny differences—consumer-grade bubble levels vary too. You’re looking for repeatable agreement.
Test C: Repeatability on the same spot
Take 5 readings in the same position, lifting the phone each time. If results jump around (e.g., 0.1°, 0.8°, 0.3°, 1.0°), you likely have seating/case/rocking issues rather than sensor issues.
Calibration: a practical method that actually holds up
Different apps handle calibration differently, but the best method is based on averaging a surface against itself using the flip principle.
Use this approach:
- Choose a stable surface that won’t move (a heavy table, countertop, or a thick shelf board on solid supports).
- Remove the case if it prevents flat contact, or measure using the phone’s side edge.
- Calibrate in one orientation (as your app instructs).
- Immediately do the flip test to confirm readings mirror each other (equal magnitude, opposite sign).
- Re-calibrate if needed until the flip test behaves correctly.
If your app includes separate modes (level vs. plumb), repeat the process for each mode and each axis you care about.
Best practices for accurate real-world measurements
Use the same contact surface every time
Pick one: the bottom edge, the side edge, or a specific flat part of the back (if it truly sits flat). Mixing contact points changes the geometry and can introduce error.
Measure over longer distances when possible
A tiny angle error becomes more visible over a longer run. For example, if a shelf is slightly out, checking across the entire shelf length gives a more meaningful result than measuring on a small patch.
Avoid rocking on camera bumps
If your phone rocks, don’t use the back. Use a side edge, or place a thin, flat spacer (like a straight ruler) to create a stable plane—then keep that method consistent.
Let the reading settle
Hold the phone steady for a second or two before you trust the number. Micro-movements and sensor fusion can cause momentary drift.
Know your tolerance by task
- Picture frames: ±0.5° is usually visually fine.
- Shelves/cabinets: aim for ±0.2° or better for long runs.
- Tile/layout work: verify with a physical reference when possible.
Angles, slope, and quick conversions (useful for ramps and drainage)
Some apps show degrees; others show slope/grade. Here’s a small conversion table you can reference when planning drainage, ramps, or general pitch.
| Degrees | Approx. Grade (%) | Rise over 1 m (approx.) |
|---|---|---|
| 0.5° | 0.9% | 9 mm |
| 1.0° | 1.7% | 17 mm |
| 2.0° | 3.5% | 35 mm |
| 5.0° | 8.7% | 87 mm |
If you like formulas, grade is:
grade_percent = tan(angle_degrees × π/180) × 100A quick checklist for choosing the right app (and avoiding frustration)
- Calibration is obvious and doesn’t require hidden menus.
- Dual-axis support is available if you level appliances, tripods, or furniture.
- Numeric readouts are easy to read and can be held/frozen if needed.
- Offline use works with no login, no subscription pressure, and no dependency on network conditions.
- Works with modern iOS devices and is updated to match current sensor behavior.
When to use a physical level instead
An iOS spirit level app is excellent for portability and quick checks, but a physical level (or a laser level) is still better when:
- You need to reference a long line (e.g., across a wall) rather than a small contact patch.
- The surface is rough/uneven and the phone can’t sit reliably.
- You need certified tolerances or jobsite compliance documentation.
For everything else—especially quick installs, furniture leveling, and “is this close enough?” checks—an iPhone can be remarkably effective with good technique.
Putting it into practice: two common DIY scenarios
Leveling a washing machine
- Place the phone on the machine’s top surface (use an edge contact if the surface is curved).
- Check left-right, adjust feet until near 0.0°.
- Rotate the phone 90° to check front-back, adjust again.
- Re-check both axes. Aim for small, consistent readings rather than chasing perfect zeros if the top is not perfectly flat.
Aligning a wall shelf bracket
- Mark your bracket points.
- Use the app on the bracket or a straight board placed on the bracket line.
- Use the flip test if you’re unsure about calibration before drilling.
- After mounting, verify across the full shelf length, not just near the bracket.
Final tip: treat your phone like a measuring instrument
The difference between “this app is inaccurate” and “this is surprisingly precise” is usually calibration + stable contact. Do the flip test occasionally, measure from a consistent edge, and match your tolerance to the job.
If you prefer an offline iOS toolkit that includes a spirit level alongside other measurement utilities, you can also look at Level Tool as one option—just apply the same testing and calibration habits for the best results.
