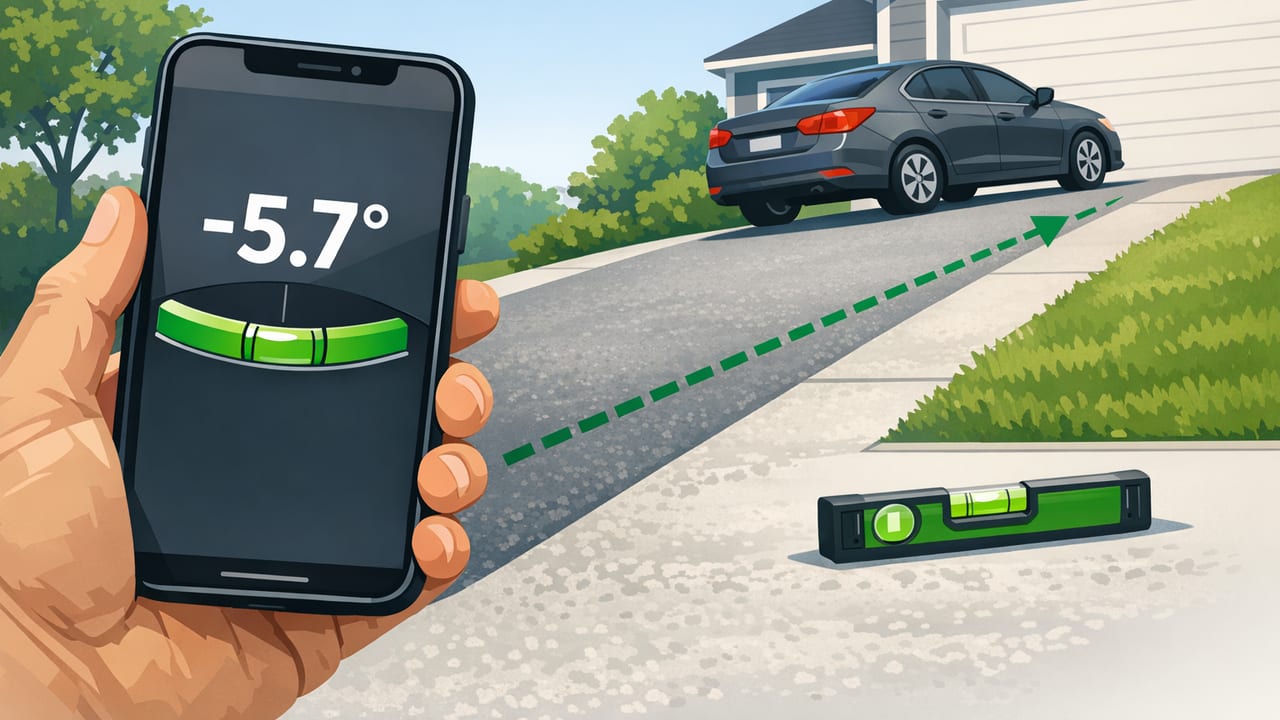
A driveway that’s “almost flat” can still cause big headaches: water pooling near the garage, ice patches in winter, or runoff that erodes landscaping. The good news is you don’t need survey equipment to get useful numbers. You can check driveway slope with phone tilt meter tools (inclinometer/level features) and a few simple accessories, then use those readings to decide whether drainage is acceptable or needs correction.
This guide walks through a practical, repeatable method—plus how to convert your readings into the most common slope formats used in DIY and contractor conversations.
What “driveway slope” means (and why it matters)
Driveway slope is the rate of rise or fall over a horizontal distance. It affects:
- Drainage: Water should flow away from structures and toward appropriate runoff areas.
- Safety: Steep sections can be slippery; flat sections can pool water and freeze.
- Vehicle clearance: Sharp slope transitions can scrape bumpers or trailer hitches.
- Code and best practice: Many regions expect positive drainage away from foundations and garages.
Two different slopes often matter on a driveway:
- Longitudinal slope: Along the length (street to garage, or vice versa).
- Cross slope: Side-to-side pitch that sheds water to one edge or toward a drain.
Units you’ll see: degrees, percent, and “inch per foot”
Phone tilt meters usually display degrees (°) or percent (%). Contractors and DIYers also use inch per foot (or mm per meter) to describe drainage pitch.
These are all convertible:
- Percent slope = (rise ÷ run) × 100
- Degrees relates via tangent: percent = tan(degrees) × 100
- Inch per foot = (percent ÷ 100) × 12
Quick conversion snippet (degrees → percent)
// degrees to percent slope
percent = tan(degrees * π/180) * 100

// percent slope to inches per foot
inches_per_foot = (percent/100) * 12
If your app already shows percent, you can skip the math and focus on consistent measuring.
What slope is “good” for a driveway?
Exact requirements vary by location, surface, and drainage design, but these ranges are commonly referenced in residential drainage and paving conversations. Use them as a practical starting point, then confirm local requirements if you’re doing a major project.
| Area / Purpose | Typical target | Why it’s used |
|---|---|---|
| Drainage away from garage/house (minimum) | ~2% (about 1/4 in per ft) | Encourages runoff instead of pooling near structures |
| Cross slope on paved areas (common range) | ~1%–2% | Sheds water without feeling “tilted” underfoot |
| Steeper driveway sections (comfort varies) | ~5%–10%+ | May be necessary on hills; watch traction and transitions |
| Flat/near-flat areas | <1% | Higher risk of standing water and winter ice |
Important: A driveway can have a decent average slope but still have a low spot (a “birdbath”) that holds water. That’s why measuring in multiple segments is more useful than taking one reading.
What you need to measure driveway slope with a phone
To get repeatable results, pair your phone tilt meter with a stable reference surface.
- Phone with a tilt meter/inclinometer (many measurement apps include this)
- A straight board or level reference (6–10 ft is ideal; longer smooths out small surface texture)
- Shims (small wood shims or folded cardboard) for stabilizing on rough asphalt
- Measuring tape (optional, for documenting segment lengths)
- Chalk or painter’s tape (optional, for marking test points)
Why use a board? Driveways have texture (aggregate, broom finish, seams). The board averages those micro-variations so your phone reads the true slope rather than the bumps.
Step-by-step: measure longitudinal driveway slope
- Pick a dry day if possible. Water, debris, or snow can change how the board sits.
- Calibrate/zero your tilt meter on a known flat surface (a countertop can work, but a verified level surface is better). If your tool supports it, do a quick “flip test”: zero, rotate 180°, verify it reads the same magnitude with opposite sign.
- Place the board along the driveway length (pointing toward/away from the garage). Use shims to prevent rocking.
- Set the phone on the board near the center. Make sure the phone is not perched on a camera bump—use a flat case or position it so it sits stable.
- Record the slope reading (degrees or percent). Note the direction: does it fall away from the garage or toward it?
- Repeat in segments every 6–10 ft (or every slab section for concrete). This helps identify dips and transitions.
- Check the transition zones: street-to-driveway apron and driveway-to-garage threshold. These are common problem spots for pooling or scraping.
Tip: If your driveway is long, create a simple map: label points A, B, C… along the centerline and write the slope value next to each.
Step-by-step: measure cross slope (side-to-side pitch)
Cross slope controls where water goes: to the left edge, right edge, or a center drain.
- Place the board perpendicular to the driveway length (from one side toward the other).
- Stabilize so it doesn’t teeter on high spots.
- Read and record the tilt. Mark which side is lower.
- Repeat at several locations: near the garage, mid-drive, and near the street/apron.
If cross slope changes direction (for example, it pitches left in one area and right in another), that can create a low channel or basin that holds water.
How to interpret your readings (and spot trouble fast)
1) Positive drainage away from structures
If the section right outside the garage slopes toward the garage—even slightly—water can migrate toward the door, especially during heavy rain. Pay close attention to the first 6–10 ft outside the garage threshold.
2) “Birdbaths” (localized low spots)
A driveway can show an overall 2% fall, yet still puddle if a small zone is flatter or reversed. Segment measurements reveal these. If one segment is near 0% (or negative), that’s a red flag.
3) Transitions that cause scraping
Even if the slope isn’t extreme, an abrupt change in slope (a sharp breakover) can scrape low vehicles. Measure right at transitions and a few feet before/after them.
4) Surface texture vs. real slope
If your readings jump around from one inch to the next, you’re measuring texture, not slope. Use a longer board, re-seat the board, and average multiple readings.
Documenting results: a simple driveway slope log
Keep your notes consistent so you can compare before/after repairs or share with a contractor.
- Date and weather (dry, damp, freezing)
- Location (centerline, left edge, right edge, by garage, mid-drive, apron)
- Orientation (longitudinal or cross slope)
- Value (%, degrees, and direction of fall)
- Observations (puddles, cracks, heaving, settled area)
This is especially helpful if you’re troubleshooting: “Water pools 3 ft from garage door, left side” becomes actionable when paired with a measured near-zero or negative slope in that exact zone.
Common mistakes when using a phone tilt meter (and how to avoid them)
- Skipping calibration: Sensor drift happens. Zero the tool before each session.
- Measuring directly on rough pavement: Aggregate bumps can add random error. Use a board.
- Phone wobble: A rocking phone = noisy readings. Stabilize it, avoid the camera bump, and wait a second for the reading to settle.
- Reading only one spot: Driveways fail locally. Measure multiple segments and both directions (length and cross slope).
- Confusing percent and degrees: 2% is not 2°. (2° is about 3.5%.) Confirm units before logging.
What to do if your driveway slope is wrong
Fix options depend on material and severity:
- Minor pooling on concrete: Surface grinding and patching may help, but durability varies—get a pro opinion for structural issues.
- Asphalt low spots: Infrared repair or overlay can re-establish pitch.
- Drainage additions: Channel drains near the garage, regrading edges, or adding swales can redirect water.
- Major slope reversal toward the house: Often requires regrading/resurfacing; don’t rely on sealants alone.
If water reaches the foundation or enters the garage, it’s worth addressing promptly—repeated wetting can damage materials over time.
FAQ
Is a phone tilt meter accurate enough for driveway slope?
For diagnosing drainage and documenting approximate slope, yes—especially when you place the phone on a straight board and repeat measurements. For permitting, legal disputes, or engineered drainage design, a professional survey may be required.
Should I measure in degrees or percent?
Percent is often easier for drainage conversations (e.g., “2% minimum away from the garage”). Degrees are fine as long as you convert consistently.
How long should my board be?
Longer boards average out texture better. Six feet is workable; eight to ten feet is often better if you can handle it safely and it sits stable.
Wrap-up: a practical workflow you can trust
To reliably check driveway slope with phone tilt meter tools, focus on repeatability: calibrate, use a straight board, measure both directions (length and cross slope), and log readings in multiple segments. That combination turns a quick phone check into a defensible set of numbers you can use to plan drainage improvements or communicate clearly with a contractor.
If you prefer an offline iOS measurement toolkit that includes a tilt meter alongside other DIY utilities, an app like Level Tool can keep everything in one place—especially handy when you’re working in a garage or outdoors with limited connectivity.
