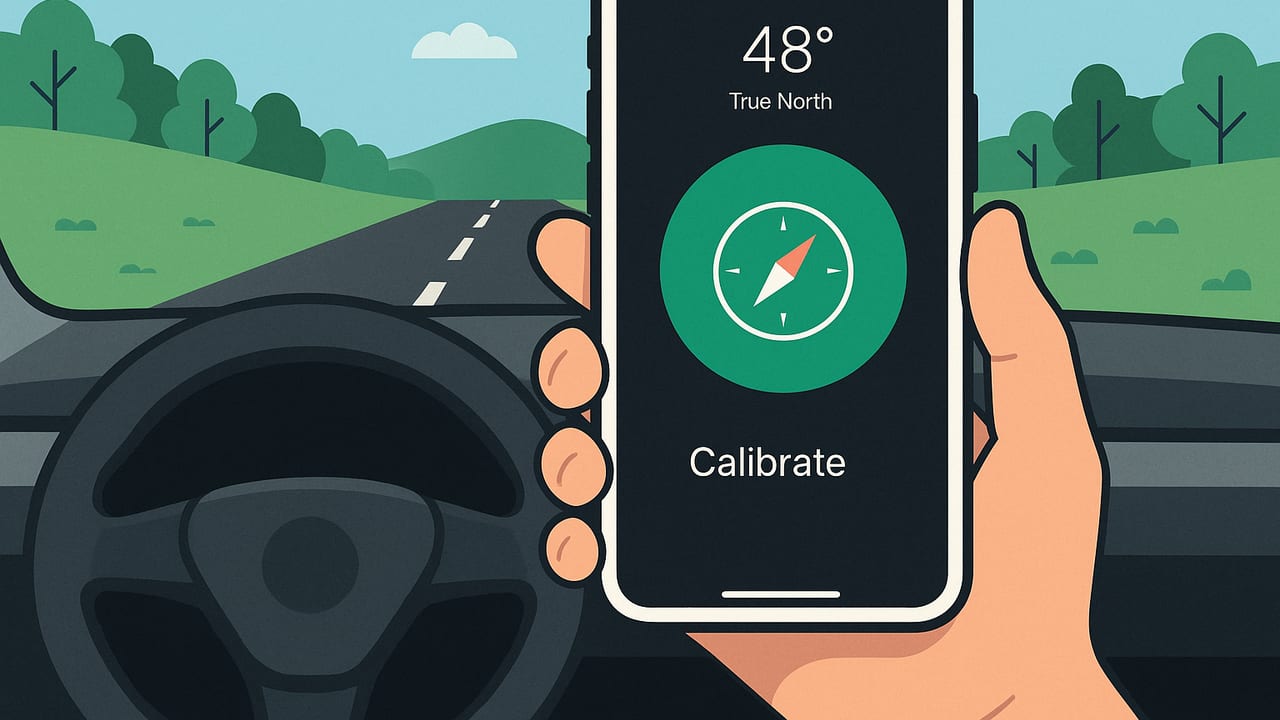
If your iPhone’s heading drifts a few degrees, lane-level guidance can feel wrong, exits can sneak up, and rural turns get missed. Before you hit the highway, a quick calibration routine ensures your phone’s compass and heading are trustworthy, especially when GPS momentarily struggles. In this guide, you’ll learn how to calibrate iPhone compass before road trip departure, reduce in-car interference, and verify accuracy with simple checks you can do in minutes.
60-Second Quick Start Checklist
- Step outside, away from cars, fences, and power lines.
- Remove magnetic cases, wallets, and mounts from the phone.
- Turn on Settings > Privacy & Security > Location Services > System Services > Compass Calibration.
- Open the Compass app and set Use True North.
- Move the phone in a smooth figure-eight and rotate it on all three axes.
- Mount the phone in the car away from speakers, wireless chargers, and magnetic mounts.
- Verify heading: align with a straight road, compare to sun position or a known landmark.
Why Calibration Matters for Road Trips
Modern phones blend magnetometer (compass), gyroscope, accelerometer, barometer, GPS/GNSS, and sometimes vehicle motion data to estimate your heading. On open highways GPS course-over-ground is usually enough, but in low speeds, parking lots, canyons, tunnels, and dense cities, the compass fills in the gaps. Calibration minimizes sensor biases and helps the device decide when to trust the magnetometer versus motion or satellite data.
How the iPhone Compass Works (Short Version)
Your phone’s magnetometer measures the Earth’s magnetic field vector. The system fuses this with gyroscope and accelerometer data to stabilize the heading and with location to account for geographic differences between True North and Magnetic North. In practical terms:
- Gyro/accel smooth sudden movements and reduce jitter.
- GPS provides course-over-ground at speed; the compass dominates when moving slowly or stationary.
- Calibration estimates and removes “hard-iron” (permanent magnets) and “soft-iron” (metal distortions) biases.
Common In-Car Sources of Compass Error
Cars are full of magnets and metal. Some items can skew your magnetometer by 10–90° until you move away or recalibrate. Watch out for these:
| Source | Risk | Quick Fix |
|---|---|---|
| Magnetic phone mounts | Persistent bias/heading lock | Use non-magnetic spring clamp or adhesive mount |
| Wireless chargers (Qi pads) | Transient magnetic field during charging | Calibrate away from charger; unplug while calibrating |
| Dashboard speakers | Strong static magnets near the phone | Mount farther from speaker grills |
| Metallic cases/wallets | Soft-iron distortion and shielding | Remove case/wallet during calibration |
| Thick steel in dash/roll cages | Local field distortion | Calibrate outside the car; verify after mounting |
| High-current power cables | Induced fields when charging | Use short, shielded cables; avoid coiled cables |
Pro tip: If your heading suddenly flips 90–180°, suspect a magnetic mount or a speaker magnet. Remove the phone, step outside, recalibrate, and remount with a non-magnetic holder.
How to Calibrate iPhone Compass Before Road Trip: Step-by-Step
1) Prepare the environment
- Go outdoors, at least 10–15 feet from vehicles, fences, transformers, or large metal objects.
- Remove the phone’s magnetic case, card wallet, and any attached accessories.
- Disable wireless charging temporarily: don’t place the phone on a Qi pad during calibration.
2) Enable the right settings
- Open Settings > Privacy & Security > Location Services > System Services and ensure Compass Calibration is ON.
- Open the Compass app and enable Use True North. For driving, True North aligns best with maps and road signage.
- Ensure Location Services is ON for your navigation app to help with sensor fusion.
3) Perform the calibration motions
- Hold the phone at arm’s length and make a smooth, slow figure-eight for 10–20 seconds.
- Rotate the phone about 360° around each axis: portrait spin, landscape spin, and screen-facing-up barrel roll. Slow, steady motions work best.
- Walk forward 10–20 meters so the system can align heading with motion.
4) Mounting in the car
- Choose a non-magnetic mount placed away from speaker grills and the steering column.
- Avoid mounting directly over a wireless charger or near a vent with strong speakers behind it.
- Use a short, shielded charging cable. Avoid coiled cables and resting the cable near the phone’s top edge.
Verify Your Compass: Simple Field Checks
Don’t trust — verify. Use one or more of these quick validation methods after mounting in the car:
- Straight road check: Stop safely in a straight, flat lane. If you face due east/west, the heading should read ~90° or ~270°.
- Sun position sanity check: Morning sun ≈ east, afternoon sun ≈ west; at local noon in most places the sun is roughly south (north in the southern hemisphere). Compare with your reading.
- Landmark alignment: Stand parallel to a fence line or building known to be aligned to cardinal directions and compare.
- Map overlay: In a maps app, face the same direction as your blue position arrow; the compass should match your map’s bearing line.
| Scenario | Expected Heading | Observed | Action |
|---|---|---|---|
| Facing due east on straight road | ~90° (E) | 120° | Interference likely; remount away from magnets, recalibrate |
| Facing sun at 4 PM (mid-latitudes) | ~240° (WSW–W) | 250° | Within normal tolerance (±10°) |
| Walking north with map arrow north | ~0° (N) | 350°–10° | OK; small variation is normal |
True North vs Magnetic North for Driving
Use True North for road trips. Maps and highway signage align to geographic north, and iOS can automatically apply the local magnetic declination when you select True North. Magnetic North is fine for field navigation, but using True North reduces confusion and makes your phone’s heading match the map’s grid.
Myths and Quick Answers
- “Doing a figure-eight always fixes it.” Helpful, but not if the phone sits on a magnetic mount afterward. Remove the interference first.
- “GPS alone calibrates the compass.” GPS provides course-over-ground at speed; it can’t fully correct magnetometer bias when you’re stationary or slow.
- “Airplane Mode disables the compass.” The magnetometer doesn’t need cellular data. You can calibrate even offline.
- “All mounts are safe.” Any mount with embedded magnets can distort headings. Choose non-magnetic options.
- “Reboots always recalibrate.” A restart clears sensors but doesn’t remove external magnetic fields. Fix the environment first.
Troubleshooting When Headings Are Wrong
Symptom: Heading jumps or spins near dashboard
Fix: Move the phone away from speaker grills, vents, and chargers. Try the A-pillar or windshield mount area. Recalibrate outside the car, then remount and recheck.
Symptom: Stable but consistently off by 10–30°
Fix: That’s typical of soft-iron bias from nearby metal. Increase distance from the dash, switch mounts, or rotate the mount slightly and recalibrate.
Symptom: Works outside, fails as soon as you plug into power
Fix: Use a shorter, higher-quality cable, route it away from the top edge of the phone, and avoid coiled cords. Calibrate while unplugged, then reconnect and verify.
Symptom: Compass never stabilizes
Fix: Check Settings > Location Services > System Services > Compass Calibration. Toggle it OFF/ON. Remove magnetic accessories, reboot the phone, calibrate outdoors, and try again. In rare cases, reset Location & Privacy (Settings > General > Transfer or Reset > Reset) as a last resort.
For Developers and Power Users: Reading a Reliable Heading
If you build navigation tools or want to understand how apps pick headings, prefer the true heading when available and fall back to magnetic. Smooth readings with a small filter, and make sure the device orientation setting matches how the phone is mounted in the car.
// Swift snippet: prefer trueHeading, fall back to magnetic
class HeadingHelper: NSObject, CLLocationManagerDelegate {
    private let manager = CLLocationManager()
    private var lastValid: CLLocationDirection = -1

    override init() {
        super.init()
        manager.delegate = self
        manager.requestWhenInUseAuthorization()
        manager.headingFilter = 1 // degrees
        manager.startUpdatingHeading()
    }

    func locationManager(_ manager: CLLocationManager, didUpdateHeading newHeading: CLHeading) {
        let heading = newHeading.trueHeading > 0 ? newHeading.trueHeading : newHeading.magneticHeading
        // Simple smoothing (EMA)
        let alpha = 0.2
        if lastValid < 0 { lastValid = heading }
        let smoothed = alpha * heading + (1 - alpha) * lastValid
        lastValid = smoothed
        // Use 'smoothed' as the display/logic heading
    }
}
Notes:
- Set the device orientation consistent with your mount to reduce errors.
- Use True North in app settings to match map bearings.
- Don’t filter so heavily that turns lag; 0.2–0.3 EMA is a reasonable starting point.
Pre-Trip Navigation Prep List
- Non-magnetic phone mount and short, shielded charging cable.
- Offline maps downloaded for areas with poor coverage.
- Compass calibration enabled; True North selected.
- Portable battery to avoid using a Qi pad near the magnetometer.
- Paper map backup for remote areas.
- Quick test route near home to validate headings at low and highway speeds.
Best Practices Recap
- Calibrate outdoors, away from metal; then verify after mounting in the car.
- Choose True North for driving to match map orientation.
- Avoid magnetic mounts and nearby speakers or wireless chargers.
- Re-verify after long stops, altitude changes, or when you notice drift.
- Trust GPS at speed, but rely on a well-calibrated compass for slow maneuvers.
A few minutes spent on calibration can save detours and stress later. If you want a precise offline instrument suite for quick checks—bubble level, ruler, compass, barometer, and more—consider the iOS app Level Tool, which runs fully offline and supports modern devices.
