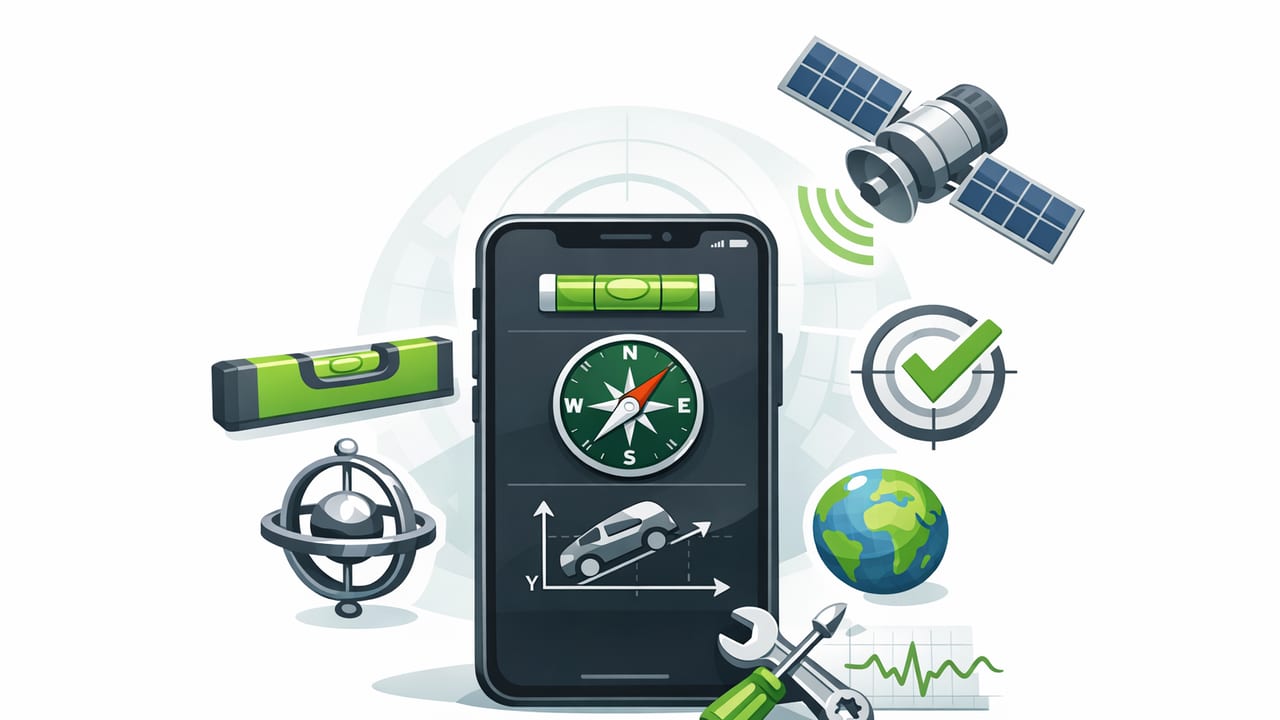
Your iPhone can act like a pocket toolbox—level, compass, barometer, and more—because it’s packed with sensors like an accelerometer, gyroscope, magnetometer, and pressure sensor. But sensor-based measurements are only as good as the calibration behind them. If your “level” reads slightly off, your compass drifts, or altitude looks wrong, it’s usually not the app—it’s the sensor state, environmental interference, or how the phone is being used.
This guide explains how to calibrate phone sensors for accurate measurements using practical, repeatable checks. It’s written for DIYers and pros who want dependable results for home improvement and navigation, even when working offline.
What “calibration” means on an iPhone
Calibration is the process of aligning sensor readings with real-world truth. On iPhone, calibration is rarely a single “Calibrate” button. Instead, it’s a combination of:
- Zeroing (setting a known reference point, like a perfectly flat surface for a level)
- Motion-based routines (moving the phone in specific patterns to help the magnetometer)
- Environmental control (reducing magnetic/metal interference, stabilizing temperature)
- Verification (testing against a known standard so you trust the reading)
Quick checklist before you start
Do these first—they fix most accuracy complaints:
- Remove magnetic accessories: MagSafe wallets, magnetic rings, rugged cases with metal plates, and clip-on lenses can distort compass and even some motion readings.
- Clean contact surfaces: Dust or a camera bump rocking on a surface can bias your “level” by a fraction of a degree.
- Restart the phone: This clears stuck sensor states and background processes that may be consuming motion data.
- Update iOS: Sensor fusion algorithms improve over time.
- Disable “true tone” assumptions: Not required, but ensure your screen brightness doesn’t mislead you when aligning visually.
Field tip: If compass or metal detection seems “haunted,” step at least 6–10 feet away from cars, toolboxes, breaker panels, speakers, and steel studs before diagnosing the phone.
Sensor-by-sensor: what affects accuracy and how to correct it
| Tool | Main sensor(s) | Common error cause | Best calibration/verification method |
|---|---|---|---|
| Bubble level / inclinometer | Accelerometer + gyroscope | Phone not flush; surface not truly flat; case wobble | Flip test + zero on a reference surface |
| Compass | Magnetometer + GPS + gyroscope | Magnetic interference; magnetized case; indoor distortion | Figure‑8 motion + outdoor cross-check with map bearing |
| Barometer / altitude | Barometric pressure sensor | Weather changes; indoor HVAC pressure zones | Verify vs nearby known altitude or station pressure |
| Ruler / measuring | Camera + screen scaling | Perspective error; wrong reference object size | Use a known-length reference (credit card/coin) |
| Metal detection | Magnetometer | Nearby metal; magnetic accessories; rebar/mesh behind walls | Baseline in “clean air,” then compare change magnitude |
1) Calibrating a phone level (accelerometer/gyro)
Phone leveling is usually very accurate when done correctly, but tiny setup mistakes create consistent offsets. Use this method to zero and verify.
Step-by-step: the flip test (fast and reliable)
- Choose a stable surface: a countertop, thick shelf, or a sturdy board on sawhorses.
- Place the phone flat and wait 2–3 seconds for the reading to settle (motion sensors average over time).
- Note the angle (example: +0.4°).
- Rotate the phone 180° in place (same spot, same face down), then note the angle again (example: -0.2°).
- Interpretation: If the surface is truly level, the two readings should be equal magnitude and opposite sign. If they aren’t, your setup isn’t flush or the surface isn’t truly level.
How to “zero” correctly
If your measurement tool offers a zero/reset function (many do), only zero on a surface you trust, then verify with the flip test. If you don’t have a known reference, don’t guess-zero—use relative leveling instead (measure difference between two points rather than assuming absolute level).
Troubleshooting level accuracy
- Camera bump rocking: Lay the phone with the bump hanging off the edge, or use a flat case.
- Soft surfaces: Carpet, foam, and even some wood can compress unevenly. Use a rigid board.
- Handheld readings: Your hands introduce micro-motions; brace against the workpiece.
2) Calibrating the compass (magnetometer)
The iPhone compass is the most sensitive to environment. Indoors, steel beams, electrical wiring, and appliances can bend magnetic fields and cause heading drift. Calibration here is as much about where you measure as how.
Do this first: remove interference
- Take off MagSafe wallets and magnetic mounts.
- Move away from metal furniture, vehicles, tool belts, speakers, and power panels.
- If you’re in a building with lots of steel, step outside for the initial calibration.
Figure‑8 calibration (when heading feels wrong)
- Hold the phone in front of you.
- Move it in a slow figure‑8 motion for 10–15 seconds.
- Rotate your body 360° while holding the phone steady and watch if the heading changes smoothly.
If the heading “snaps,” stalls, or swings wildly, you’re still in a distorted magnetic environment. Relocate and try again.
Verification test: map bearing cross-check
For navigation, don’t rely on a single compass readout. Cross-check your heading against:
- A known landmark direction (sun position, coastline, road orientation)
- Offline map bearing (draw a line between two known points and compare)
3) Barometer and altitude: calibrate by verifying, not “zeroing”
Barometric pressure changes with weather and microclimates. Indoors, HVAC systems and elevator shafts can create pressure differences that look like altitude swings. Unlike a carpenter’s level, barometer accuracy is best improved through verification and consistent measurement habits.
Best practices
- Let the phone acclimate: moving from a warm car to cold air can temporarily skew readings.
- Measure outdoors when possible to avoid building pressure zones.
- Use trends: pressure change over time is often more useful than a single number.
Verification methods
- Known elevation point: trailhead sign, survey marker, or a map with spot elevations.
- Nearby weather station pressure: compare against a trusted local report (note that station pressure vs sea-level pressure are different).
4) Ruler-style measurements: control perspective and reference size
When using a phone to measure objects (typically via camera or on-screen scaling), “calibration” means ensuring the app knows scale and your photo isn’t distorted.
Rules for better accuracy
- Keep the phone parallel to the object plane (avoid tilting).
- Use a known reference in the same plane as the object (e.g., a credit card, which is 85.60 mm wide).
- Fill the frame: small objects measured from far away amplify pixel error.
- Avoid wide-angle distortion: if possible, step back slightly and zoom a bit to reduce edge distortion.
5) Metal detection: baseline, then compare deltas
Phone “metal detector” tools typically detect changes in the magnetic field, not every metal type equally. Rebar mesh, screws, appliances, and even a magnetic phone case can trigger readings.
Calibration method: create a clean baseline
- Stand in an open area away from metal and electronics.
- Open the tool and note the baseline reading.
- Approach the target area and watch for consistent changes rather than one-off spikes.
For wall scanning, move slowly in a grid pattern and mark peaks, then confirm with a secondary method when safety matters (stud finder, borescope, or inspection hole).
Advanced: a simple stability check (for repeatable readings)
If your measurements jitter, you can improve repeatability by waiting for sensor stability. Conceptually, many tools do something like this:
// Pseudocode: wait until tilt readings stabilize
readings = []
while readings.count < 20:
  readings.append(currentTiltDegrees())
  sleep(0.05)

if standardDeviation(readings) < 0.05:
  acceptAverage(readings)
else:
  promptUser("Hold steady or brace phone")
You don’t need to code this—just apply the idea: brace the phone, pause a moment, then record.
Common calibration mistakes (and how to avoid them)
- Trusting indoor compass headings: calibrate outdoors and treat indoor headings as approximate.
- Measuring with the phone in a thick case: cases can prevent flush contact and introduce tilt errors.
- Assuming one calibration fits all tools: compass interference fixes won’t help a camera-based ruler.
- Skipping verification: the fastest way to confidence is a quick cross-check (flip test, known reference length, known bearing).
When your phone can’t be “calibrated” into accuracy
Sometimes the environment or hardware limitations win. Use dedicated tools when:
- You need certified precision for code compliance (structural work, critical alignments).
- You’re measuring near strong magnetic sources (industrial equipment, high-current lines).
- The phone has been physically damaged (drops can affect sensor alignment).
For everything else—hanging doors, leveling appliances, aligning frames, checking slopes, and basic backcountry bearings—good calibration habits and verification tests usually get you dependable results.
Putting it all together: a 60-second calibration routine
- Remove magnetic accessories and move to a low-interference spot.
- Run the flip test for level readings.
- Do a quick figure‑8 if compass headings seem off.
- Verify with one real-world reference (known length, known bearing, or known elevation).
If you prefer keeping these tools available offline in one place, an iOS toolkit app like Level Tool can make it easier to switch between level, compass, barometer, ruler-style checks, and other measurement utilities while applying the calibration habits above.
