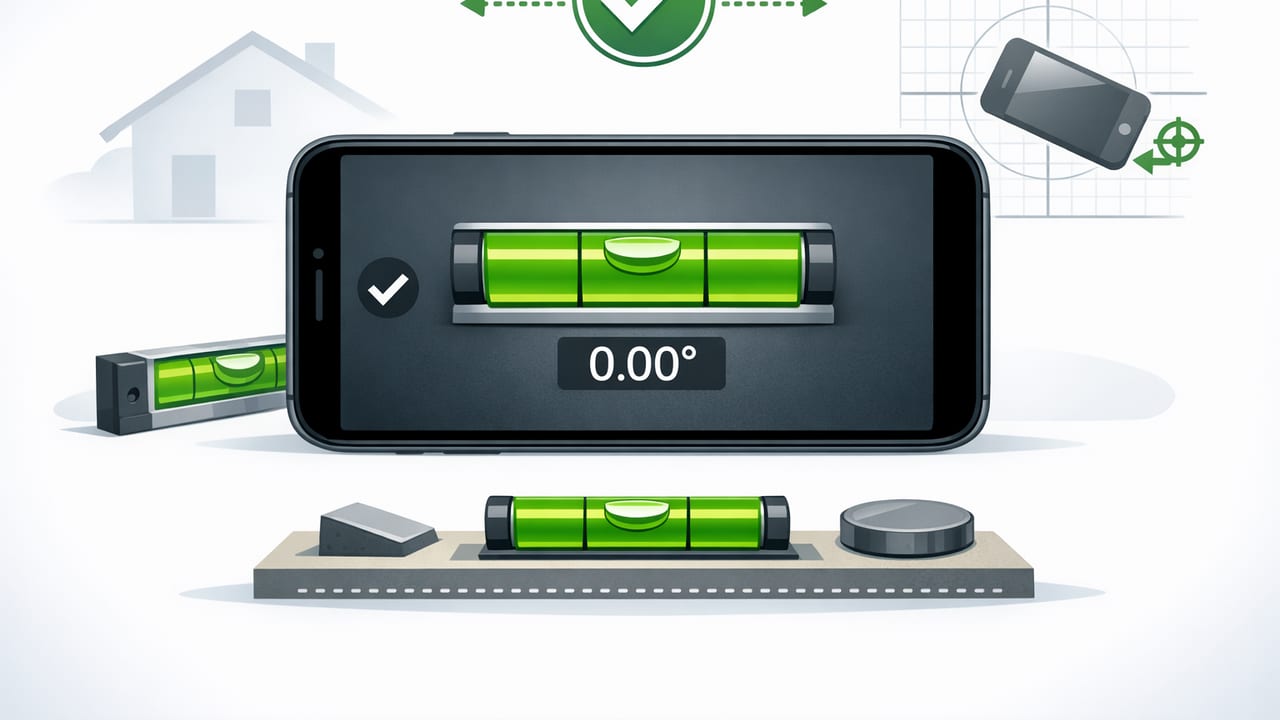
A phone “bubble level” is only as trustworthy as its calibration. If you’ve ever leveled a shelf, aligned a washing machine, or set the pitch on a bracket and later noticed a slight tilt, the culprit is often not your hands—it’s a sensor offset that wasn’t corrected. This guide shows exactly how to calibrate bubble level on iPhone accurately, verify your results, and maintain reliable readings over time.
We’ll keep it practical: you’ll learn a repeatable calibration method, a simple validation routine used by installers, and the most common reasons iPhone leveling can drift.
What “calibration” means for an iPhone bubble level
An iPhone level uses motion sensors (primarily the accelerometer and gyroscope) to infer gravity’s direction and convert it into angle/tilt. Over time, small offsets can develop due to:
- Sensor bias (tiny manufacturing tolerances and drift)
- Case/camera bump interference (phone doesn’t sit flat)
- Surface errors (your “flat” reference isn’t actually flat)
- Temperature changes (can influence sensor stability during warm-up)
Calibration is the process of defining what your app should treat as “0.0°” (level) and sometimes “90.0°” (plumb) based on known references.
Before you calibrate: set yourself up for accuracy
1) Use a trustworthy reference surface
Your calibration is only as good as your reference. Ideal options:
- A verified spirit level (24" or longer) on a rigid surface.
- A granite countertop (often flat, but still verify if possible).
- A thick piece of glass on a stable base (glass can be very flat).
If you don’t have a verified level, you can still calibrate accurately using the flip test described below, because it cancels out many surface errors.
2) Remove sources of “false tilt”
- Take the phone out of a bulky case (camera bumps and uneven case edges are common).
- Clean the back (dust grains can create measurable tilt).
- Disable motion-heavy handling (set the phone down gently and wait a second for readings to settle).
3) Let sensors settle
If your phone just came from a cold car or a sunny windowsill, give it a minute or two at room temperature. A short “settle” period improves repeatability.
The most reliable method: the flip test (zeroing without a perfect surface)
The flip test is the simplest way to calibrate bubble level on iPhone accurately because it works even if your reference surface is slightly off. You measure the tilt in one orientation, then rotate the phone 180° on the same spot and measure again. Any surface tilt stays the same, while the phone’s sensor offset reverses direction—letting you solve for the offset.
Step-by-step flip test (horizontal/level calibration)
- Pick a stable spot on your reference surface (mark it with tape if needed).
- Place the phone flat with the top edge pointing away from you.
- Record the reading (example: +0.6°).
- Rotate the phone 180° (top edge now points toward you) without changing the location on the surface.
- Record the second reading (example: -0.2°).
- Compute the offset as the average of the two readings.
Example: readings are +0.6° and -0.2°. The average is:
offset = (0.6 + (-0.2)) / 2 = 0.2°That means your app/phone is biased by about +0.2° in that axis. If your leveling tool allows a “calibrate” or “zero” action, you want it to subtract that offset so that the two flip readings become equal and opposite (e.g., +0.4° and -0.4°) or ideally both read 0.0° depending on the tool’s calibration model.
Step-by-step flip test (vertical/plumb calibration)
Many tasks need plumb (door jambs, posts, frames). Repeat the same concept against a stable vertical reference:
- Choose a rigid vertical surface (a known-straight door frame or a verified level on a wall).
- Hold the phone firmly against the surface (no rocking on camera bumps).
- Record the reading.
- Rotate the phone 180° (top becomes bottom) on the same spot.
- Record again and average the two readings to find offset.
Tip: if your phone rocks because of the camera bump, rest it on a thin, flat spacer (like a rigid card) so the contact points are consistent in both orientations.
When you should use a “known level” reference instead
If you have access to a verified spirit level or a precision straightedge, you can calibrate by matching a known true level/plumb rather than relying on a mathematical cancellation. This is useful when:
- You need the phone to agree with other tools on site.
- Your app supports only a simple “zero here” function (not per-axis correction).
- You want to calibrate on multiple axes (flat-back, side-edge) depending on how you use the phone.
The core rule: calibrate in the same physical orientation you’ll measure in. If you typically level using the phone’s long edge, calibrate using that edge. If you use the back, calibrate on the back.
Verification routine: prove it’s accurate before you trust it
After calibration, run a quick verification routine. This keeps you from “calibrating to a bad surface” or chasing noise.
The 60-second verification checklist
- Repeatability test: place the phone down three times in the same spot. Readings should be very close (often within ~0.1–0.2° depending on tool and surface).
- Flip symmetry test: do the flip test again. The two readings should be near-equal and opposite, or both near 0.0° if your tool zeros both states.
- Cross-check on a second surface: test a different countertop/table. If it’s wildly different, the surface may be uneven (or your earlier reference was).
If you’re doing finish work (trim, cabinets, tile lines), add one more check: compare the phone reading to a physical level on the same surface and confirm they agree within your tolerance.
How accurate can an iPhone bubble level be?
With careful technique, iPhone levels can be surprisingly useful for many tasks. But accuracy depends on the app’s filtering, calibration options, and how consistently the phone contacts the surface.
| Use case | Typical tolerance needed | Phone level suitability |
|---|---|---|
| Hanging frames, shelves (visual) | ~0.3–0.5° | Good with calibration + steady placement |
| Appliance leveling (washer, fridge) | ~0.2–0.5° | Good; verify on two axes |
| Deck posts, studs (plumb) | ~0.2–0.4° | Good; avoid rocking on camera bump |
| Cabinetry/trim installs (tight reveals) | ~0.1–0.2° | Possible, but cross-check with a quality level |
| Precision machine setup | <0.1° | Use dedicated instruments |
Common problems (and how to fix them)
| Problem | What you’ll notice | Fix |
|---|---|---|
| Uneven phone contact | Reading changes when you lightly press corners | Remove case; use a flat spacer; avoid soft surfaces |
| Bad reference surface | Calibration “works” on one spot but fails elsewhere | Use flip test; verify on a second surface |
| Sensor noise / drift | Numbers wander slowly even when untouched | Wait for settling; close motion-heavy apps; restart phone if needed |
| Temperature shock | Inconsistent readings after moving from cold/hot | Let device acclimate for a minute or two |
| Magnetic mounts/metal surfaces | Odd behavior when attached to a mount | Calibrate off the mount; measure with consistent mounting method |
Pro technique: reduce human error to near zero
Use “bracketing” for critical work
When you need confidence, don’t take a single reading—take three:
- Place the phone, note the angle.
- Lift, place again, note the angle.
- Repeat once more and average mentally.
If one reading is an outlier, it’s usually placement or a speck under the phone.
Calibrate for the orientation you actually use
Some people “level” by laying the phone on its back; others put the long edge on a surface like a mini straightedge. Those two methods can yield different results if the phone’s back isn’t perfectly parallel to its internal sensor axes (or if the camera bump affects contact). If your tool supports it, calibrate both orientations and stick to one workflow.
Quick field workflow (bookmark this)
Field routine: Remove case → choose a stable spot → run flip test → verify repeatability → start the job → re-check if temperature or setup changes.
This routine is fast and prevents the most common “it looked level yesterday” surprises.
FAQ: bubble level calibration on iPhone
How often should I calibrate?
Calibrate whenever you notice inconsistency, after major temperature changes, after an iOS update (rarely necessary but easy to confirm), or before high-visibility work like cabinetry and trim. For casual tasks, once in a while is usually enough.
Can I calibrate without any tools?
Yes—the flip test is designed for that. It doesn’t require a perfectly level surface, only a stable one where you can place the phone in the exact same spot and rotate it 180°.
Why does my level differ from a small torpedo level?
Small physical levels can be less accurate than longer levels, and they’re also sensitive to where they sit on the surface. If you see disagreement, cross-check using a longer verified level or compare both tools using the same flip method (flip the physical level end-to-end and see if it reads the same).
Final tip: choose a level tool that supports calibration and dual-axis views
Not all iOS level apps handle calibration the same way. Look for features like one-tap calibration, dual-axis leveling, and stable readouts you can verify with a flip test. If you prefer an offline toolbox that bundles multiple measurement utilities, Level Tool is one option that includes a bubble level alongside other sensor-based instruments.
