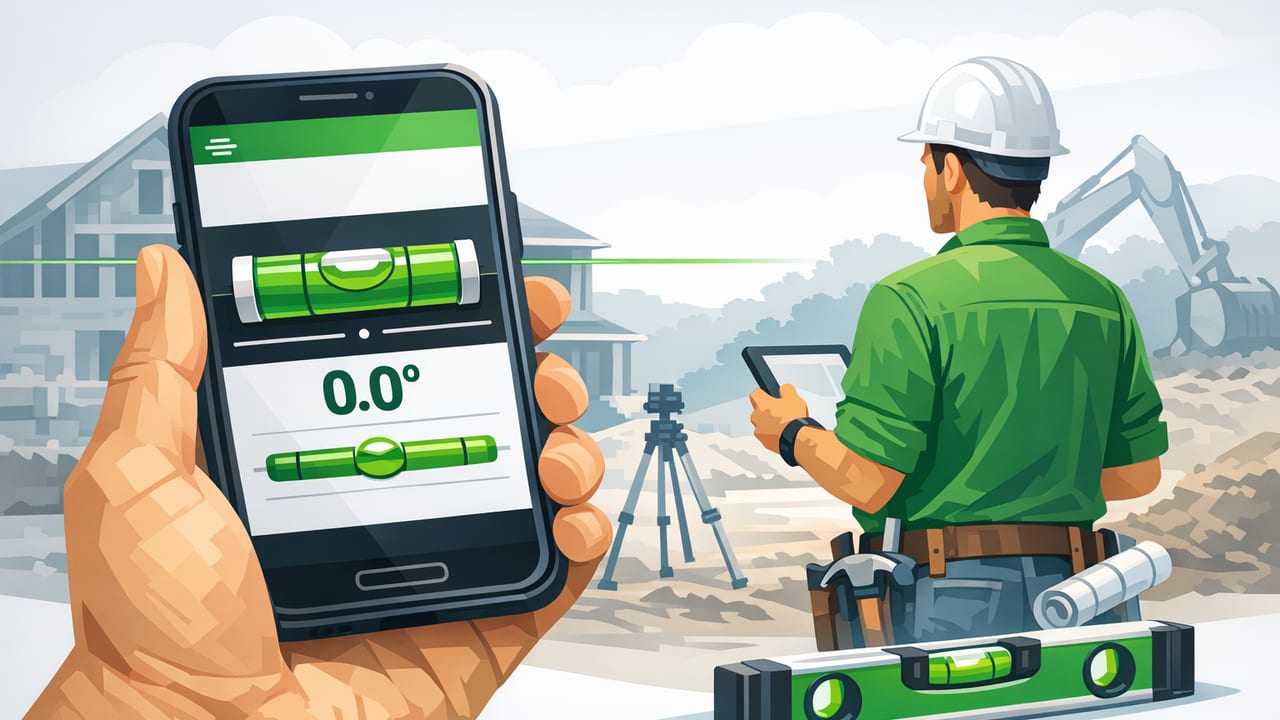
On a busy jobsite, speed matters—but so does confidence in your measurements. Contractors increasingly use iPhones for quick checks: plumb a stud, confirm pitch on a drain line, verify a cabinet run, or transfer a reference line across a room. The best results come from treating your phone like a real instrument, not a toy.
This guide explains how to choose and use a professional leveling app for contractors, how to calibrate it, and how to build reliable jobsite workflows around it—especially when you need results offline and in the field.
When a Phone Level Makes Sense (and When It Doesn’t)
A phone-based level is ideal for rapid verification, quick layout checks, punch-list fixes, and confirming what you already suspect. It’s also great when you need one tool to do multiple jobs (level, slope, compass, basic measuring) without hauling extra gear.
Great use cases
- Cabinet and countertop installs: confirm level runs, spot shims fast.
- Door and window work: quick plumb checks on jambs and rough openings.
- Deck framing: verify beam level, check stair stringer angle consistency.
- Tile layout: check substrate flatness trends and slope to drain.
- Service calls: quick diagnostics without setting up long levels.
Not the right tool when
- You need long-distance reference (e.g., across large slabs or multi-room layouts) where a rotary/line laser or optical level is the standard.
- You’re working under conditions that compromise placement: heavy vibration, unstable surfaces, or soft/uneven contact points.
- You require documented tolerances for specs where certified instruments are mandated.
Rule of thumb: use a phone level to verify and troubleshoot; use dedicated leveling instruments to establish primary control lines on critical installs.
What “Professional” Means in a Leveling App
Not every level app is suitable for jobsite work. A professional leveling app for contractors should behave like a tool: consistent readings, clear UI, and features that reduce user error.
Key features to look for
- Dual-axis leveling: shows both pitch and roll, so you can correct twist, not just one direction.
- Plumb + level modes: simple switching between horizontal and vertical checks.
- Fine resolution display: degrees (°) plus slope (%), or at least stable decimal degrees.
- Calibration control: an easy way to zero the tool on a known reference.
- Hold/freeze reading: useful when you can’t keep eyes on the screen while adjusting.
- Offline operation: no signal needed, no login prompts, fewer interruptions.
Practical UI details that matter on-site
- High contrast for sunlight readability.
- Large targets you can hit with gloves.
- Orientation lock so the interface doesn’t flip mid-check.
How Phone Leveling Works (So You Know What to Trust)
iPhones estimate orientation using built-in motion sensors—primarily the accelerometer and gyroscope—combined through sensor fusion. In plain terms: the phone measures gravity’s direction and your device’s rotation, then converts that into angles.
Understanding limitations helps you avoid false confidence:
- Contact surface matters: a phone on a rough stud edge can “rock” and give jumpy values.
- Cases and camera bumps matter: anything that prevents full contact can bias the reading.
- Temperature and time drift: sensors can drift slightly; calibration and repeat checks help.
Calibration: The 2-Minute Routine That Makes Results Reliable
Calibration is the difference between “close enough” and “jobsite dependable.” You don’t need a lab; you need a consistent reference and a repeatable method.
Best practice: the flip test
- Find a known-flat reference: a quality level on a stable surface, a verified countertop, a cast iron table saw top, or a straightedge spanning sawhorses.
- Place the phone flat and note the reading (don’t chase the last digit; let it settle).
- Rotate 180° on the same spot (top-to-bottom), keeping the same contact area.
- Compare readings: if the numbers don’t mirror (e.g., +0.2° and -0.2°), calibrate/zero the app and repeat.
Tip: If you work across multiple sites, calibrate at the start of the day and after any major drop, case change, or iOS update.
Common calibration mistakes
- Zeroing on a surface that’s convenient but not verified (a random slab corner, a warped bench).
- Calibrating with the phone sitting on screws, grit, or uneven texture.
- Calibrating while holding the phone in the air instead of placing it flat and stable.
Jobsite Technique: Getting Repeatable Readings
Even a great app can’t overcome sloppy placement. Use these habits to get consistent, defensible results.
1) Create a stable contact point
- Wipe dust and chips off the surface.
- Remove bulky cases if they cause rocking.
- Use a straightedge or known-flat bar as an interface when the surface is narrow or irregular (e.g., checking a stud edge).
2) Use “average” reading, not “instant” reading
When the number flickers, settle the device and take a mental average. Micro-movements in your hands or vibrations from tools can make the last decimal meaningless.
3) Check both axes before you shim
Many install problems are actually twist. Dual-axis viewing helps you avoid chasing one direction while introducing error in the other.
4) Confirm by repetition
Take the reading, lift, re-seat, and measure again. If you can’t reproduce the result within your tolerance, improve the contact surface or recalibrate.
Degrees vs. Percent Slope: Speak the Same Language as Specs
Contract specs often call out slope as a percentage (e.g., 2% for drainage), while some tools show degrees. Knowing the conversion keeps you from guessing.
| Degrees (°) | Approx. % Slope | Typical Use |
|---|---|---|
| 0.5° | 0.9% | “Nearly level” checks, subtle fall |
| 1.0° | 1.7% | Light drainage / tolerance checks |
| 1.15° | 2.0% | Common drainage slope target |
| 2.0° | 3.5% | Noticeable pitch on short runs |
| 5.0° | 8.7% | Steeper ramps / transitions |
If your app shows degrees and you need percent slope:
%slope = tan(degrees × π/180) × 100Example (2% slope target):
degrees = arctan(0.02) × 180/π ≈ 1.15°A Contractor Workflow: Fast Checks That Reduce Rework
Here’s a repeatable workflow that contractors use to turn quick phone checks into fewer callbacks.
Before you start
- Calibrate using the flip test.
- Set your tolerance for the task (e.g., cabinets tighter than rough framing).
- Choose a reference surface and stick with it for that phase of work.
During install
- Establish a baseline: measure the reference point you will shim to (floor high spot, ledger, or a verified straightedge).
- Spot-check critical points first: ends and centers, corners and transitions.
- Correct in big moves, then refine: shim/adjust, then re-check. Don’t chase tiny changes while the assembly is still floating.
- Re-check after fastening: fasteners can pull material out of plane.
After install
- Verify repeatability: re-seat and confirm.
- Document if needed: take photos of the reading at key points (especially on punch-list items).
Offline Reliability: Why It Matters on Real Jobsites
Basements, remote builds, metal buildings, and large commercial interiors can all be signal-dead zones. An app that works fully offline avoids delays and keeps your workflow consistent. Offline functionality also reduces the risk of surprise logouts, forced account prompts, or features disappearing when you need them most.
From an operations perspective, “offline-first” tools support:
- Predictable access during inspections and walk-throughs.
- Fewer interruptions when you’re moving room-to-room.
- Consistent behavior across job sites with variable connectivity.
Quick Comparison: Phone Level App vs. Traditional Tools
| Task | Phone Level App | Traditional Tool Advantage |
|---|---|---|
| Fast plumb/level check on small area | Excellent speed and convenience | Box level may be faster with one hand |
| Long reference line across a room | Limited (depends on technique) | Laser/optical level is the standard |
| Slope checks on short runs | Very good if calibrated | Digital level offers dedicated mounting and rigidity |
| Multi-tool needs (level + compass + ruler) | Strong value: one device, many functions | Separate tools can be more specialized |
Choosing the Right App: A Short Checklist
- Accuracy controls: calibration/zero, stable readings, dual-axis.
- Field usability: big numbers, high contrast, easy mode switching.
- Offline by default: no dependence on signal for core features.
- Transparent limitations: doesn’t promise unrealistic precision.
- No friction: minimal setup so you’ll actually use it.
Final Takeaway
An iPhone can absolutely function as a professional leveling app for contractors when you use it with a contractor mindset: calibrate, control the contact surface, repeat for confirmation, and apply the right tool for the right scope. Done well, it becomes a reliable “always in your pocket” instrument that speeds up decisions and reduces rework.
If you’re looking for an offline iOS option that bundles multiple measurement tools (including leveling) into one app experience, Level Tool is one example worth evaluating against the checklist above.
