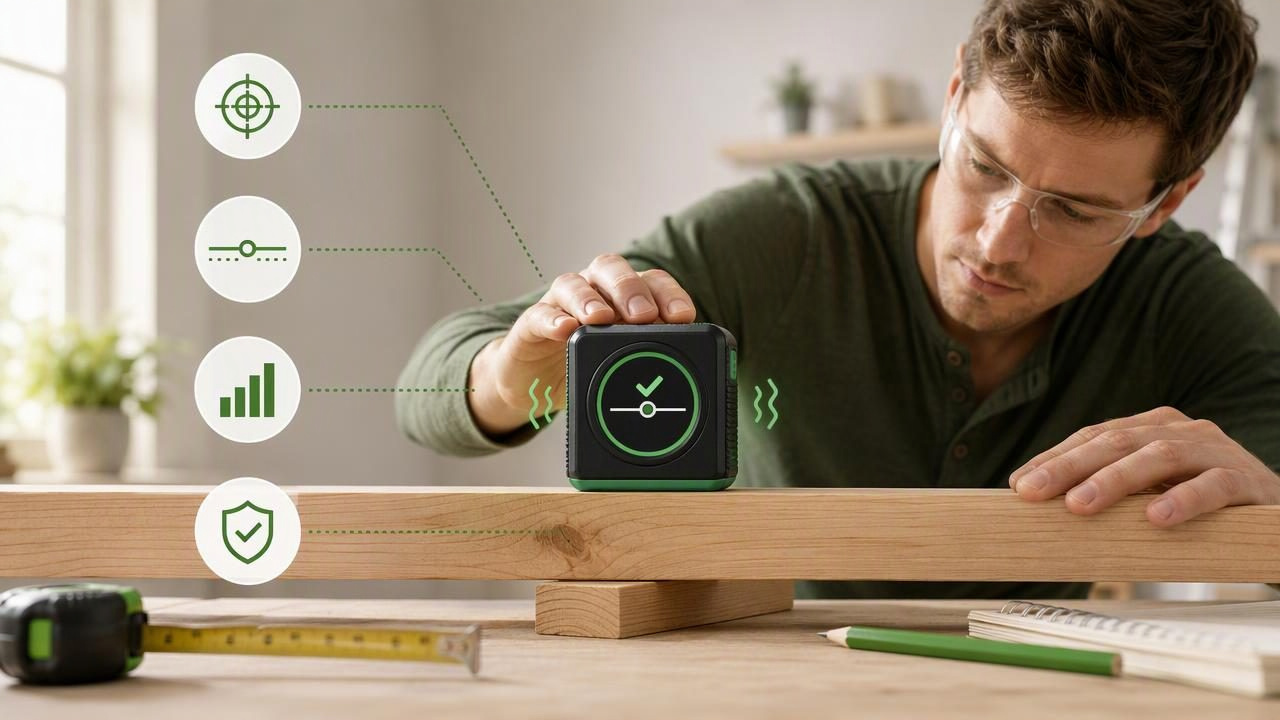
A haptic level tool for DIY beginners can make simple alignment tasks less stressful. Instead of constantly watching a screen while holding a shelf bracket, picture frame, or cabinet rail in place, you can use vibration feedback as a prompt that tells you when you are approaching your chosen level or angle target.
That convenience does not replace careful setup. An iPhone level relies on the device's motion sensors, so accurate results depend on proper calibration, solid contact with the item being measured, and repeating the reading before you drill, cut, or fasten anything permanently. Used correctly, haptic feedback can help you work more confidently while keeping your attention on the project.
This guide explains what haptic leveling does, how to set up a reliable reference, and where an iPhone angle meter is most useful for beginner DIY and home improvement projects.
What Is a Haptic Level Tool?
A haptic level tool uses your phone's vibration motor to provide physical feedback during leveling or angle measurement. Depending on the app and its settings, vibration may indicate that the phone has reached a target, is within an acceptable tolerance, or is close to level.
Traditional bubble levels require you to look directly at the vial. A digital level displays the measurement numerically or graphically on screen. Haptic feedback adds another signal: you can feel the result while continuing to watch the shelf, workpiece, wall, or mounting hardware.
For a DIY beginner, this can be helpful when both hands are occupied. For example, while aligning a curtain rod bracket, you may hold the phone against a straight reference edge with one hand and make a minor adjustment with the other. A vibration cue can tell you to pause and check the final number rather than repeatedly shifting your gaze between the wall and display.
However, haptics are a guidance feature, not a guarantee of perfect installation. Always inspect the displayed angle, check the surface contact, and repeat the measurement before committing to a final position.
Why Haptic Feedback Helps With DIY Projects
Many home improvement tasks require small, gradual adjustments. A shelf can look straight but still slope enough for round objects to roll. A wall-mounted rail may be level at one end but twist slightly along its length. Vibration feedback is useful because it can reduce the need to constantly look down at the phone during those small corrections.
- Less screen checking: You can concentrate on the physical item as you make adjustments.
- Better control: Feedback can help you stop when you enter the target range instead of overcorrecting.
- Useful in awkward positions: It is easier to receive a vibration cue when the screen is hard to view, such as above shoulder height.
- Helpful for gradual changes: A haptic signal can make subtle movement easier to notice while shimming furniture or adjusting a bracket.
- More accessible feedback: Vibration and sound can provide alternatives to relying only on visual indicators.
Still, vibration is only as reliable as the setup behind it. If the phone is resting on a screw head, touching a curved surface, or placed on loose material, the reading may not represent the true angle of the object.
Understand Level, Plumb, Angle, and Tolerance
Before using a digital spirit level, it helps to know what result you are trying to achieve. These terms are related but not interchangeable.
| Measurement | Meaning | Beginner DIY example |
|---|---|---|
| Level | Horizontal relative to gravity | Installing a floating shelf |
| Plumb | Vertical relative to gravity | Checking the side of a door frame |
| Angle | The amount of tilt from a reference | Setting a 45-degree support brace |
| Tolerance | An allowed range around the target | Accepting a small variation for a decorative frame |
A tolerance matters because not every task needs the same precision. A shelf intended for books may deserve a tighter target than a rustic wall sign. Conversely, a deliberate drainage slope should not be leveled at all; it needs a specific angle established by the project requirements.
Set the target first, then use haptic feedback to help approach it. Do not assume a vibration always means “perfectly level” without checking what the app's chosen feedback setting means.
Set Up Your iPhone for Repeatable Readings
Repeatability is the most practical test for a DIY measurement. If you place the phone on the same surface several times and get nearly the same reading, your setup is more dependable. If the number changes substantially without the object moving, stop and investigate the contact surface, calibration, or phone placement.
1. Choose a flat contact area
Place the phone on a clean, stable, reasonably flat section of the object. For a shelf, this may be the top surface. For a narrow board, use a straightedge wide enough to support the phone evenly, then measure the straightedge rather than balancing the device on an edge.
Avoid measuring on protruding fasteners, thick paint drips, soft carpet, loose sawdust, or curved trim. Even a small obstruction can tilt the phone and create a misleading reading.
2. Calibrate against a trusted reference
Calibration aligns the app's reference with a surface you have reason to trust. Choose a stable, known-level surface or use a verified physical level as a reference. Keep the iPhone still while completing the app's calibration process.
Do not calibrate on a surface merely because it appears level. Floors, countertops, vehicles, and outdoor paving can have intentional or unintentional slope. If you calibrate to an unknown surface, every later result may be consistently offset.
3. Keep the device orientation consistent
Use the same edge or face of the phone for each comparison. A phone case, raised camera area, damaged screen protector, or uneven back can affect how the device sits. If possible, remove a bulky or uneven case for critical work, then place the phone in the same orientation each time.
4. Take multiple readings
Read the angle, lift the phone, place it back down, and read again. Repeat this at least two or three times. For a long shelf or rail, measure near both ends and near the center. This exposes twist, sag, and uneven contact that a single measurement can miss.
Concrete Example: Leveling a Wall Shelf With Haptic Feedback
Imagine you are installing a 900 mm wall shelf. The wall is uneven, the shelf board is long, and you are working alone. Here is a practical approach that uses haptic feedback without relying on it blindly.
- Mark the approximate height. Draw light placement marks for the brackets based on your desired shelf height.
- Check the shelf board. Lay it on a flat work surface and take readings near both ends. This does not prove the board is straight, but it can reveal an obvious warp or issue with your measuring setup.
- Calibrate before installation. Use a trusted level reference, not the floor or an unverified countertop.
- Rest the phone on the shelf. Ensure it is fully supported and not rocking on a raised feature.
- Adjust slowly. Raise or lower one side in small increments. Use the vibration cue to know when you are nearing your selected tolerance.
- Confirm visually and numerically. When feedback occurs, look at the display and verify the actual angle rather than fastening immediately.
- Measure three locations. Check the left side, center, and right side of the shelf. A level reading at one location does not necessarily mean the entire board is level.
- Secure and recheck. Tightening screws can shift a bracket. Check again after fastening, then make adjustments if the hardware allows.
This method combines sensor feedback with practical verification. The haptic cue speeds up the adjustment phase, while the repeated measurements reduce the chance of installing a shelf that is subtly tilted or twisted.
When an Angle Target Is Better Than “Level”
Not every DIY task should end at 0 degrees. An angle meter is especially useful when a project calls for a planned slope or a matching angle. Examples include checking a stair handrail angle, setting a support brace, aligning a ramp, or comparing the pitch of two pieces of trim.
For instance, if a brace needs to be positioned at 45 degrees, place the phone against a straight, flat reference face on the brace. Move the brace gradually until the display reaches the desired target. Haptic feedback can assist as you approach the angle, but the final value should remain the decision point.
For additional details on using your phone as an angle reference, Level Tool's iPhone angle measurement guide explains practical setup considerations for DIY measurements.
Limitations of a Phone-Based Haptic Level
An iPhone measurement app is convenient, but it has limits. Understanding them helps you choose the right tool and avoid overconfidence.
- It needs physical contact: The phone must rest against or on a suitable reference surface. It cannot determine an angle accurately from a photograph of a wall or object.
- It measures the phone's orientation: It does not automatically know whether the surface beneath the phone is flat, bowed, or twisted.
- It is not a certified instrument: For regulated, structural, safety-critical, or contractual work, follow applicable requirements and use appropriately specified professional equipment.
- Haptics may be missed: Vibration can be difficult to notice in noisy, busy, or heavily gloved work conditions. Check the visual reading too.
- It cannot lift or stabilize objects: A level app can identify tilt, but it cannot automatically level an RV, raise a vehicle, or replace safe jacking and support procedures.
- Surface conditions matter: Wet, dirty, hot, vibrating, or unstable surfaces can make placement difficult and readings less repeatable.
Best Practices for Beginner DIY Accuracy
Use a haptic level tool as part of a simple verification routine. Start with a clear target, calibrate using a reference you trust, keep solid device contact, and take repeated readings from more than one location. If a measurement seems surprising, do not force the project to match it. Check the phone placement, flip the reference tool if applicable, and measure again.
A useful rule: Haptic feedback tells you when to stop and inspect; repeated measurements tell you whether to trust the result.
For short decorative jobs, this process may take only a minute. For longer rails, shelving, cabinets, or outdoor structures, the extra checks are worth the time because small errors become more visible across distance.
Make Haptics a Helpful DIY Assistant
A haptic level tool for DIY beginners can make alignment more manageable by adding vibration feedback to familiar level and angle readings. It is particularly useful when you need to make tiny adjustments while watching the work itself rather than the phone screen.
The most reliable results come from disciplined use: calibrate from a known reference, place the device firmly on a flat contact surface, define a sensible tolerance, and confirm the reading at several points. Treat vibration as a helpful cue—not proof—and you can use an offline iOS measurement tool with greater confidence on shelves, frames, brackets, trim, and many other home improvement tasks.
