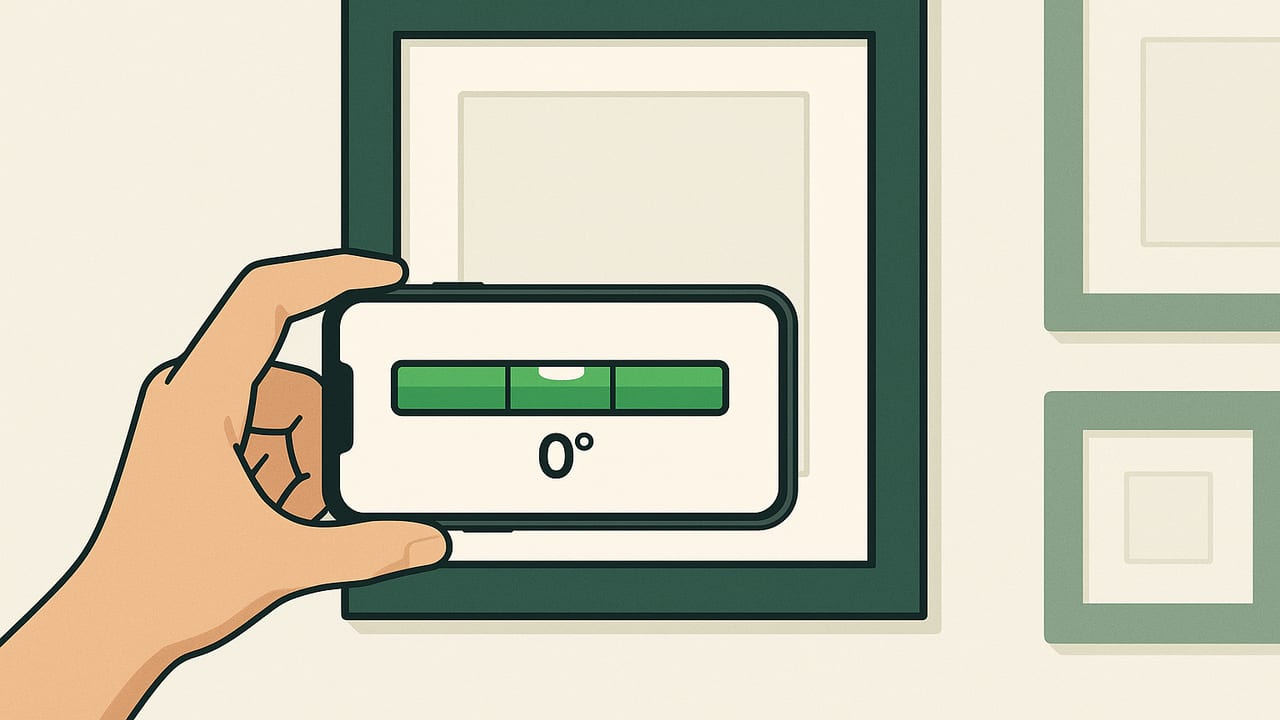
If you’ve ever stepped back from the wall and noticed your art leans a few degrees off, you’re not alone. The good news: you can hang picture frames straight using your phone—no bulky tools required. Modern smartphones contain precise sensors (accelerometer, gyroscope, magnetometer) that, when paired with a level app and a few simple techniques, rival a torpedo level for everyday picture hanging.
This step-by-step guide covers single frames and gallery walls, exact nail-height math, calibration tips, and common pitfalls. Follow along and you’ll get perfectly level lines without overthinking it.
What You’ll Need
- Your phone with a reliable level app (dual-axis view preferred)
- Painter’s tape and a pencil
- Measuring tape
- Hammer and appropriate nails or wall anchors
- Optional: microfiber cloth to clean the phone edge and frame, small torpedo level as a cross-check
Prep: Calibrate and Set Up Your Phone
Before you hang picture frames straight using your phone, take a minute to ensure the readings are accurate.
- Remove magnetic cases or accessories. They can disturb the phone’s sensors and add wobble.
- Calibrate the level. Open your level app and follow its calibration prompts on a known flat surface, like a kitchen countertop. Flip the phone 180° and repeat to reduce bias.
- Clean contact edges. Wipe the top edge of the frame and your phone’s edge so they sit flush without grit.
- Decide orientation. For leveling the top of the frame, hold your phone flat on the top edge. For vertical plumb, rest it along the side.
Pro tip: If your phone’s camera bumps prevent a flat contact, use a thin straightedge (like a paint stirrer) between the frame and phone.
Step-by-Step: Hang One Frame Perfectly Level
1) Choose the height
Designers often use a “center at 57 inches” guideline as a comfortable eye-level height for most rooms. Measure up from the finished floor and make a small pencil mark for the frame’s center point. Adjust for furniture or sightlines as needed.
2) Measure the frame’s hanging offset
Flip the frame over and determine the distance from the top edge to the point where it will hang on the nail. This depends on your hardware:
- Sawtooth hanger: Measure from the top edge to the bottom of the sawtooth slot where the nail will seat.
- D-rings (no wire): Measure from the top edge down to the center of the D-ring mounting hole.
- Hanging wire: Pull the wire taut upward (as it will sit on the nail) and measure from the top edge to the peak of the taut wire.
3) Calculate exact nail height
Use this simple formula to place your nail so the frame’s center hits your target center height:
Let H = desired center height (inches from floor)
Let FH = frame height (inches)
Let D = distance from top edge of frame to hanging point (inches)

Nail height from floor = H + (FH / 2) - D
Example: For a 20-inch-tall frame with a 2-inch wire offset and a target center of 57 inches, nail height = 57 + 10 - 2 = 65 inches.
4) Mark your wall
- Measure up to your nail height and make a tiny pencil dot.
- Place a small square of painter’s tape over the dot to protect the wall finish.
- Re-mark the dot on the tape so you can see it clearly.
5) Place the nail or anchor
- Drywall, light frames: A standard nail at 10–15° upward works well.
- Heavier frames: Use wall anchors rated above the frame’s weight. If possible, hit a stud.
- Masonry: Use appropriate masonry anchors and a drill.
6) Hang and level with your phone
- Hang the frame on the nail and lightly snug it against the wall.
- Open your level app’s dual-axis mode.
- Place the phone flat on the top edge of the frame. Nudge the frame left or right until the horizontal axis reads level (0°).
- Check vertical plumb by placing the phone along one side edge. Adjust if needed. For wire-hung frames that drift, a second nail can stabilize.
Gallery Walls: Straight Lines and Even Spacing
To hang multiple picture frames straight using your phone, plan the layout first, then execute a clean reference line.
1) Plan the grid or collage
- Grid layouts: Keep spacing uniform—typically 2–3 inches between frames.
- Gallery-style collages: Still pick one strong baseline or centerline to avoid visual drift.
- Paper templates: Trace frames onto kraft paper, mark the hanging point on each template, and tape them to the wall to preview.
2) Strike a level reference line
There are two easy options:
- Painter’s tape level: Use your phone’s level to place a strip of painter’s tape perfectly level as your baseline. Adjust the tape until your phone reads 0° on top of the tape, then press it down.
- AR overlay: Some apps display a horizontal/vertical guide line using the camera view. Align your frames visually to that line for rough placement, then verify with a physical level reading on the frame edge.
3) Transfer measurements for each frame
- For each frame, measure its hanging offset D (as above) and the frame height FH.
- Decide the center height line (e.g., 57 inches or the top/bottom of your tape line).
- Use the formula to mark nail heights for each frame relative to your baseline.
4) Hang, then fine-tune with your phone
After placing all nails, hang each frame and quickly verify level at the top edge with your phone. Nudge until the app reads level; use two nails for frames that twist.
Choosing the Right Reference: Don’t Trust Crooked Ceilings
Homes settle. Floors and ceilings are often a bit out of level. Always trust your phone’s level for the line you want to look straight, rather than aligning to ceilings or floors. If something looks visually off after leveling, step back 8–10 feet and make a small subjective adjustment—but anchor your layout on one accurate, measured baseline.
Finding Solid Support: Nails, Anchors, and Studs
- Drywall only: For light frames, a nail may suffice. For heavier frames, use toggle bolts or screw-in anchors rated above the frame’s weight.
- Studs: Hitting a stud offers superior support. A phone’s magnetometer can help locate drywall screws in studs—sweep slowly along the wall until you sense metal, then confirm by spacing (usually 16 or 24 inches on center). Always verify before drilling.
- Masonry: Use proper anchors and a masonry bit. Mark carefully; small errors are harder to fix on brick or stone.
Common Problems and Quick Fixes
- Frame won’t sit level: Use two nails spaced 2–4 inches apart to minimize swing, then re-level with the phone.
- Frame rotates after a day: Add a tiny bit of museum putty at the bottom corners to keep it locked in place.
- Sawtooth hanger skewed: Bend gently with pliers or replace; a crooked hanger will fight you.
- Phone readings vary by a degree: Re-calibrate and flip orientation. Ensure you’re not pressing unevenly on a beveled frame edge.
- Gaps at the wall: Check that the hanging hardware isn’t bottoming out; shorter nails or different hooks may help.
Technique: Leveling With Your Phone Like a Pro
- Stabilize your stance. Plant your feet and relax your shoulders before taking a reading.
- Use the longest straight edge available. The longer the contact surface, the more stable the reading.
- Read both axes. Horizontal level first (top edge), then vertical plumb (side edge).
- Take a second reading. After nudging the frame, remove the phone, let the frame settle, and re-check. Surprising micro-movements disappear after a few seconds.
Method Comparison: What Works Best?
| Method | Best For | Pros | Limitations |
|---|---|---|---|
| Phone bubble level (dual-axis) | Most frames, single and gallery | Fast, precise, readily available | Needs calibration; phone edge must sit flat |
| Painter’s tape baseline | Gallery walls | Clear visual guide, protects paint | Still need to measure nail offsets |
| AR camera guide lines | Quick visualization | Easy to preview alignment | Less precise; always verify with contact level |
| Physical torpedo level | Thick frames or tricky edges | Rigid contact, no battery | Extra tool to carry; not as handy as a phone |
| Laser line (standalone tool) | Large walls, multiple frames | Projects a bright, room-wide line | Cost and setup; phone can usually replace for small jobs |
Advanced Tip: Perfect Nail Heights for Mixed Hardware
When mixing sawtooth, wire, and D-rings in one layout, compute each nail height individually so all centers align. Keep a quick cheat sheet:
- Wire: Measure D with wire pulled taut. Use the nail formula.
- Sawtooth: Measure to the lowest inner notch point where the nail rests.
- D-rings: If you hang from both rings on two nails, measure down to ring centers; ensure both nails are perfectly level with your phone before hanging.
Safety and Surface Care
- Ladders: Stand on a stable step stool and keep your hips within the rails. Don’t reach too far.
- Wires: Avoid drilling where power lines might run (typically vertically above outlets). When in doubt, use a detector and proceed carefully.
- Paint protection: Painter’s tape under the nail spot prevents flaking and gives a clean mark.
Quick Checklist
- Calibrate phone; remove magnetic case
- Choose center height and mark it
- Measure frame height and hanging offset
- Compute nail height and mark with tape
- Install nail/anchor
- Hang, then level top and side with phone
- For galleries: set a level tape baseline, repeat per frame
Troubleshooting Sensor Accuracy
If readings drift or seem inconsistent:
- Recalibrate. Flip the phone and recalibrate on a different flat surface.
- Eliminate magnetic interference. Keep magnets and metal objects away from the phone while leveling.
- Check app units and sensitivity. A finer sensitivity display (0.1° increments) helps with micro-adjustments.
With these techniques, you can hang picture frames straight using your phone quickly and confidently. A dual-axis level, a measured baseline, and a few clean marks are all it takes to transform a wall from “almost right” to professionally aligned.
Looking for a precise, offline measurement toolkit on iOS that includes a bubble level, compass, barometer, ruler, and more? Consider trying Level Tool for a unified, sensor-driven workflow without subscriptions.
