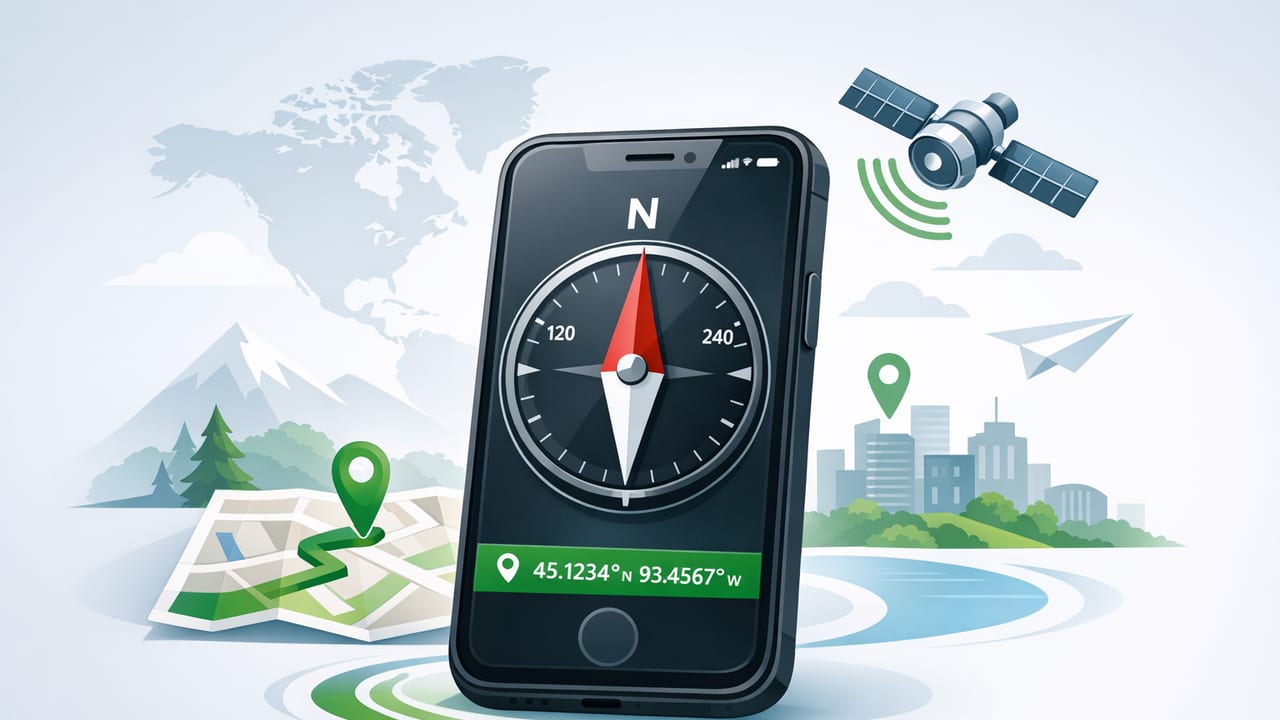
A good gps compass app can turn your iPhone into a practical navigation tool for hiking, driving to trailheads, fieldwork, boating near shore, and even simple tasks like finding the direction of a property line. But “compass” and “GPS” are often mixed together in confusing ways. Some apps show a heading that comes from the magnetic sensor, some show a direction of travel computed from GPS, and many blend multiple sensors to feel smooth.
This guide explains what’s actually happening under the hood, how to get more accurate readings, and how to use features like bearings, waypoints, and offline navigation responsibly.
GPS vs. Compass: What Your iPhone Is Really Measuring
An iPhone can determine direction in more than one way. Understanding the difference is the fastest path to more reliable results.
| Signal / Sensor | What it tells you | Strengths | Limitations |
|---|---|---|---|
| Magnetometer (Compass) | Magnetic heading (where the top of the phone points) | Works while standing still; instant response | Susceptible to magnetic interference; needs calibration |
| GPS | Location (lat/long) and speed; course over ground when moving | Not affected by nearby metal; good for tracking movement | Course is unreliable at low speed or when stationary; needs sky view |
| Gyroscope + Accelerometer | Rotation and tilt (device motion) | Smooths heading changes; enables tilt compensation | Drifts over time; still needs compass/GPS reference |
Many “GPS compass” screens actually show a fusion of these sources. If you’re standing still, the app may rely more on the magnetometer. If you’re walking steadily, it may rely more on GPS course over ground because it can be steadier than a magnetometer in a noisy environment.
Magnetic North vs. True North (and Why Declination Matters)
A compass points to magnetic north, not true north (the geographic North Pole). The difference between them is called magnetic declination, and it varies by location.
- True north is used by most maps, grid systems, and bearings referenced to “N” on topographic maps.
- Magnetic north is what a magnetometer senses.
Many navigation apps can display either True Heading or Magnetic Heading. If you’re matching a map bearing, use true north (or apply declination). If you’re simply orienting yourself locally or using a physical compass alongside your phone, magnetic can be fine—just be consistent.
Practical rule: If your bearing comes from a paper map, use true north (or correct for declination). If your bearing comes from another compass, use magnetic north.
How to Improve Accuracy in Any GPS Compass App
Small habits make a big difference. Most “bad compass” experiences come from interference, poor calibration, or unrealistic expectations when you’re stationary.
1) Calibrate the compass (the right way)
If an app prompts calibration, do it away from obvious interference. Avoid calibrating right next to vehicles, steel fences, toolboxes, rebar, speakers, or magnetic mounts.
- Step a few meters away from large metal objects.
- Remove magnetic phone accessories if possible.
- Move the phone smoothly; don’t “snap” motions.
2) Don’t expect GPS course to work while standing still
GPS can compute a direction of travel only when you’re moving. At very low speeds, your position “jiggles” due to normal error, and the computed course can swing wildly. If you need direction while stationary, rely on magnetic heading (properly calibrated) and hold your phone steadily.
3) Hold the phone in a consistent orientation
Some apps assume the phone is flat; others work best when held upright. For consistent readings:
- Hold the phone the same way each time you check a bearing.
- Keep it away from your watch clasp, rings, or metal belt hardware.
- Let the reading settle for a second before trusting it.
4) Get a better sky view for GPS
If you’re under dense canopy, between tall buildings, or in a canyon, GPS accuracy and stability can drop. If your app shows an accuracy radius, wait until it improves before saving a waypoint.
Bearings Explained: Heading, Bearing, Course, and Azimuth
Different apps use different words. Here’s how they generally map:
- Heading: where the phone points (magnetic/true, usually from magnetometer).
- Bearing to waypoint: the direction from your current position to a saved point.
- Course (over ground): direction you are moving (computed from GPS over time).
- Azimuth: often used interchangeably with bearing (a 0–360° angle from north).
For navigation, the most useful pairing is:
- Bearing to target (where you need to go), and
- Your current course/heading (what you’re actually doing right now).
Waypoints: How to Save Locations You Can Actually Use
Waypoints are only as good as the location accuracy at the moment you save them. To make them reliable:
- Pause and wait for the GPS accuracy to stabilize (especially in trees or near buildings).
- Save with context: name it clearly (e.g., “Car at Trailhead North Lot”) and add a note (entrance marker, milepost, trail sign).
- Record multiple points for tricky locations: if you’re marking a campsite area, save two points at opposite ends.
- Use a consistent coordinate format (Decimal Degrees vs. Degrees/Minutes/Seconds) so you can share it without conversion errors.
Coordinate formats (quick reference)
- Decimal Degrees: 37.7749, -122.4194 (easy to copy/paste)
- DMS: 37° 46' 29.64" N, 122° 25' 9.84" W (common on some maps)
- UTM / MGRS: popular for grid navigation and some outdoor maps
Offline Use: What “Offline GPS” Really Means
GPS itself does not require cellular data. Your phone can receive satellite signals and compute your location offline. What often does require data is:
- Loading map tiles
- Searching addresses/places
- Downloading route guidance
So, a gps compass app can remain useful offline for:
- Showing your coordinates
- Showing heading/bearing
- Pointing to a waypoint
- Basic track logging (if supported)
For offline trips, plan ahead:
- Download offline maps in your mapping app (if you need visuals).
- Save key waypoints before you lose service (trailheads, water sources, exits).
- Bring a backup battery; GPS use can be power-hungry.
Troubleshooting: Why Your Compass Points the Wrong Way
If the arrow seems wrong, check these common causes before you assume the app is broken:
Magnetic interference
- Car dashboards and phone mounts (magnets are common)
- Metal tables, rebar in concrete, steel bridges
- Power tools, generators, speakers
Calibration drift
If heading slowly rotates or jumps, recalibrate in an open area. Also try removing magnetic cases or accessories.
True vs. magnetic mismatch
If your map uses true north but your app shows magnetic (or vice versa), your bearing can be off by a noticeable amount depending on where you are.
Standing still while using GPS course
If the app uses GPS course prominently, take a few steady steps in a straight line to let it “lock” your direction of travel.
Optional: Calculating a Bearing Between Two Coordinates
Some advanced users like to sanity-check an app’s bearing to a waypoint. The initial bearing from point A to point B on a sphere can be calculated like this (simplified for typical navigation use):
// Inputs in radians
// lat1, lon1: current location
// lat2, lon2: destination

dLon = lon2 - lon1
x = sin(dLon) * cos(lat2)
y = cos(lat1) * sin(lat2) - sin(lat1) * cos(lat2) * cos(dLon)
initialBearing = atan2(x, y)  // result in radians
bearingDegrees = (initialBearing * 180 / PI + 360) % 360
This gives the initial bearing (forward azimuth). Real-world routes may deviate due to terrain, trails, and obstacles—use it as a directional reference, not a promise of a straight path.
Choosing a GPS Compass App: A Practical Checklist
When comparing options, look for these features and behaviors:
- True vs. magnetic heading toggle (or a clear indication of which is shown)
- Bearing to waypoint with distance readout
- Accuracy indicators (GPS accuracy radius, heading stability)
- Offline functionality for core tools (compass + coordinates) without requiring sign-in
- Clean UI that remains readable in sunlight (important outdoors)
Safety Notes for Real Navigation
Phone navigation is convenient, but don’t treat it as infallible:
- Carry a basic backup (paper map, simple compass) when it matters.
- Tell someone your plan and expected return time.
- In remote areas, battery management is part of navigation—low power mode helps.
Putting It Together: A Simple Field Workflow
Here’s a reliable routine you can repeat on hikes or site visits:
- Before leaving service, save key waypoints (car, trail junction, basecamp).
- Set the app to the north reference you’ll use (true for maps, magnetic for compass-only).
- When you need direction, first check for interference, then calibrate if needed.
- To walk to a waypoint, use bearing to waypoint plus your current course while moving.
- If readings get jumpy, slow down, get a clearer view of the sky, and re-check.
If you like keeping core tools available without connectivity, an offline iOS multi-tool suite (such as Level Tool) can complement navigation with other measurement utilities when you’re away from your workshop or job site.
