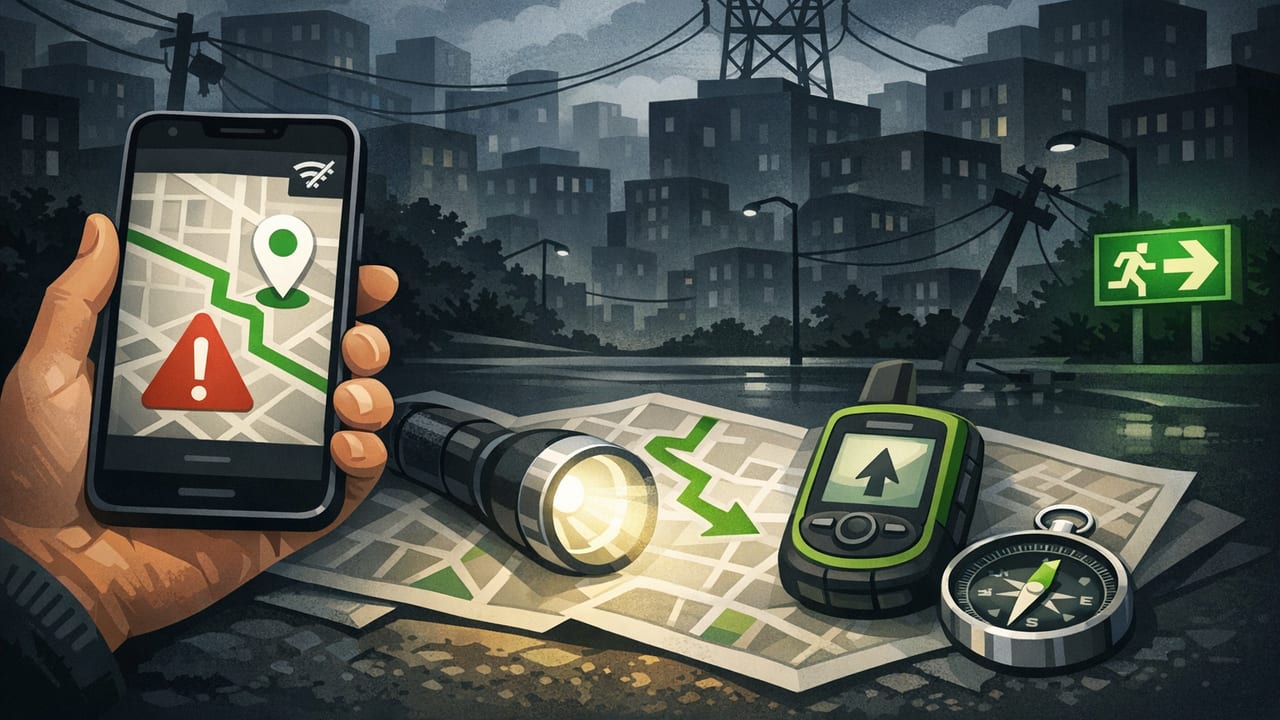
When the lights go out, it’s not just inconvenient—it can make simple navigation surprisingly hard. Streetlights fail, building hallways turn black, traffic signals stop working, and cellular networks can become overloaded. In those moments, emergency navigation during power outage offline becomes less about “finding the fastest route” and more about staying oriented, moving safely, and reaching a known safe point without relying on the internet.
This guide focuses on what still works on an iPhone when power and connectivity are unreliable, how to prepare ahead of time, and a step-by-step offline navigation workflow you can use in your neighborhood, at a campsite, or while traveling.
What “offline navigation” really means during a blackout
During a power outage, different systems fail in different ways:
- Wi‑Fi: Often goes down quickly (router + ISP equipment needs power).
- Cell service: May remain available, become slow, or fail after backup batteries at towers run out.
- GPS/GNSS: Usually continues to work because it relies on satellites—not the internet. However, map tiles and routing may not load without data.
- Your phone sensors: Compass, accelerometer/gyroscope, and barometer can continue to work offline.
So the goal is to combine offline maps + sensor-based orientation + a simple plan—while aggressively managing battery.
Offline navigation essentials on iPhone (what still works)
| Tool/Signal | Usually works offline? | How it helps during a power outage |
|---|---|---|
| GPS location (blue dot) | Often yes | Confirms where you are, even without internet (routing may not work). |
| Downloaded/offline maps | Yes (if downloaded in advance) | Lets you see streets/trails without data and plan a manual route. |
| Compass/magnetometer | Yes | Gives heading for maintaining direction when landmarks are hard to see. |
| Flashlight | Yes | Critical for indoor safety; also useful for signaling. |
| Barometer (pressure trend) | Yes | Helps anticipate weather changes if you may need to move outdoors. |
| Internet-based turn-by-turn routing | Maybe | Often unreliable if cellular networks are congested or down. |
Before the outage: a 15-minute offline setup that pays off
You don’t need a complicated system. You need a repeatable one. Here’s a practical setup that improves your odds of staying oriented when it matters.
1) Download offline maps for your “likely areas”
Pick the areas you’re most likely to be during an outage:
- Home neighborhood (at least a few miles around).
- Your commute corridor (home ↔ work/school).
- Frequent travel areas (family, cabin, favorite campground).
Use a mapping app that supports offline downloads. Verify that the map still displays with Airplane Mode enabled (a quick test you can do anytime).
2) Save three “no-thinking-needed” locations
In an emergency, decision fatigue is real. Save these in your phone:
- Primary safe point: home (or your hotel/camp).
- Secondary safe point: a nearby friend/relative or a public shelter location.
- Meet-up point: a simple landmark (a park entrance, a specific intersection).
3) Create a “blackout mode” battery routine
- Enable Low Power Mode.
- Reduce screen brightness significantly.
- Turn off background refresh (optional but helpful).
- If you don’t need calls, switch to Airplane Mode and manually re-enable GPS if needed (varies by app behavior).
- Carry a small power bank and a short cable.
4) Write down one paper backup
Offline navigation is best with redundancy. Write on a small card:
- Two key addresses (home + secondary safe point)
- Two phone numbers (in case your contacts don’t load or your phone dies)
- A simple “from here, go to…” instruction for your most likely route
During the outage: an offline step-by-step navigation workflow
This is the core process you can follow when you need to move—whether it’s walking home, relocating to a safer building, or navigating back to a trailhead.
Step 1: Stop, stabilize, and get a clear starting point
Before moving, do a 30-second reset:
- Move to a safe spot away from hazards (traffic, downed lines, unstable debris).
- Check your battery percentage and immediately reduce brightness.
- Decide whether you’re in “stay put” mode or “move now” mode.
If you’re indoors in a multi-story building, avoid elevators. Use stairs carefully with the flashlight and keep one hand free for railings.
Step 2: Confirm your location (even without data)
If you have offline maps, open them and look for:
- Your approximate location (GPS dot, if available).
- Nearest major roads, rivers, rail lines, or large parks (big features remain useful in the dark).
- A simple route that avoids bridges, tunnels, and high-traffic intersections if signals are out.
If GPS is weak (indoors or urban canyon), step outside, wait a minute, and try again. Don’t burn battery repeatedly refreshing—give the phone time to settle.
Step 3: Establish direction with a compass (then trust landmarks)
In low visibility, a compass helps prevent slow drift off course. Use it to set a general heading (for example, “keep moving northeast until the river”). Then use landmarks whenever you can:
- Road curvature
- Waterways
- Large buildings
- Ridgelines or treelines
Compass tip: If the compass behaves oddly, move away from cars, large metal fences, or power infrastructure. Magnetic interference can throw headings off.
Step 4: Choose the safest route, not the fastest
During a blackout, the best route often changes:
- Avoid intersections where traffic lights are out unless there are clear controls and visibility.
- Avoid dark shortcuts (alleys, isolated trails) if personal safety is a concern.
- Prefer known roads and well-defined edges (curbs, walls, fences) you can follow.
- Stay clear of downed power lines—assume they are live.
Step 5: Track progress with time and “handrails”
When turn-by-turn routing isn’t reliable, use simple progress checks:
- Time blocks: “Walk 10 minutes, then reassess.”
- Handrails: Follow a single guiding feature (a main road, a creek, a long fence line).
- Checkpoints: Identify 2–3 intermediate points (a gas station, a bridge, a school).
This method reduces wrong turns, which saves battery and keeps you calmer.
Step 6: Communicate sparingly and predictably
If networks are congested, short messages often get through better than calls. Keep it minimal:
- Where you are (nearest intersection/landmark)
- Where you’re going
- Your next check-in time
Rule of thumb: Every extra screen-on minute is “battery spent.” Navigate in short checks, then lock your phone and walk.
Troubleshooting: when offline navigation isn’t behaving
If your compass seems wrong
- Walk 20–30 feet away from metal objects (cars, steel structures, tools).
- Recalibrate by moving the phone in a gentle figure-eight pattern (many compass apps prompt this).
- Compare against a known direction: the sun (daytime), a major road orientation, or a coastline/river direction.
If GPS won’t lock
- Move outdoors with a clearer view of the sky.
- Wait 60–90 seconds; first fix can take time after being indoors.
- Use a manual location estimate: last known intersection, a visible landmark, or the nearest identifiable feature on your offline map.
If battery is dropping too fast
- Turn off Bluetooth (unless needed for a medical device).
- Use Airplane Mode and briefly toggle connectivity only when you must send updates.
- Use the flashlight only as needed; it can be a major drain.
A simple bearing-and-distance helper (optional)
If you ever want to sanity-check a plan—like “If I walk 1.5 km east, what latitude/longitude shift is that?”—here’s a small snippet you can save for offline reference. It’s not a full navigation system, but it helps with rough planning.
// Approximate destination point from start (lat, lon), bearing, and distance.
// Works best for short distances.
function destinationPoint(lat, lon, bearingDeg, distanceMeters) {
  const R = 6371000; // Earth radius (m)
  const brng = bearingDeg * Math.PI / 180;
  const lat1 = lat * Math.PI / 180;
  const lon1 = lon * Math.PI / 180;
  const d = distanceMeters / R;

  const lat2 = Math.asin(Math.sin(lat1) * Math.cos(d) +
                         Math.cos(lat1) * Math.sin(d) * Math.cos(brng));
  const lon2 = lon1 + Math.atan2(Math.sin(brng) * Math.sin(d) * Math.cos(lat1),
                                 Math.cos(d) - Math.sin(lat1) * Math.sin(lat2));

  return { lat: lat2 * 180 / Math.PI, lon: lon2 * 180 / Math.PI };
}
Offline “power outage navigation” checklist
Use this as a quick pre-storm or pre-trip review:
- Offline maps downloaded for home + key travel areas
- Three saved locations: primary, secondary, meet-up point
- Battery plan: Low Power Mode, dim screen, power bank charged
- Flashlight access: add to Control Center / Lock Screen
- Compass tested away from interference
- Paper backup with addresses + phone numbers
Where measurement tools fit into blackout navigation
In a power outage, navigation is often a blend of direction + safety + practicality. A compass helps you hold a heading, a barometer can hint at incoming weather if you’re deciding whether to move, and even a level/inclinometer can be useful when assessing slopes, ramps, or whether a surface is safe to traverse in low visibility.
If you prefer keeping multiple offline-capable tools in one place on iOS, apps like Level Tool bundle several sensor-based measurement utilities that can remain usable without a network connection.
