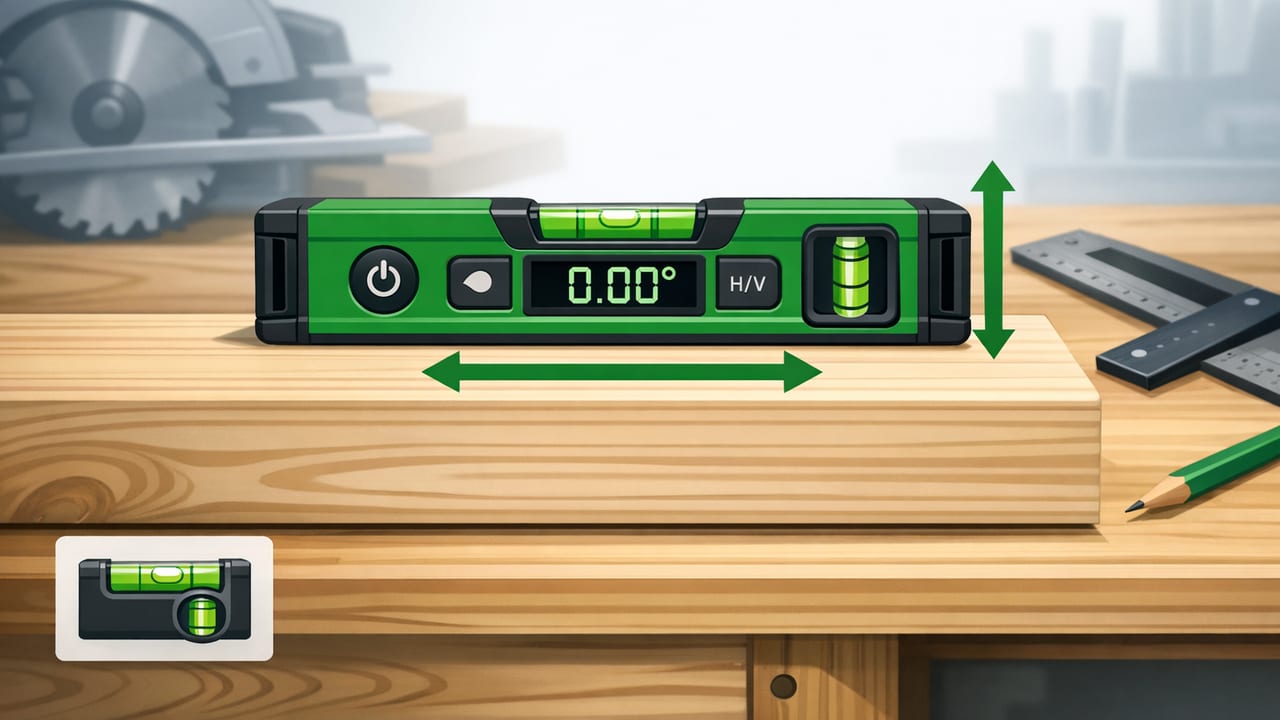
Precision carpentry isn’t only about sharp blades and clean joinery—it’s about controlling plane, plumb, and twist across real-world surfaces that are rarely perfect. That’s where dual axis leveling becomes a game changer: instead of checking just left-to-right or front-to-back, you verify both axes at once and catch subtle racking that can ruin cabinet lines, shelving, and door reveals.
This guide focuses on dual axis leveling for precision carpentry using an iPhone-style digital level (leveraging device sensors). You’ll learn when dual-axis matters, how to set up reliable reference surfaces, how to interpret readings, and how to apply results to common carpentry tasks—without turning your workflow into a science project.
What “dual axis leveling” actually means (and why carpenters should care)
A traditional bubble level usually reads one plane at a time: you rotate the tool to check level (horizontal) and plumb (vertical). A dual-axis digital readout can show both axes simultaneously—commonly expressed as pitch (front-to-back tilt) and roll (left-to-right tilt).
In carpentry, dual-axis feedback helps you:
- Detect twist on a cabinet base, shelf cleat, or benchtop (one corner high/low).
- Square up assemblies by correcting racking early—before fasteners lock in error.
- Work faster because you don’t have to reorient your tool repeatedly to chase one axis at a time.
- Communicate clearly on site: “Back-left is high by 0.3°” is actionable.
Before you trust any reading: set up a stable reference
Digital levels (including phone-based tools) are only as dependable as the surface they sit on and the method you use. Use these fundamentals to reduce false confidence:
1) Choose the right reference surface
- Use rigid stock: a known-straight level, a jointed board, or a straightedge is better than a bowed shelf.
- Avoid soft surfaces: carpet, foam underlayment, and flexible subfloor can “settle” as you press.
- Watch for debris: a single wood chip under one corner can change a reading more than you’d expect.
2) Control pressure and placement
Phone sensors respond to tiny changes. Place the device the same way every time:
- Set it down gently—don’t “rock” it into position.
- Align it consistently (e.g., bottom edge always toward you).
- If possible, use a flat phone case or remove bulky cases that create rocking points.
3) Confirm repeatability (the quick flip test)
You don’t need lab calibration to work accurately; you need repeatable results.
- Take a reading on a surface (note the values).
- Rotate the phone 180° on the same spot (top becomes bottom).
- If the readings mirror consistently, your setup is stable. If they drift wildly, your surface/placement is the problem.
Pro habit: When a measurement “feels wrong,” don’t argue with it—verify it. Re-seat the device, clear debris, and re-check from the opposite direction.
How accurate do you actually need to be? (Realistic tolerances)
Carpentry tolerances vary by task. A deck post can tolerate more angular error than a run of upper cabinets where reveal lines amplify every deviation.
| Task | Typical practical target | Why it matters |
|---|---|---|
| Floating shelves (short span) | Within ~0.2°–0.4° | Visible “droop” and items sliding are noticeable. |
| Base cabinets (run alignment) | Within ~0.1°–0.3° | Countertops and doors highlight cumulative errors. |
| Door jambs / reveals | As close as possible; prioritize consistent reveal | A plumb issue shows up as rubbing, latch misalignment. |
| Framing | Within ~0.5° (context dependent) | Structure matters more than “finish-perfect.” |
Note: Degrees are a convenient language for digital tools, but many carpenters think in shims and gaps. The key is consistency: keep the entire assembly in the same plane so joints and reveals behave predictably.
Dual-axis workflow: the “plane first, then plumb” method
Here’s a reliable way to use dual-axis readings without getting lost in numbers.
Step 1: Establish the plane
When installing something that spans multiple points (a cabinet run, ledger, or long shelf), prioritize getting everything into a single plane first. Dual-axis helps you spot twist immediately.
- Check the surface at the left end, center, and right end.
- If one corner reads high (e.g., +0.3° roll and +0.2° pitch), you likely have a diagonal problem—shim the opposite corner or adjust the support point that controls that diagonal.
Step 2: Lock the reference, then chase plumb/level
Once the plane is stable, you can set the assembly to your desired orientation:
- For shelves/counters: bring the primary axis to level while ensuring the secondary axis stays near zero (no twist).
- For door jambs: bring hinge-side plumb first, then tune the head and strike side for consistent reveal.
Step 3: Re-check after fastening
Fasteners can pull assemblies out of plane. Check again after you set screws or nails—especially near shims, studs, or warped framing members.
Practical examples (where dual-axis saves your day)
1) Cabinet installation: keep boxes from “walking” out of plane
Cabinet runs fail when the bases twist. Even if the front edges look level, the tops can be winded (diagonally twisted), causing countertop stress and door alignment issues.
- Set the first cabinet and check dual-axis at the top front rail and top back rail.
- Shim under corners until both pitch/roll are close to neutral.
- When adding the next cabinet, clamp faces flush, then check dual-axis across the seam at multiple points.
- Fasten while monitoring that the reading doesn’t drift—if it does, back out and correct shims.
2) Hanging doors: reduce reveal problems before they show up
Door behavior depends on plumb, but also on twist in the jamb. Dual-axis checks help you avoid a hinge-side that’s “plumb” yet twisted relative to the wall.
- Check jamb face for plumb (primary axis), then rotate to check jamb edge—dual-axis readouts make it easier to see if the jamb is also twisted.
- Shim hinge locations strategically: top hinge affects head reveal and swing; middle hinge helps control twist; bottom hinge impacts latch alignment.
3) Shelving and cleats: stop the “looks level but isn’t” effect
A shelf can look level from one viewpoint while still pitching forward slightly (items drift toward the edge). Dual-axis makes that visible.
- Check the wall cleat first (plane matters more than the shelf board).
- Use consistent shimming behind the cleat to remove both roll and pitch.
- After installing the shelf, confirm both axes at the front edge where the eye notices tilt most.
4) Setting saws and benches: flatten the work surface, not the floor
Shop floors aren’t perfectly level—your work surface should be flat and stable. Use dual-axis to remove twist in a bench or outfeed table so stock doesn’t rock during layout and assembly.
Turning tilt into something you can shim (simple math)
If you want to convert an angle into an approximate shim thickness, you can use a small-angle relationship. For many carpentry situations, this approximation is good enough:
// Approx shim thickness for small angles
// thickness ≈ length * tan(angle)
// If angle is in degrees, convert to radians: rad = deg * π/180

thickness = length * tan(deg * 3.14159 / 180)
Example: If a 600 mm cabinet base shows ~0.3° of pitch, thickness ≈ 600 * tan(0.3°) ≈ 3.1 mm. That tells you the order of magnitude: you’re in “a couple shims,” not “plane the wall.”
Common mistakes (and quick fixes)
Mistake: chasing zeros on a warped surface
Fix: Reference a straightedge or a known flat rail. If the board is cupped, a perfect reading won’t make the assembly flat.
Mistake: ignoring temperature and handling
Fix: Let your device acclimate if you’ve moved from a cold vehicle to a warm interior. Wipe moisture and keep hands off the measurement edge during critical checks.
Mistake: mixing “level” and “square” problems
Fix: Dual-axis leveling addresses tilt and twist. It doesn’t replace checking diagonals for squareness or using winding sticks for longer surfaces—use each tool for what it measures best.
When to choose dual-axis leveling vs single-axis checks
- Use dual-axis when the part spans multiple supports: cabinet runs, long shelves, benchtops, railings, and ledger boards.
- Use single-axis when you only care about one direction: a short bracket, a single stud check, or quick plumb on a narrow element.
In practice, the best workflow is hybrid: use dual-axis to establish a plane and spot twist, then zoom into single-axis checks where you need crisp control over one dimension.
Field checklist: a repeatable routine for clean results
- Clear the surface (dust/chips).
- Set a consistent orientation (same phone edge forward every time).
- Check dual-axis at multiple points (left/center/right; front/back).
- Shim to remove twist first, then bring the main axis to level/plumb.
- Re-check after fastening—especially near shims.
- Document a “good” reading if you’ll return later (a quick note or photo saves time).
Choosing an iOS tool for dual-axis carpentry work
Look for an iOS measurement tool that offers dual-axis readouts, stable readings, clear zeroing, and the ability to work offline (useful in basements, remote job sites, and finished homes where you don’t want extra connectivity). If you prefer an offline iOS app that combines multiple measurement tools in one place, Level Tool is one option to consider.
