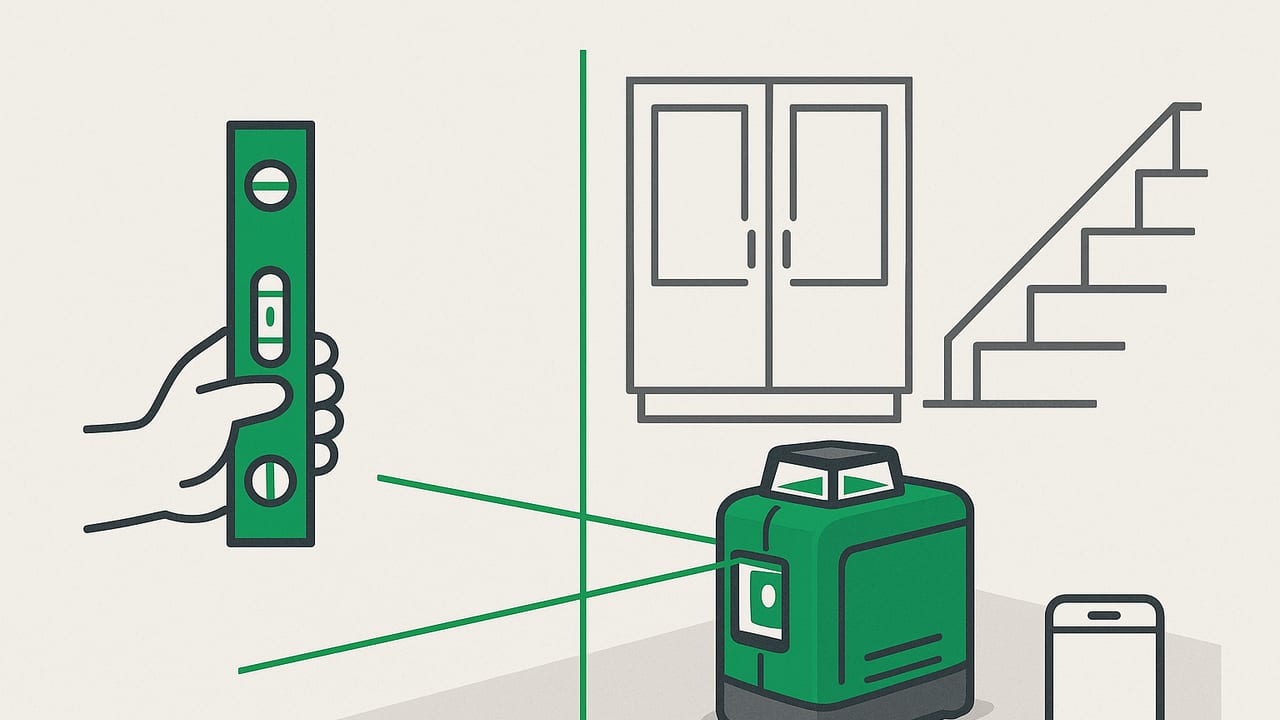
When projects demand tight reveals, quiet doors, and dead-flat runs, accuracy in two planes is not optional. Dual-axis leveling for carpenters addresses pitch and roll at the same time, enabling you to set cabinets, door frames, stair assemblies, and deck posts without hidden twist or compound error. This guide explains what dual-axis leveling is, when and how to use it, the tolerances that matter in the field, and practical workflows including smartphone-based methods.
What is dual-axis leveling?
Dual-axis leveling measures tilt along two perpendicular axes at once, commonly referred to as pitch (front-to-back) and roll (left-to-right). Traditional bubble levels indicate one axis at a time, while dual-axis instruments show both, helping you avoid a situation where correcting one axis introduces error in the other. Measurements typically appear in degrees, percent slope, or millimeters per meter.
Conceptually, imagine your work surface as an XY plane:
- X axis: left-right tilt (roll)
- Y axis: front-back tilt (pitch)
- Zero in both axes means the surface is level; deviations show as positive or negative tilt
Modern tools include digital inclinometers, cross-line lasers, and sensor-based devices that leverage accelerometers and gyroscopes to compute two-axis tilt in real time.
Where carpenters benefit most from dual-axis accuracy
Dual-axis leveling is valuable anywhere twist or compound error can degrade the result. Typical use cases:
- Cabinet runs and vanities: Level in both axes prevents countertop gaps, door swing creep, and drawer racking.
- Countertops and islands: Ensures flush seams, proper drainage control, and even overhangs.
- Stair stringers and treads: Controlling pitch and roll avoids treads that feel sloped or look out of square to the eye.
- Door frames and jambs: Plumb in two planes for even reveals and reliable latching.
- Window installation: Prevents sash binding and preserves sightlines.
- Deck posts and railings: True plumb in both directions to avoid twist down the line.
- Timber framing and beams: Accurate two-axis control prevents cumulative errors across long spans.
Reading and converting dual-axis measurements
Most tools let you toggle units. Use whichever aligns with your habits and specifications, but understand how to convert:
- Degrees to percent slope: percent = tan(deg) × 100
- Degrees to mm/m: mm/m = tan(deg) × 1000
- Degrees to ratio 1:X: X = cot(deg) = 1 / tan(deg)
Example: A reading of 0.57 degrees equals roughly 10 mm/m (since tan(0.57°) ≈ 0.01), which is 1:100 and about 1 percent slope.
# Quick conversions for field math
import math

def deg_to_conversions(deg):
    rad = math.radians(deg)
    t = math.tan(rad)
    percent = t * 100
    mm_per_m = t * 1000
    ratio = math.inf if t == 0 else 1.0 / t
    return {
        'percent_slope': percent,
        'mm_per_m': mm_per_m,
        'ratio_1_to_X': ratio
    }

# Example
print(deg_to_conversions(0.57))
Field tolerances that work
Always follow plans and local codes. When not specified, the following practical tolerances keep most carpentry assemblies both functional and visually true:
| Application | Suggested tolerance | Notes |
|---|---|---|
| Cabinet run leveling | ≤ 1 mm/m in both axes | Strive for 0.5 mm/m on exposed high-end work |
| Countertops | ≤ 1 mm/m | Stone fabricators may call for tighter spec |
| Door jamb plumb | ≤ 1.5 mm/m (about 0.086 degrees) | Improves reveal consistency and latch performance |
| Window level/plumb | ≤ 1.5 mm/m | Coordinate with manufacturer installation guides |
| Stair treads | ≤ 1 mm/m roll, pitch per design | Platform treads should feel level underfoot |
| Deck posts plumb | ≤ 1 mm/m in two planes | Check at multiple heights to avoid bow effects |
Rule of thumb: if you can see it, your client will too. Keep both axes within a millimeter per meter when the sightline is prominent.
Tools for dual-axis leveling: comparing options
| Tool type | Typical accuracy | What it solves | Limitations |
|---|---|---|---|
| Traditional bubble level | Good, single axis | Fast checks, no batteries | One axis at a time; less sensitive to small deviations |
| Digital inclinometer (single axis) | ±0.05 to 0.1 degrees | Precise angle setouts | Still one axis at a time |
| Dual-axis digital level | ±0.05 to 0.1 degrees per axis | Simultaneous pitch and roll | May need calibration; shorter bases need straightedge |
| Cross-line laser | ±1 to 3 mm at 10 m | Projects level/plumb references | Does not directly read the workpiece tilt |
| Rotary laser | ±1 to 2 mm at 10 m | Large spaces and long runs | Cost and setup time |
| Smartphone with dual-axis app | Often ±0.1 to 0.2 degrees | Always available, logging, unit conversions | Sensor drift, needs calibration and a flat reference edge |
Workflow: dual-axis leveling for carpenters step by step
1. Establish a reference
- Use a laser to mark a level benchmark line around the room or a known plumb reference for posts and jambs.
- Check the floor or substrate for pitch and roll to anticipate shimming.
2. Calibrate your instrument
- Zero your digital or smartphone level on a known flat plate or a reliable box level. Flip 180 degrees and average to remove bias.
- Verify at two positions separated by 90 degrees to cover both axes.
3. Rough set in place
- For cabinets: start with the highest point in the floor. Shim to near level in both axes.
- For posts or jambs: tack temporary braces so you can adjust in both directions.
4. Read both axes simultaneously
- Place your dual-axis level or smartphone on a straightedge that spans a meaningful distance. Longer bases reduce sensitivity to localized bumps.
- Aim for less than 1 mm/m in both axes. If one axis drifts while you correct the other, adjust shims or fasteners in pairs to avoid inducing twist.
5. Lock, re-check, and scribe
- After each fastener is set, re-check both axes. It is common for one axis to shift as you draw pieces tight.
- For tight millwork, scribe to the wall after final level and plumb are achieved, not before.
6. Document and confirm
- If your tool supports it, log the final readings by axis. This is helpful for documentation and callbacks.
- Walk the sightlines. A small numerical deviation may still be visible if it accumulates across a long span.
Smartphone dual-axis leveling: practical tips
- Calibration matters: Zero on a reliable reference and perform a flip test. Repeat if temperatures change significantly.
- Use a straightedge or known-flat level: The phone body is not always flat. Mount it to a straightedge with a clamp or holder.
- Watch magnetic interference: Metal studs, fasteners, and speakers can affect sensors. If readings jump, move and re-zero.
- Average your readings: Take a few samples and average, especially on vibrating surfaces or ladders.
- Measure at multiple points: Check both ends of a cabinet run or post at multiple heights to detect twist or bow.
- Thermal stability: Allow the device to acclimate. Extreme cold or heat can shift sensor bias temporarily.
- Units and thresholds: Set display units to mm/m or percent if that matches your spec. Use audible cues to hit target thresholds.
Avoiding common errors
- Measuring from a crooked edge: Always reference from a straight, known-flat edge. A bowed face will lie to your level.
- Chasing one axis at a time: Make paired adjustments that keep both axes trending toward zero. Re-check after each fastener.
- Ignoring compound twist: A surface can be level at one spot and twisted overall. Check multiple locations and heights.
- Short baseline measurements: A 4-inch base is more sensitive to local bumps and user hand wobble. Use the longest practical baseline.
- No re-zero between rooms: Recalibrate when you move to a new environment or after an impact.
Quick field math cheats
- 1 mm/m is approximately 0.057 degrees and about 0.1 percent slope.
- To find shim over a span: rise = tan(deg) × span. For span in inches, rise returns inches.
- Example: 0.5 degrees across 24 inches gives rise = tan(0.5°) × 24 ≈ 0.21 inches (about 3/16 inch).
- To hit 1:200 ratio, target 0.29 degrees (since 1 / tan(0.29°) ≈ 200).
Case examples
Cabinet run across a sloped floor
You need a 10-foot run dead level. The floor slopes 6 mm over the span. Set the first cabinet at the high point and shim to zero on both axes. As you add boxes, check pitch and roll at each seam using dual-axis readings. Pre-plan shim packets so you do not pull the run out of roll while you correct pitch. Confirm by placing a straightedge across the entire length and rechecking both axes.
Installing a door frame
Set the hinge side plumb in both axes first. Use two braces at 90 degrees so adjustments to one direction do not affect the other. With the hinge side locked, set the strike side for reveal. Always measure plumb at the mid-height and again near the top to catch any twist introduced by shimming at the sill.
Plumbing a deck post
Use two opposing braces. Read roll on one face and pitch on the adjacent face. Adjust braces alternately until both axes read within 1 mm/m. Re-check after lag bolts bite; fastener tension can pull the post out of true.
FAQ: dual-axis leveling for carpenters
Can a bubble level replace dual-axis tools?
For simple tasks, yes. But when tolerances are tight or twist is likely, reading both axes at once prevents chasing errors.
How often should I calibrate?
At the start of the day, after any drop or shock, and when temperature changes are significant. Verify using a flip test on a known reference.
Are smartphone sensors accurate enough?
With proper calibration and a straightedge, many reach about ±0.1 to 0.2 degrees per axis, which is adequate for most carpentry leveling tasks. For long spans or critical installs, cross-check with a laser or precision level.
How do I handle long runs?
Break the run into sections. Level and secure each section while monitoring cumulative error. Use a laser as a control line and a dual-axis level for local corrections.
What if the wall is out of plumb?
Level and plumb the assembly first, then scribe filler strips or panels. Do not force the work to conform to an out-of-true wall.
Key takeaways
- Dual-axis leveling measures pitch and roll simultaneously, preventing hidden twist.
- Use practical field tolerances like 1 mm/m for visible, critical work.
- Adopt a repeatable workflow: reference, calibrate, rough set, read both axes, lock, and verify.
- Smartphones can be effective dual-axis tools when properly calibrated and paired with a straightedge.
For carpenters who prefer to carry fewer tools, a well-designed dual-axis app can be a reliable companion for quick checks, unit conversions, and logging. One option on iOS is Level Tool, which provides dual-axis leveling and other measuring utilities while working entirely offline.
