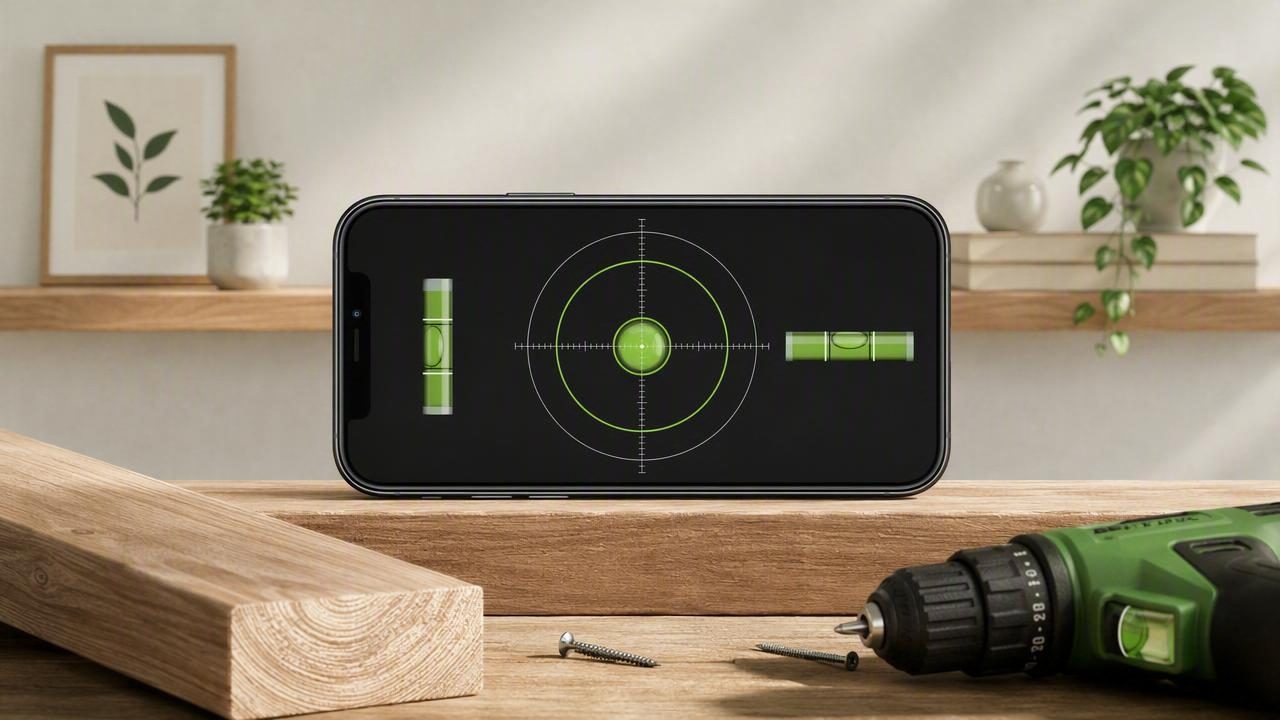
If you’ve ever leveled a shelf, mounted a TV, set posts for a fence, or aligned a tripod only to step back and notice something still looks “off,” you’ve run into a common problem: level in one direction doesn’t guarantee level overall. Many people check a surface left-to-right, call it done, and miss a slight front-to-back tilt that becomes obvious later.
That’s where a dual axis level makes a real difference. Instead of measuring tilt along only one line, it measures two perpendicular axes at the same time—typically referred to as pitch and roll. With modern iPhones, this kind of measurement is possible using the device’s built-in motion sensors, making it practical for DIY and professional use, even when you’re working offline.
What is a dual axis level?
A dual axis level is a leveling tool that reports tilt in two directions simultaneously. Think of a flat surface (like a tabletop). It can tip:
- Left-to-right (roll)
- Front-to-back (pitch)
A single-axis bubble level tells you about one direction at a time, depending on how you place it. A dual-axis level displays both at once, so you can quickly bring a surface into true level (or a precise target angle) without rotating the tool and re-checking.
Why it matters in real projects
In the real world, surfaces rarely tilt in only one direction. Here are a few common scenarios where dual-axis readings save time and prevent redo work:
- Floating shelves: a shelf can be level left-to-right but still lean toward you, making items creep forward.
- Appliances: a washer can be “level” on one side but still vibrate if the front-back plane is off.
- Tripods and mounts: cameras and laser levels benefit from true leveling for accurate framing and layout lines.
- RV/camper setup: comfort and drainage often depend on correcting both axes.
Dual axis vs. single axis: what’s the practical difference?
You can absolutely level accurately with a traditional level—by checking one axis, turning the tool, and checking the other. The advantage of dual-axis is efficiency and clarity, especially when you’re shimming, adjusting feet, or aligning mounts in tight spaces.
| Feature | Single-axis level | Dual axis level |
|---|---|---|
| Shows pitch and roll simultaneously | No | Yes |
| Best for | Quick checks on one edge | True surface leveling and precise setups |
| Workflow | Measure, rotate, measure again | Adjust while watching both axes |
| Error risk | Higher (missed second-axis tilt) | Lower (second-axis tilt is visible) |
How an iPhone can act as a dual axis level
An iPhone contains motion sensors (accelerometer and gyroscope) that detect orientation relative to gravity. A leveling app can translate this data into degrees (or slope) on two axes. For DIY and field work, the biggest advantages are:
- Always available: no need to carry an extra tool for basic leveling tasks.
- Dual-axis display: see both directions at once.
- Fine resolution: useful for small adjustments (feet, shims, mounts).
- Offline capability: many measurement workflows don’t require any network connection.
How to use a dual axis level on iPhone (step-by-step)
The exact UI varies by app, but the workflow is consistent. Here’s a reliable method that works for shelves, appliances, work surfaces, and mounting tasks.
- Choose your reference surface. Decide what “level” means for the project: the top of a shelf, the face of a cabinet, a tripod plate, or a countertop.
- Clean the contact points. Dust, screws, grout lines, or debris under the phone can introduce tiny but meaningful tilt.
- Place the phone consistently. Put the phone flat on the surface (screen up) for leveling a horizontal plane. For a vertical plane (like a wall), place it against the surface (screen facing outward).
- Read both axes. A dual-axis level will typically show two values. For a horizontal surface, you’re aiming for 0.0° on both pitch and roll (or a centered indicator on both axes).
- Adjust incrementally. Shim, turn leveling feet, or adjust mounting screws while watching which axis is improving and which is drifting.
- Re-check after tightening. Fasteners can pull a mount slightly off as they seat. Always do a final check once everything is snug.
Pro tip: correct the “dominant axis” first
If one axis is far from level (say 1.5°) and the other is only slightly off (0.2°), correct the larger error first. You’ll often see the second axis shift as the load settles. Dual-axis readouts make this interaction obvious.
Calibration: the step most people skip (and why it matters)
Even accurate sensors can be thrown off by small offsets, especially if the phone case isn’t perfectly flat or the surface has texture. Calibration is the best way to improve trust in your readings.
A simple two-point calibration method
- Place the phone on a reasonably flat surface (a countertop or a sturdy table).
- Set or note the reading. Many apps include a “calibrate/zero” button.
- Rotate the phone 180° in the same spot (keep it on the same surface, just turned around).
- Compare the readings. If the numbers don’t mirror appropriately, calibrate again or remove anything affecting the phone’s flatness (case, camera bump contact, debris).
Best practice: Calibrate in the same orientation you plan to measure—flat for surfaces, vertical for walls.
Common mistakes that cause “wrong” level readings
- Measuring on a non-flat contact patch: camera bumps and thick cases can cause rocking. Try removing the case or using a flat spacer that doesn’t flex.
- Relying on one edge of the phone: if the phone bridges over a seam or tile lip, the reading can be biased.
- Not letting the phone settle: tiny hand pressure changes the tilt. Place it down and wait a second for stable numbers.
- Ignoring surface reality: some things shouldn’t be perfectly level (e.g., a slight slope for drainage). Dual-axis readings help you set a deliberate, repeatable slope.
Using a dual axis level to set a controlled slope (not just 0.0°)
“Level” isn’t always the goal. In home improvement, you may need a small pitch for drainage (shower floors, patio features, condensate lines) or to match an existing structure. Dual-axis makes it easier to keep one axis at a target angle while holding the other at 0.0°.
Degrees vs. percent grade (quick conversion)
Some projects specify slope as percent grade instead of degrees. If your dual axis level reports degrees, you can convert like this:
// Convert degrees to percent grade
// grade(%) = tan(angleDegrees * PI/180) * 100

function gradePercent(angleDegrees) {
  return Math.tan(angleDegrees * Math.PI / 180) * 100;
}
Example: 2.0° is about 3.5% grade. For small angles, dual-axis measurement helps you keep the cross-axis (side-to-side) near zero while dialing in the intended pitch.
Practical mini-walkthroughs (DIY scenarios)
1) Installing a floating shelf that doesn’t “creep”
After mounting the bracket, place the phone on the shelf board before final tightening. Use the dual axis level to ensure:
- Roll is 0.0° (no left-right tilt).
- Pitch is slightly negative (a tiny tilt toward the wall) if you want extra security. Even -0.2° can help prevent objects from slowly moving forward.
2) Stabilizing a washing machine to reduce vibration
Check the top surface of the washer. Adjust the front feet until pitch is close to 0.0°, then adjust left/right until roll is close to 0.0°. Re-check after tightening lock nuts—dual-axis readouts make it obvious if tightening changed the alignment.
3) Leveling a tripod quickly outdoors
Tripods often drift as the legs sink. Use dual-axis readings on the tripod plate to level both directions without guessing. If conditions are changing (soft ground), you’ll appreciate seeing both axes in real time.
Accuracy expectations: how precise is “good enough”?
For most home improvement tasks, being within ±0.2° to ±0.5° is typically visually straight and functionally solid (depending on span and context). Over a long distance, small angles add up, so precision matters more for:
- Long shelves and rails
- Tile layout and ledger boards
- Cabinet runs
- Anything that must align with another reference line (trim, grout lines, existing architecture)
If you need higher confidence, combine methods: use dual-axis to get very close, then verify with a longer physical level or a laser line for long spans.
Choosing a dual axis level app: features that actually matter
Not all leveling tools are equal. When you’re comparing an iOS app for dual-axis leveling, look for:
- Clear dual-axis display (both axes visible at once)
- Calibration/zeroing for different orientations
- Stable readings (low jitter) and easy-to-read units (degrees/percent)
- Offline functionality for garages, basements, job sites, and outdoor use
- No subscription lock-in if you just want reliable measuring tools when you need them
Bottom line
A dual axis level solves the most common “it looked level but isn’t” problem by showing front-back and left-right tilt at the same time. Used correctly—on a clean contact surface, with calibration, and with deliberate targets—it’s one of the fastest ways to improve results in DIY, home improvement, and field setups.
If you’re looking for an offline iOS toolkit that includes dual-axis leveling among other measurement tools, Level Tool is one option to consider.
