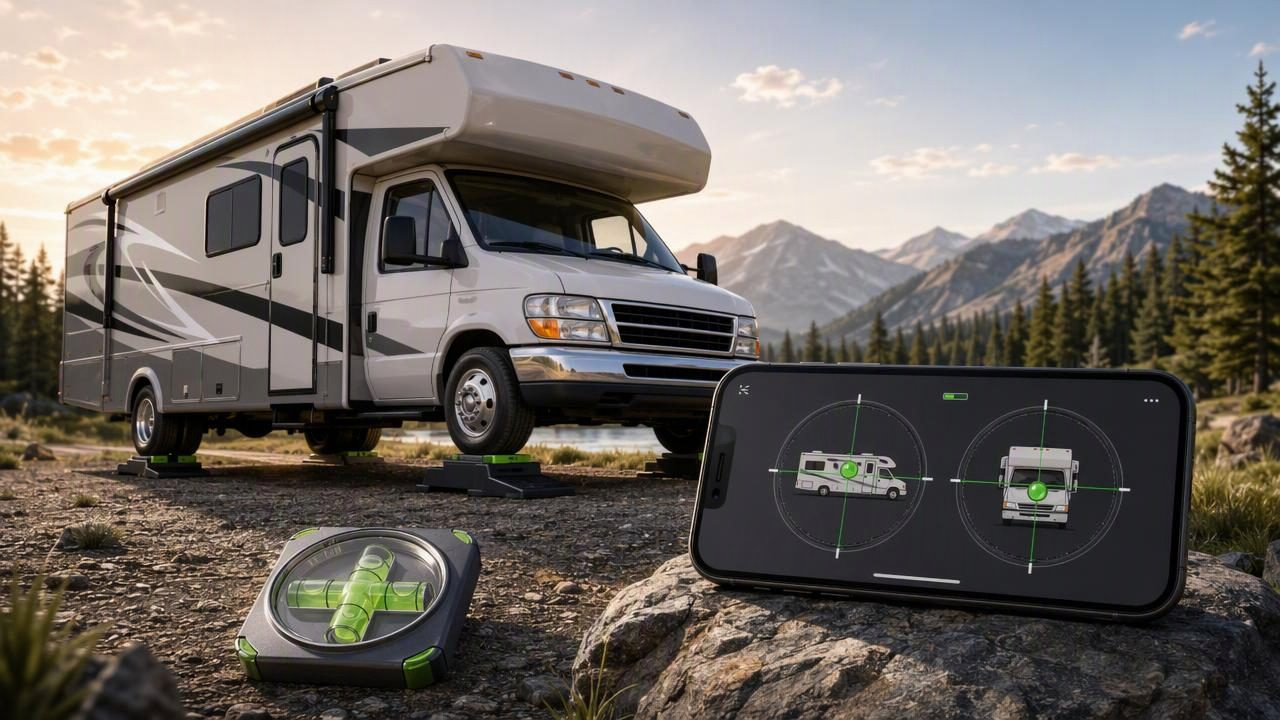
A dual axis level for campers helps you see whether your RV, travel trailer, campervan, or motorhome is level from side to side and front to back at the same time. That matters because a vehicle can look level from one viewpoint while still leaning enough to affect sleeping comfort, refrigerator performance, shower drainage, and the way doors or cabinets operate.
A traditional bubble level can work well, but a digital dual-axis level on an iPhone gives you two numerical readings at once. Instead of checking one direction, moving around the camper, and checking another, you can place the phone on a stable interior surface and evaluate both axes before making adjustments.
This guide explains how to use a dual-axis level correctly, how to calibrate it, what tolerance to aim for, and where an iPhone level should not replace common-sense campsite safety practices.
What Is a Dual Axis Level for Campers?
A dual-axis level measures tilt in two perpendicular directions:
- Side-to-side level: Whether the camper leans toward the driver or passenger side.
- Front-to-back level: Whether the camper slopes toward the hitch, front cab, rear bumper, or back wall.
For a camper, these two readings are more useful together than separately. You may be perfectly level side to side but still be noticeably nose-high or nose-low. A dual-axis display lets you identify the direction and size of each correction without guessing.
Depending on the app, readings may appear as degrees, percentages, a digital bubble, or a target-based screen. Degrees are especially useful when you want repeatable results: a reading of 0.0° on both axes indicates that the phone’s reference surface is level relative to gravity.
Why Camper Leveling Is More Than a Comfort Issue
Leveling a camper improves more than how a cup sits on the counter. A sensible leveling routine can help reduce everyday annoyances during a stay.
| Area | Why level matters | What you may notice when off-level |
|---|---|---|
| Sleeping area | Creates a more comfortable resting surface. | You feel as though you are rolling toward one side of the bed. |
| Kitchen | Helps liquids, cookware, and countertop items stay stable. | Water pools in a sink corner or items slide. |
| Doors and cabinets | Reduces the effect of gravity on loose doors and drawers. | Doors swing open or drawers creep outward. |
| Shower and drainage | Supports intended water flow toward drains. | Water gathers away from the drain. |
| Daily movement | Makes the interior feel steadier and more predictable. | You constantly sense a lean while walking or cooking. |
Leveling does not make an unsafe site safe. It also does not replace wheel chocks, stabilizers, jack pads, parking-brake procedures, or the manufacturer’s setup instructions. The goal is to level a properly parked and secured camper, not to use leveling equipment to compensate for unstable ground.
Choose the Right Reference Surface Inside the Camper
The reading is only as useful as the surface under your phone. A countertop, tabletop, or floor may not be installed perfectly level relative to the camper’s chassis. Before relying on a location, decide what “level” should mean for your particular vehicle.
A practical reference surface should be:
- Rigid and unlikely to flex under light pressure.
- Flat enough for the back of the iPhone to make consistent contact.
- Clear of loose mats, cushions, charging cables, and debris.
- Located away from a sloped dashboard, curved trim, or soft upholstery.
For many campers, a hard floor section near the center of the living area is a useful reference. In a travel trailer, a fixed countertop may also be suitable if you first confirm that it gives consistent readings. Do not assume that a removable table is level simply because it looks horizontal.
Calibrate Before You Start
Calibration sets the app’s reference point. It is useful when the phone case, chosen surface, or a known campsite setup means you need a reliable baseline. Calibration does not magically correct a warped counter or an uneven floor; it tells the app what you want it to treat as the reference.
A simple calibration process
- Remove a thick, uneven, or flexible phone case if it prevents stable contact.
- Place the iPhone flat on your selected reference surface.
- Make sure the phone is not rocking on a camera bump, debris, or a raised edge.
- Follow the app’s calibration instructions while keeping the phone still.
- Lift the phone, place it back in the same orientation, and compare the reading.
- Turn the phone 180 degrees on the same spot and compare again.
This last check is valuable for repeatability. If readings change significantly after you reposition the phone, investigate the contact point before adjusting the camper. The issue may be a curved surface, a case, an uneven tile seam, or movement in the vehicle.
Useful rule: Calibrate against a reference you understand, then repeat the measurement from the same physical contact position before making a large leveling change.
Set a Realistic Target and Tolerance
Trying to achieve a perfect 0.0° in both directions can be unnecessary on a rough campsite. More importantly, chasing tiny changes may lead to repeated repositioning without a meaningful improvement in comfort.
Choose a target based on your needs. For example, you might aim for 0.0° on both axes but accept a small tolerance such as ±0.2° or ±0.5°. The appropriate tolerance depends on your camper, the surface, your equipment, and your personal comfort. The important part is choosing a consistent threshold rather than adjusting endlessly.
Use target indicators, sound alerts, or haptic feedback if available. These cues let you monitor progress while you are near the controls or watching the wheels, rather than staring at the screen continuously. However, always stop and visually confirm the final position with the camper secured.
How to Level a Camper With Two-Axis Readings
The safest approach is usually to correct the largest side-to-side lean first, then address front-to-back tilt. This order is common because ramps, blocks, or other wheel-positioning methods used for side-to-side correction can change the front-to-back reading slightly.
Example: A travel trailer on a sloped campsite
Imagine your phone is resting on a verified kitchen counter reference point. The dual-axis screen shows:
- Side-to-side: 1.4° low on the passenger side.
- Front-to-back: 0.6° low at the front.
First, secure the trailer according to its manufacturer guidance and use appropriate wheel chocks. Next, position suitable leveling blocks or ramps under the low-side wheels as required. Recheck the side-to-side reading after every small change. Once the side-to-side reading is within your chosen tolerance, adjust the trailer’s front-to-back position using the proper hitch or leveling procedure for that rig.
After each adjustment, let the camper settle, place the phone back on the same spot and orientation, and take another reading. If the final values are 0.2° side-to-side and 0.1° front-to-back, that may be well within a practical tolerance. You do not need to keep adjusting simply because the display is not exactly zero.
Use Actual Contact, Not Visual Estimation
An iPhone level relies on the device’s motion sensors, so the phone must be in actual physical contact with the surface being measured. Holding it above a countertop, aiming it at the floor, or resting it partly on a raised edge does not provide a dependable measurement of that surface.
For more repeatable readings:
- Lay the phone flat rather than balancing it on an edge.
- Use the same placement point every time.
- Keep the device orientation consistent when comparing readings.
- Wait briefly after stepping inside, extending a stabilizer, or shifting equipment.
- Take two or three readings instead of relying on a single glance.
If repeated readings vary, do not assume the campsite is changing. Start by checking whether the phone is moving, whether the surface flexes, or whether a case prevents full contact.
Common Mistakes When Using a Dual Axis Level
Measuring on a soft bed or seat
Soft furnishings compress and shift. They are useful for comfort, not for a stable leveling reference.
Using a dashboard without checking its slope
Many dashboards are intentionally angled for visibility and design. A dashboard reading may be consistent, but it may not represent the living floor or chassis level.
Ignoring the phone case
A thick case, wallet attachment, or uneven accessory can tilt the phone. Remove it when accuracy and repeatability matter.
Adjusting both directions at once
Changing side-to-side and front-to-back positioning simultaneously makes it harder to understand what caused a reading to improve or worsen. Work one axis at a time, then perform a final two-axis check.
Confusing leveling with stabilization
Stabilizers can reduce movement, but they are not automatically designed to lift or level every type of camper. Follow your vehicle and equipment instructions, and never rely on an app to determine whether lifting is safe.
Offline Leveling Is Useful at Remote Campsites
Cell service is not guaranteed at trailheads, national parks, rural campgrounds, or overnight stops. An offline-capable measurement app can continue using the iPhone’s onboard sensors without requiring a data connection for core level readings.
Offline functionality is helpful when you need a quick setup check after arriving late, when Wi-Fi is unavailable, or when you do not want a basic campsite task to depend on an account or subscription connection. It does not eliminate the need to keep your phone charged, protect it from rain, and use proper physical leveling equipment.
When an iPhone Level Has Limits
A dual-axis iPhone level is a practical guide for camper setup, but it is not a certified surveying instrument. Results depend on sensor condition, calibration, stable contact, and your selected reference surface. It cannot tell you whether the soil will support a wheel or jack, whether blocks are positioned safely, or whether a vehicle is at risk of sliding.
Use it to make informed small adjustments and verify repeatable readings. For major leveling issues, unstable terrain, unusual suspension behavior, or equipment concerns, follow the vehicle manufacturer’s guidance and seek qualified assistance where appropriate.
Make Camper Leveling a Repeatable Routine
The most reliable camper setup is not about chasing a perfect number. It is about using the same reference surface, calibration process, tolerance, and safety checks every time. With a clear two-axis reading, you can correct the main lean, confirm the final result, and get on with enjoying the campsite.
For a practical walkthrough of iPhone-based camper leveling, Level Tool’s guide to leveling an RV or camper explains how to use a digital bubble level, calibration, targets, and repeat checks during setup.
