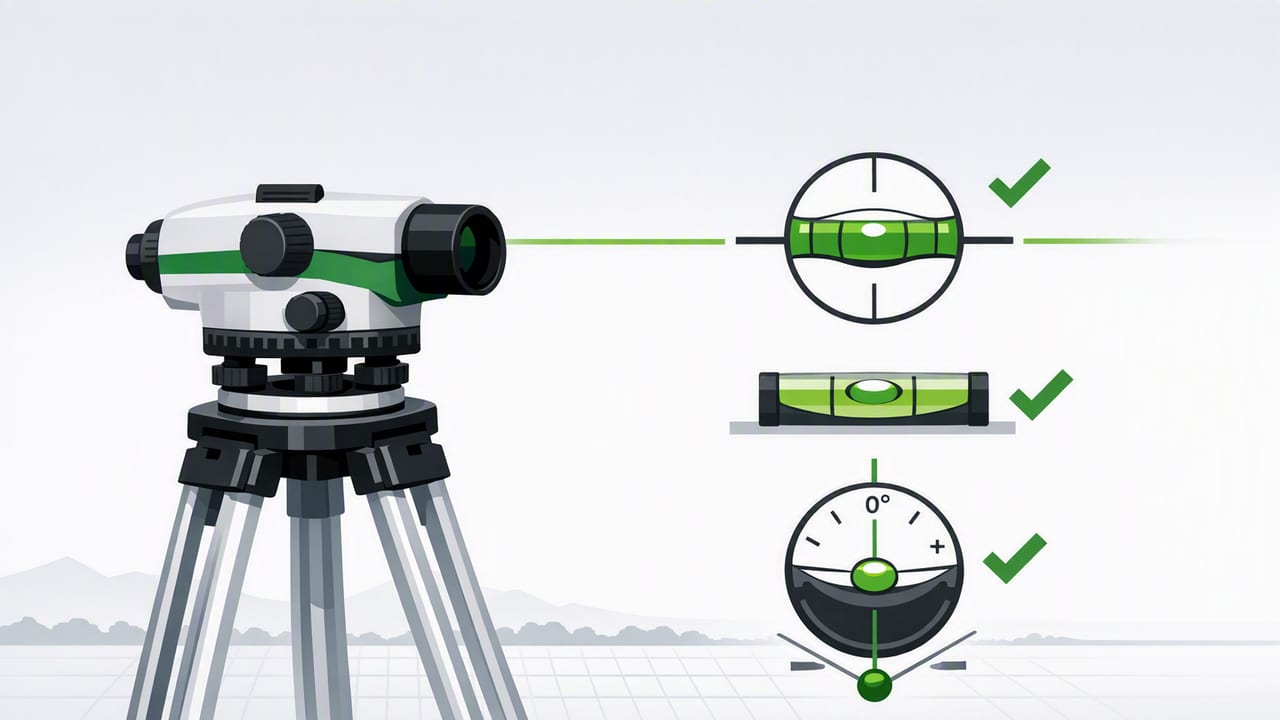
A dual axis level measures tilt in two directions at the same time—typically left/right (roll) and forward/back (pitch). If you’ve ever leveled a shelf, appliance, tripod, or a small work surface and thought, “It’s level… but somehow still looks off,” the issue is often that you corrected one axis while unintentionally introducing tilt in the other. Dual-axis readings solve that by letting you see both axes simultaneously, so you can make smaller, smarter adjustments.
This guide explains what dual-axis leveling means in practical terms, when it matters, how to get reliable readings from an iPhone, and how to use the measurements to finish DIY tasks faster and with fewer do-overs.
What “Dual Axis” Actually Means (and why single-axis can mislead)
A traditional bubble level is often used one direction at a time: you check level across the width, then rotate the level and check along the depth. That works, but it’s easy to drift between checks—especially on narrow surfaces, rounded edges, or anything you’re holding in place while tightening screws.
A dual axis level displays both axes at once, which is especially useful when:
- The surface is small (phone-sized shelves, wall plates, small tables, tool rests).
- The surface is floating (tripods, camera rigs, gimbals, RV and trailer tongues).
- You’re making incremental adjustments (shim a washer, adjust leveling feet, fine-tune a mount).
- You need repeatability (set multiple cabinets or posts to match).
Pitch, roll, and “why it looks level but isn’t”
Most DIY “looks wrong” moments come from cross-axis error: you level left-to-right, then when you tighten hardware, the object subtly tilts forward. With dual-axis feedback, you’ll see that change instantly instead of discovering it after you step back.
Rule of thumb: If the project has two adjustment points (front/back feet, two shims, two brackets), you’re effectively controlling two axes—so you’ll work faster with a dual-axis readout.
When dual-axis leveling matters most (common real-world examples)
Not every job requires dual-axis precision. But for these tasks, it can dramatically reduce time spent “chasing level.”
- Leveling appliances (washing machines, dryers, refrigerators) where foot adjustments affect multiple directions.
- Tripods and camera rigs where a small base tilt becomes a visible horizon error.
- Wall-mounted TVs and soundbars where even a slight error is noticeable across a long edge.
- Shelving and floating cabinets where tightening a screw pulls one corner.
- Workbench surfaces if you’re doing precise assembly, resin pours, or tool alignment.
- Outdoor setups like grills on patios, small platforms, or temporary stands.
Using an iPhone as a dual axis level: best practices for accurate readings
iPhones use internal motion sensors (accelerometer/gyroscope) to estimate tilt. For DIY work, they’re extremely practical—especially when you follow a consistent routine. Accuracy is less about “perfect sensors” and more about repeatable setup.
1) Choose a stable reference surface
Place your phone on a flat area of the object you’re leveling. If the surface is textured, rounded, or flexible, you can introduce noise. Helpful tricks:
- Use a thin, rigid spacer (like a small tile sample or a straight ruler) to create a flatter contact patch.
- Remove bulky cases that rock on camera bumps (or flip the phone so the contact is stable).
- Keep the contact point consistent when re-checking.
2) Let the reading settle
When you place the phone down, wait a second for the values to stabilize. Tiny hand movements can look like tilt changes. If you’re adjusting screws or feet, do it in small increments and pause briefly between adjustments.
3) Understand your target tolerance
“Level” isn’t always a single perfect value. Many projects have a practical tolerance where anything within that range looks right and functions correctly. Here’s a quick table to guide expectations:
| Task | Why it matters | Practical target (approx.) |
|---|---|---|
| Hanging framed art | Visual alignment | Within ±0.3° |
| Wall shelves | Items slide/lean if off | Within ±0.2° to ±0.5° |
| Washing machine | Vibration and noise | As close as possible; aim ±0.2° |
| Tripod head / video | Horizon line shows errors | Within ±0.1° to ±0.3° |
| Drainage slope (intentional) | Water flow performance | Specified slope (not level) |
Note: These are practical DIY targets, not engineering specs. For critical work, always follow manufacturer or building-code requirements.
Step-by-step: a reliable dual-axis leveling workflow
This repeatable process works well for shelves, appliances, and mounts.
- Rough in the placement: get the object close to its final position before you start fine leveling.
- Check both axes: note which direction is high/low on each axis.
- Adjust the “big” error first: correct the axis with the larger deviation.
- Re-check both axes: after each adjustment, confirm you didn’t push the other axis out.
- Lock and verify: tighten hardware slowly, checking that both axes stay within tolerance.
- Confirm from a second position: move the phone to another flat spot on the same object. If readings disagree, your contact surface may not be truly flat.
Example: leveling a washing machine (fast method)
Washing machines are a classic case where a dual axis level shines because adjusting one foot can change the other axis.
- Place the phone on the machine top, near the front edge.
- Adjust the front feet to get close on both axes.
- Move the phone toward the back edge and re-check.
- If one corner remains high, make small changes and re-check until stable.
Then run a short spin cycle: if vibration persists, re-check—sometimes the floor flexes slightly under load, which shows up as a shift in one axis.
Calibration and verification: how to trust your readings
Even great sensors need a sanity check. The goal is to verify that the device reports consistent results in a way that matches real-world leveling.
A simple “flip test” (no extra tools required)
- Place the phone on a flat surface and note the readings (both axes).
- Rotate the phone 180° on the same spot (top becomes bottom).
- If the surface is truly flat, the readings should be close to the same magnitude with the axis direction reversed (e.g., +0.2° becomes about -0.2°).
If the numbers are wildly different, you may be on a slightly uneven surface, or the phone is rocking on a case/camera bump. Fix the contact first before assuming the sensor is off.
Cross-check with a known straight edge
If you have a physical level, straight board, or a countertop edge you trust, compare readings in multiple locations. The key is consistency. A phone level that repeats the same result in the same setup is more useful than one that claims extreme precision but varies each time you set it down.
Turning degrees into practical adjustments (rise/run cheat)
Sometimes you don’t just want “level,” you want to understand what a small angle means in terms of shims or height changes. For small angles, you can estimate:
- Rise ≈ Run × tan(angle)
Here’s a tiny code snippet you can run in any calculator or scriptable environment if you like to quantify it:
# Convert an angle (degrees) and a run (mm) into rise (mm)
import math

def rise_mm(run_mm, angle_deg):
    return run_mm * math.tan(math.radians(angle_deg))

print(rise_mm(600, 0.3))  # ~3.14 mm over 600 mm
Example interpretation: if a 600 mm shelf reads 0.3° off, that’s about 3 mm from one side to the other—enough to see (and enough for objects to drift).
Common mistakes that make a dual axis level feel “inaccurate”
- Measuring on a non-flat area: textured paint, curved edges, and soft surfaces can skew readings.
- Not accounting for phone wobble: cases and camera bumps can create a rocking pivot point.
- Chasing 0.0 too aggressively: many DIY tasks don’t need perfect zero; aim for a stable tolerance.
- Checking only one spot: long items can be twisted; check at multiple points.
- Tightening too fast: hardware pull can change both axes—tighten gradually and re-check.
Why offline matters for measurement tools
Levels, rulers, compasses, and similar tools are often used in garages, basements, job sites, or outdoors—places where reception may be unreliable. Offline measurement tools also tend to launch faster and avoid distractions. For DIY work, the best setup is the one that’s immediately available when you need a quick check.
Quick checklist: dual-axis leveling in 60 seconds
- Use a stable, flat contact point (remove wobble sources).
- Wait for the reading to settle.
- Correct the larger axis first, then fine-tune both.
- Re-check after tightening hardware.
- Verify in a second spot to catch twist or uneven contact.
Wrap-up
A dual axis level is one of those tools that quietly improves your results: fewer re-checks, less guesswork, and better-looking finishes—especially on projects where tightening and adjustments affect more than one direction. If you already use your iPhone for DIY measurement, adopting a consistent dual-axis workflow can make leveling feel straightforward instead of fiddly.
If you prefer keeping multiple offline measurement tools in one place, an iOS toolkit like Level Tool can combine dual-axis leveling with other practical utilities (ruler, compass, and more) for quick checks in the shop, at home, or outdoors.
