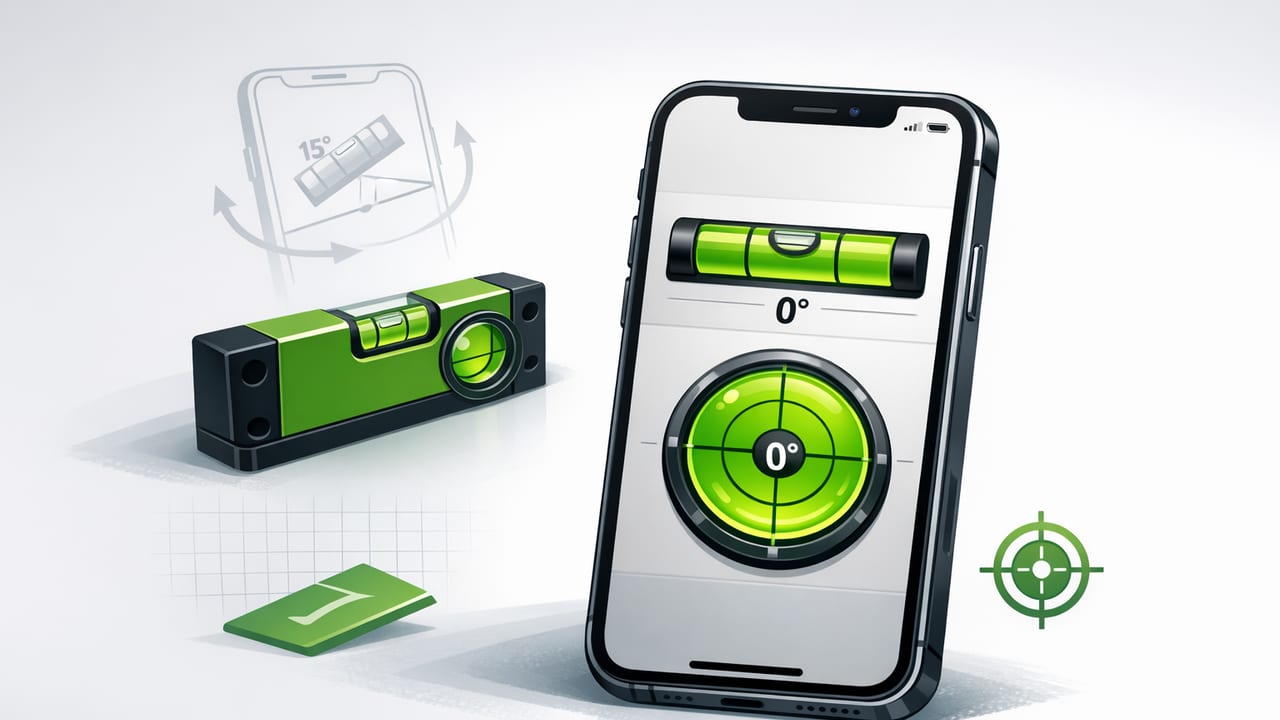
A dual axis bubble level iPhone app can turn your phone into a fast, surprisingly capable leveling tool for everyday DIY—mounting shelves, squaring appliances, setting posts, checking slopes, or aligning fixtures. The key is understanding what “dual-axis” (2D) leveling actually measures, how to set up your phone for reliable readings, and when you should switch to a traditional spirit level or laser.
This guide focuses on practical workflows and accuracy habits so you can get repeatable results—without overthinking the sensors.
What “dual-axis” leveling means (and why it’s different)
A classic bubble level shows tilt along one axis at a time: level (horizontal) or plumb (vertical) depending on how you hold it. A dual-axis level shows tilt on two axes simultaneously—often displayed as X/Y degrees, a 2D bubble, or a crosshair.
That matters whenever your surface can be off in more than one direction, such as:
- Appliances (front-to-back and left-to-right)
- Tripods, mounts, and brackets (yaw/roll corrections)
- Small tables, benches, and worktops
- Setting a post base where twist can hide in a single-axis check
In other words, dual-axis helps you avoid the “looks level… until you rotate 90°” mistake.
How accurate can an iPhone level be?
Most iOS leveling apps rely on the device’s accelerometer and gyroscope. In steady hands on a stable surface, they can be very consistent for DIY tolerances. But accuracy depends more on setup than on the math. Common sources of error include:
- Case thickness or uneven camera bumps preventing flush contact
- Dirty or textured surfaces causing rocking
- Uncalibrated baseline (especially after a drop)
- Hand pressure flexing the phone slightly on soft materials
For best results, treat your phone like a precision tool: stable contact, consistent orientation, and periodic calibration.
Before you start: a 60-second setup checklist
1) Make the phone sit flat
If your phone rocks due to a camera bump, consider placing it screen-down only if your app supports that orientation and your surface won’t scratch the screen. Otherwise, use a thin, rigid spacer (like a clean card) that makes contact points consistent. The goal is repeatable contact, not perfection.
2) Choose a reference surface you trust
Calibration and quick verification are easier if you have a known-flat reference, like:
- a quality spirit level placed on a sturdy countertop
- a thick piece of glass on a stable table
- a machined edge (if you have one in a workshop)
Avoid soft sofas, uneven decking boards, or anything that flexes.
3) Lock your method: always measure the same way
Pick a consistent habit—e.g., always place the same phone edge on the workpiece, always align the top of the phone with the left edge of the shelf, etc. Consistency reduces “human error” more than any feature list.
Calibrate your dual-axis bubble level (the right way)
Most leveling apps include a calibration or “zero” feature. A common mistake is calibrating on an unknown surface and then trusting the numbers everywhere. Use a flip test to validate your baseline:
- Place the phone on a stable, flat surface.
- Record the reading (X and Y angles).
- Rotate the phone 180° in the same spot (top becomes bottom) without changing the surface.
- Compare readings. Ideally they should match in magnitude and flip sign (e.g., +0.2° becomes −0.2°). Large differences suggest rocking, uneven contact, or a bad baseline.
If your app supports it, calibrate until the flip test is symmetrical. If it doesn’t, focus on improving contact (remove the case, change orientation, or use a flatter reference surface).
Pro tip: If you can’t pass the flip test on a surface, don’t trust that surface for calibration.
DIY workflows where dual-axis makes the biggest difference
Below are common tasks where a dual axis bubble level iPhone app can be faster than grabbing a long level—especially when you need two-direction feedback.
1) Leveling appliances (fridge, washer, dryer)
Appliances are a perfect dual-axis use case: if they’re off left-to-right and front-to-back, doors may swing, vibration increases, and water may not drain correctly.
- Place the phone on top of the appliance near the center.
- Adjust feet to reduce X tilt (left-right) and Y tilt (front-back).
- Re-check after closing doors (some floors flex under load).
Best practice: Take readings in two spots (front and back). If they differ, the top surface may not be flat—average your adjustments or use a sturdy board as a measuring platform.
2) Mounting a shelf bracket without “creep”
When you mount a bracket, tiny errors compound: the bracket can be level but twisted relative to the wall, or your shelf can tilt when tightened.
- First, verify the bracket’s top edge is level (primary axis).
- Then, place the phone on the installed bracket plate to check the secondary axis (twist).
- Shim behind the bracket if needed to correct twist before fully tightening.
Dual-axis feedback helps you catch twist early—before the final screw locks it in.
3) Squaring a small frame or cabinet on a workbench
On a bench, you often need the assembly to be stable and not “wobble-level.” Use dual-axis to confirm the bench itself isn’t misleading you:
- Check the bench surface in two directions.
- If the bench is out, place a flat sheet (plywood/MDF) and shim it until the phone reads near zero on both axes.
- Assemble and clamp your project on the shimmed platform.
This prevents building a perfectly square object that still sits crooked due to a twisted reference surface.
4) Setting slope for drainage (simple pitch checks)
Many apps display degrees; some show % grade. If you only have degrees, you can convert:
grade_percent = tan(degrees * π / 180) * 100Quick reference: 1° ≈ 1.75% grade. For small drainage tasks (like ensuring a short run slopes away from a foundation), dual-axis helps you keep the slope in the intended direction rather than accidentally introducing sideways fall.
Target tolerances: what “good enough” looks like
DIY isn’t always about chasing 0.00°. Here are practical targets for common jobs:
| Task | What matters most | Practical target |
|---|---|---|
| Hanging pictures & mirrors | Visual level | Within ~0.3° |
| Shelves (short span) | Bubble/angle consistency end-to-end | Within ~0.2–0.4° |
| Appliances | Dual-axis (no rocking, no door swing) | Within ~0.2–0.5° on both axes |
| Drainage slope (short run) | Correct direction of fall | Maintain intended grade (often 1–2%+) |
| Tile starter line | Reference line straightness | As close to 0° as possible; verify with a second method |
Note: If your project is sensitive (tile, finish carpentry, long runs), use the phone for quick setup and a longer level/laser for confirmation.
Common mistakes (and how to avoid them)
Measuring on a surface that isn’t flat
A countertop can be crowned, a shelf can sag, and a board can be twisted. If readings change dramatically as you slide the phone a few inches, the surface isn’t flat. Use a longer straightedge, or average multiple points.
Not checking both axes
This is the biggest advantage of a dual-axis tool—use it. If you only watch one number, you’re effectively using a single-axis level and missing twist.
Trusting a single reading
Take three quick reads: place → read → lift → place again. If results vary, your contact is unstable. Fix the setup before adjusting the workpiece.
Ignoring temperature and vibration
In a garage with a running dryer, readings can drift. Let the phone settle for a second, and avoid measuring while the surface is vibrating.
What to look for in a dual-axis bubble level iPhone app
If you’re choosing an app specifically for dual-axis leveling, prioritize features that improve repeatability (not flashy graphics):
- Dual-axis (2D) display with clear X/Y readouts
- Calibration (ideally per orientation)
- Large, readable UI for quick checks at arm’s length
- Offline functionality (use it in basements, job sites, or outdoors)
- Angle hold or steadying mode (useful when you can’t keep perfectly still)
Bonus points if the app includes other field tools (ruler, compass) so you can keep a compact toolkit on one device—especially when you’re working away from Wi‑Fi or cellular signal.
A fast “confidence test” before you commit to a critical install
Before drilling final holes or setting tile lines, do this two-minute verification:
- Flip test on a trusted surface.
- Edge test: measure the same surface using two different phone edges/orientations (if supported). Readings should be close.
- Cross-check: compare against a small physical level if you have one.
If the app passes these checks, it’s usually reliable for most home projects—especially those under a few feet where you care about local level more than long-span straightness.
Putting it all together
A dual axis bubble level iPhone app is most valuable when you treat it like a measurement instrument: calibrate thoughtfully, ensure flat contact, and take repeatable readings. Use dual-axis feedback to eliminate twist, speed up appliance leveling, and keep brackets and platforms aligned in both directions. For long spans and high-stakes finish work, confirm with a longer physical level or laser—but for everyday DIY checks, your iPhone can be a genuinely efficient tool.
If you prefer an offline iOS toolkit that bundles leveling with other measurement utilities, apps like Level Tool combine dual-axis leveling with additional on-device tools while keeping everything usable without a connection.
