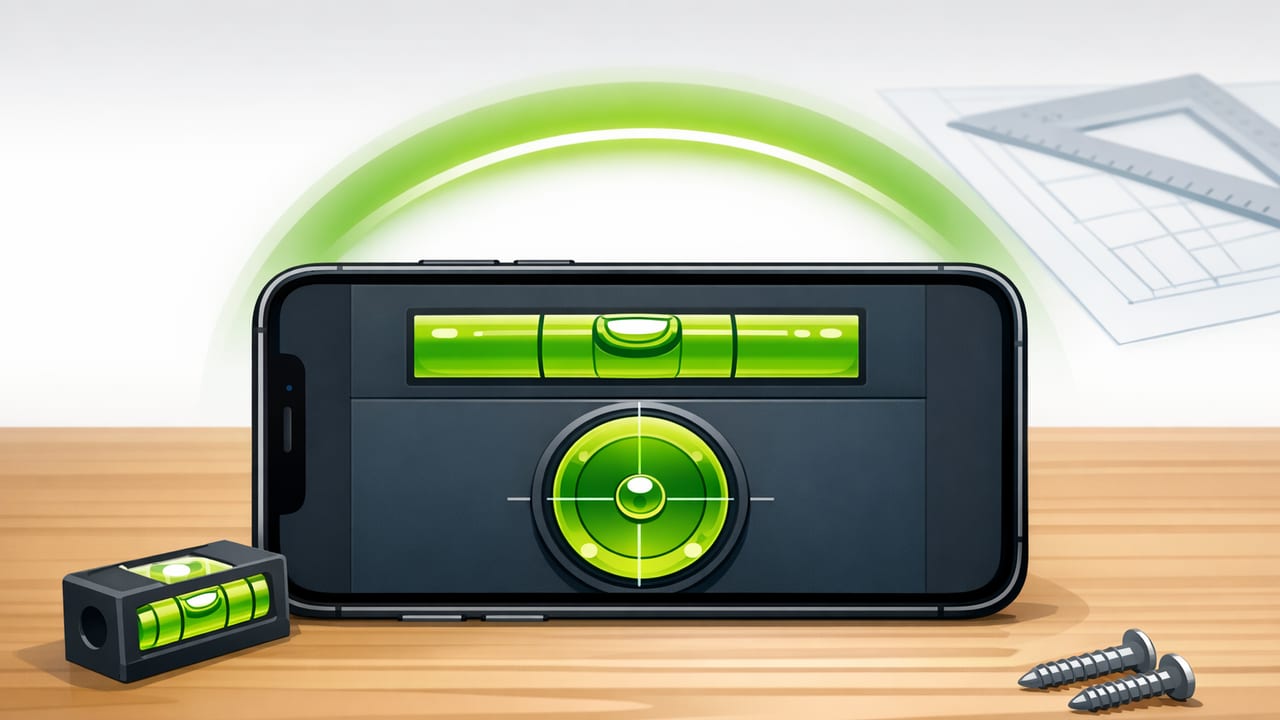
A dual axis bubble level for iPhone can be one of the most useful “always-in-your-pocket” tools for DIY and on-site work. Unlike a basic single-axis digital level (which only tells you whether something is level left-to-right or front-to-back), dual-axis leveling shows tilt on two planes at once. That extra information matters when you’re mounting a TV bracket, setting cabinets, aligning a drill press table, or checking whether a surface is truly flat—not just “good enough” in one direction.
This guide explains how dual-axis leveling works on iPhone, how to calibrate it for reliable readings, and how to apply it to real projects. You’ll also learn practical accuracy checks you can do without special equipment, plus common mistakes that cause misleading results.
What “dual-axis” means (and why it’s better than single-axis)
A traditional bubble level has a vial that indicates level along one axis at a time. A dual-axis digital bubble level replicates (and extends) that by measuring pitch and roll simultaneously—think of it as checking tilt forward/back and tilt left/right in one view.
| Type | What it measures | Best for | Common pitfall |
|---|---|---|---|
| Single-axis level | One direction at a time | Hanging frames, quick checks | Looks level, but twisted on the second axis |
| Dual-axis bubble level | Two directions at once (pitch + roll) | Cabinets, shelves, tile layout, machine setup | Requires a good calibration and stable contact |
| Angle finder / inclinometer | Angle relative to gravity (often with decimals) | Stairs, ramps, miter saw setups | Precision can be wasted if reference surface isn’t trustworthy |
If you’ve ever leveled a shelf and later noticed items rolling toward the wall, you’ve met the classic single-axis problem: you leveled across the width, but didn’t catch the slight front-to-back tilt. Dual-axis helps prevent that.
How iPhone leveling works (in plain language)
iPhones use internal motion sensors—primarily the accelerometer and gyroscope—to estimate orientation relative to gravity. A level app interprets these sensor readings and displays a bubble/tilt indicator. When the device is perfectly aligned to gravity for a given orientation, the bubble centers (or the angle reads 0.0°).
In practice, accuracy depends on:
- Calibration (your app’s “zero” reference)
- Contact quality (the phone must sit firmly on the surface)
- Surface reliability (the thing you’re measuring must actually be straight/flat)
- Case/camera bump (anything that rocks the phone ruins repeatability)
Rule of thumb: A level reading is only as good as the phone’s ability to sit flat and still on the reference surface.
Calibrate a dual-axis bubble level on iPhone (the reliable method)
Most level apps offer a calibration or “set zero” feature. Don’t skip it—calibration is what turns a cool sensor demo into a trustworthy tool.
Step-by-step calibration (using the flip test)
- Pick a stable surface: a thick countertop, a heavy table, or a solid workbench. Avoid anything that flexes.
- Remove anything that rocks: take the phone out of a bulky case if it doesn’t sit flat; be mindful of camera bumps.
- Place the phone in position A: lay it down in the orientation you’ll commonly use (screen up is typical). Wait a second for the reading to settle.
- Set/confirm calibration in the app.
- Rotate the phone 180° in the same spot (position B). Don’t move the phone to a different location on the table—just flip it end-to-end.
- Compare readings: ideally, the tilt values should match in magnitude but invert in direction (e.g., +0.2° becomes −0.2°). If they don’t, recalibrate and repeat.
Why this works: flipping cancels out small surface errors and highlights calibration drift. If your app supports it, repeat the process for a second orientation (e.g., phone on its side) to improve confidence across different use cases.
A quick accuracy check you can do anytime
- Repeatability test: take three readings in the same spot, lifting the phone between each. If the results vary a lot, the phone is rocking or the surface is inconsistent.
- Known-level reference: if you own a trusted physical spirit level, compare both tools on a straight board or countertop. Agreement is more important than “perfect zero.”
How to use a dual-axis bubble level for common DIY jobs
1) Hanging frames and wall art (without the re-do)
Use dual-axis to prevent the “looks level but leans” effect caused by uneven wall texture or hardware.
- Place the phone along the top edge of the frame (or a straightedge on top).
- Center the left-right bubble (roll) and confirm front-back tilt (pitch) is close to zero.
- If the frame is flush at the top but tilted out at the bottom, adjust the wall bumpers or hanging points.
2) Installing shelves and floating ledges
Shelves are where dual-axis shines because you need them level side-to-side and not sloping toward/away from the wall.
- Check the bracket first (before the shelf goes on).
- After mounting, place the phone on the shelf itself to confirm both axes.
- If roll is good but pitch is off, shim behind the bracket or adjust mounting screw depth (depending on bracket type).
3) Cabinets and appliance leveling
Cabinets can be deceptive: the face frame might look straight even if the base is twisted. With dual-axis you can detect twist early.
- Check the cabinet base at multiple points (front-left, front-right, back-left, back-right).
- Use shims where the readings indicate low corners.
- Re-check after tightening fasteners—fastening can introduce new tilt.
4) Tile layout and shower niches
Level lines prevent “creep” where grout joints drift over distance.
- Use dual-axis to verify your ledger board is level (roll) and not leaning (pitch).
- For niches, check each shelf and the niche frame: small angle errors become obvious once tile lines meet corners.
5) Workbench machines and tool setup
For drill press tables, miter saw stations, and router tables, small deviations affect cut quality.
- Place the phone on the table surface (use a flat scrap board if the surface is narrow).
- Adjust leveling feet or shims until both axes are close to zero.
- Verify again after locking mechanisms—clamps and locks can shift alignment.
Common mistakes (and how to avoid them)
Ignoring the phone’s physical flatness
The back of an iPhone may not sit perfectly flat due to the camera bump. If the phone rocks, your reading will wander.
- Fix: Use a slim case that creates a flat back, or place the phone screen-down only if your app supports it and the screen is protected.
- Better fix: Put a straight, flat object between the phone and the work (e.g., a small machinist rule or flat scrap) and rest the phone on that if it improves stability.
Measuring on bowed or textured surfaces
Paint texture, rounded edges, warped boards, or soft materials can throw off a level reading.
- Fix: Measure on the flattest reference you have (a straightedge, a known-flat board, or the part of the surface that’s machined/planed).
Chasing decimals that don’t matter
It’s tempting to aim for 0.0° everywhere. In real projects, what matters is consistency and functional outcome (doors swing right, water drains correctly, shelves don’t creep).
- Fix: Decide your tolerance based on the job. A picture frame can tolerate more than a long countertop run.
When an iPhone dual-axis level is the right tool (and when it isn’t)
A dual-axis bubble level on iPhone is excellent for quick verification, tight spaces, and projects where you need two-plane awareness. But there are times a dedicated tool wins.
Great use cases
- Fast checks during DIY and home improvement
- Tight spaces where a long spirit level won’t fit
- Verifying twist on surfaces (two-axis at once)
- Working offline (garages, job sites, outdoors)
Use a dedicated level when
- You need to span long distances (e.g., framing walls, long countertop runs)
- The surface is too narrow for stable phone placement
- Job requirements specify certified accuracy
Practical workflow: a repeatable “two-axis” leveling routine
If you want consistent results, use this simple routine:
- Stabilize: ensure the phone doesn’t rock (case/flat contact).
- Calibrate: do a quick flip test if you haven’t used the level in a while.
- Measure twice: take a reading, lift, and re-place the phone. If results differ, fix contact.
- Check both axes intentionally: don’t celebrate “level” until pitch and roll look right.
- Verify the outcome: for shelves, set a round object; for drainage, test with a small amount of water (where appropriate).
FAQ: dual-axis bubble level for iPhone
Is a dual-axis iPhone level accurate enough for DIY?
Usually, yes—if you calibrate it and ensure stable contact. Most DIY outcomes are limited more by surface flatness and mounting hardware than by sensor resolution.
Do I need internet for a level app?
No. Leveling uses on-device sensors, so an offline-capable iOS app can work anywhere. Offline operation can also be a privacy plus on job sites.
Why do my readings drift?
Drift is commonly caused by the phone shifting slightly, sensor noise, or an uneven contact point (case edges, camera bump, textured material). Re-seat the phone and repeat the measurement to confirm.
Choosing an iOS app: what to look for
- True dual-axis display (pitch and roll at the same time)
- Easy calibration with clear feedback
- Stable, readable UI (large indicators, lock/hold if available)
- Offline functionality so it works in basements, garages, and outdoors
- Extra tools you’ll actually use (ruler, compass, angle finder) without forcing subscriptions
If you’re looking for an offline iOS toolkit that includes a dual-axis level alongside other measurement utilities, Level Tool is one option to consider.
