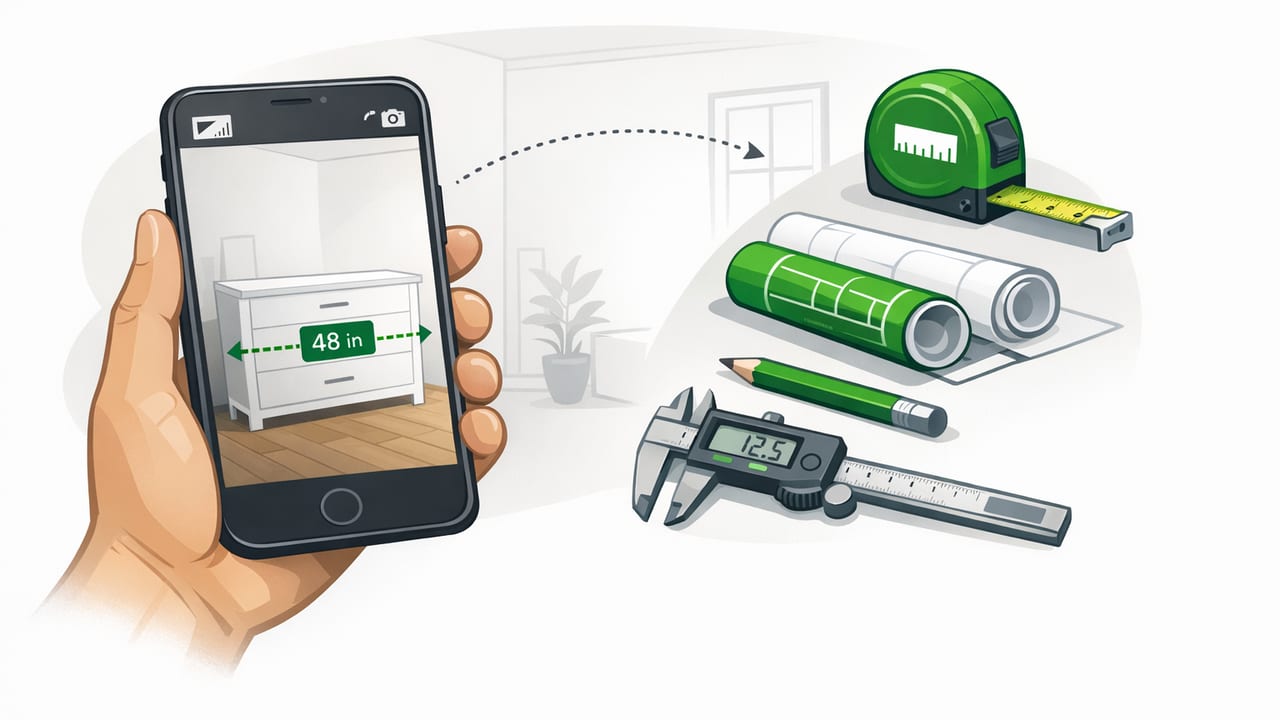
A good diy measuring app can turn your iPhone into a practical set of pocket tools: a level for shelves, an angle finder for trim cuts, a ruler for quick checks, and even navigation aids when you are outdoors. The key is understanding what iPhone sensors can do well, where they can be less reliable, and how to set up repeatable workflows so your measurements stay consistent across projects.
This guide focuses on real-world DIY and home-improvement use: hanging frames, mounting a TV, aligning cabinets, laying out tile, checking slopes, and tackling small outdoor jobs where offline tools matter.
What your iPhone is actually measuring (and why it matters)
Most measurement features in iOS tool apps rely on a few built-in components:
- Accelerometer + gyroscope for tilt, level, and angle measurements.
- Magnetometer for compass bearings (and for detecting magnetic disturbances).
- Camera + AR (when supported) for estimating distances and dimensions.
- Barometer (on supported models) for air pressure trends and altitude changes.
Knowing the source of the reading helps you avoid common pitfalls. For example, a compass can be thrown off by nearby metal, while a level is sensitive to how flat your phone sits against the surface.
The most useful tools inside a DIY measuring app (and when to use each)
Many iOS measurement apps bundle multiple tools. Here is how the most common ones map to typical DIY tasks.
| Tool | Best for | Accuracy tips |
|---|---|---|
| Bubble level / spirit level | Shelves, frames, rails, appliances, leveling furniture | Use a case-free flat edge when possible; check both directions |
| Dual-axis level | Leveling in two directions (e.g., washer/dryer, tripod, workbench) | Make sure the phone is centered and not rocking on a curved surface |
| Angle finder / inclinometer | Stair stringers, roof pitch checks, miter/trim reference angles | Zero on a known reference (like a level surface) before measuring |
| Ruler | Quick small measurements, hardware spacing, cut-line checks | Calibrate to screen size; don’t assume default scaling is perfect |
| Compass | Outdoor bearings, orienting satellite dishes, basic navigation | Move away from metal; re-calibrate if heading drifts |
| Barometer / altimeter | Weather trend awareness, relative elevation changes | Use trends, not single readings; compare over time |
| Metal detection (magnetic field) | Finding nails/screws behind drywall, locating studs indirectly | Scan slowly; confirm with a stud finder or small test hole |
Accuracy first: 9 ways to get more reliable results
Even the best diy measuring app depends on your setup. These habits make a noticeable difference:
- Remove bulky cases when using a level or angle finder. A case lip can tilt the phone by a degree or two.
- Use the same phone edge every time. If you switch edges, tiny manufacturing tolerances can change readings.
- Zero on a known reference for angle work (a verified level surface, a straightedge, or a carpenter’s level you trust).
- Measure twice, flip once: take a reading, rotate the phone 180° in the same spot, and check if it matches. If not, re-zero.
- Avoid vibration (running washer, loud subwoofer, power tools on the same surface). Gyro-based readings can jitter.
- Mind temperature changes. Rapid shifts (coming in from a cold garage) can slightly affect sensors until the phone acclimates.
- Keep magnets and metal away when using a compass or metal-detection tool. Tool belts, steel studs, and rebar can distort readings.
- Use longer references. A short level check over 6 inches can look perfect, but a 24-inch straightedge reveals the truth. Rest the phone on a straightedge for longer spans.
- Document your baseline. For repeat projects (like multiple shelves), note the target angle/level reading you used so you can replicate it later.
Consistency beats precision in most DIY jobs: if you can repeat the same measurement method each time, your results look professional even when tolerances are small.
Practical workflows: common DIY jobs step-by-step
1) Hanging a set of frames in a straight line
Goal: frames look aligned across a wall, even if the ceiling or floor is slightly off.
- Step 1: Choose a reference line (usually the top edges of frames or the centerline).
- Step 2: Use the level to mark two small pencil dots for your line.
- Step 3: Connect dots with a straightedge (or painter’s tape) and re-check with the level along the line.
- Step 4: Use a ruler tool to keep consistent spacing between frames (measure the gap, not the frame).
- Step 5: After hanging each frame, spot-check level again before committing to the next.
2) Mounting a TV and avoiding hidden hardware
Goal: the bracket is level, centered, and anchored safely.
- Layout: Use the ruler to confirm center marks and offset measurements from studs.
- Detect: Use magnetic/metal scanning to look for a line of fasteners that may indicate a stud, but confirm with a dedicated stud finder if possible.
- Align: Use a dual-axis level on the bracket (or on a straight board resting on it) to ensure it is not twisted.
- Verify: When the TV is on, check level on the bezel edge (or on a rigid straightedge held to it) and make micro-adjustments if the mount supports it.
3) Setting slope for drainage (planters, patio edges, shower pans)
Goal: water moves in the intended direction without looking obviously slanted.
- Step 1: Decide your target slope (many DIYers aim for a small, steady pitch rather than a dramatic tilt).
- Step 2: Use an angle finder to match the slope consistently along the run.
- Step 3: Check in multiple spots. A surface can be “correct” in one place and wrong two feet away.
- Step 4: Re-check after fastening or curing, since materials can shift.
Offline matters: using measurement tools without signal
DIY doesn’t always happen in perfect conditions: a basement with no service, a detached garage, or a remote campsite. Offline-capable tools are useful for two reasons:
- Reliability: No waiting for connectivity to open a tool you need right now.
- Privacy and simplicity: Many people prefer utilities that don’t require accounts or constant background access.
For navigation, keep in mind that a compass tool can still work offline because it reads the magnetometer. However, map tiles and GPS-based features may be limited without downloads or preloaded routes. If you plan to use a compass for hiking, test it in an open area away from your car, metal picnic tables, and power lines.
Choosing the right diy measuring app: a short checklist
If you are comparing apps, focus on usability and repeatability rather than flashy demos. Here is a practical checklist:
- Calibration controls: Can you zero an angle finder and fine-tune level readings?
- Dual-axis support: Helpful for appliances, tripods, and any surface that can twist.
- Clear UI under workshop lighting: Big numerals, high contrast, and stable readouts matter.
- Offline functionality: Tools should open and operate without a network.
- No subscription pressure: For utilities, permanent access is often more valuable than extra themes.
- Device compatibility: Ensure it supports your iOS version and sensor set (barometer availability varies).
Troubleshooting: quick fixes when readings seem wrong
My level is different depending on phone direction
Try the 180° flip test on the same surface. If readings disagree, remove the case, clean any debris on the contact edge, then re-zero/calibrate if the app offers it.
The compass spins or drifts
Move away from metal objects (toolboxes, cars, appliances), and re-calibrate. Indoors, nearby wiring and steel framing can cause persistent interference.
The ruler tool doesn’t match my tape measure
Look for a screen calibration step. Also confirm you are not confusing screen centimeters/inches with real-world measurements. A screen ruler is best for small items, not room layout.
Metal detection is inconsistent
Scan slowly in a grid pattern. Mark peaks with painter’s tape, then confirm with another method. Magnetic field sensors can detect many things besides nails (speakers, appliances, even some phone accessories).
A simple measurement log you can copy
Keeping notes prevents redo work, especially when you return to a project days later. Paste this into Notes and fill it out:
PROJECT:
LOCATION:
REFERENCE EDGE USED (phone top/bottom/left/right):
LEVEL BASELINE (if set):
TARGET ANGLE/SLOPE:
KEY DIMENSIONS (W x H x D):
HARDWARE SPACING:
NOTES / PHOTOS TAKEN:
FAQ: what iPhone tools can (and can’t) replace
Can an iPhone level replace a carpenter’s level?
For many household jobs—frames, shelves, basic alignment—yes, if you calibrate and use good technique. For long spans (doors, floors, framing), a longer physical level or laser level is still valuable.
Is an angle finder accurate enough for trim and stairs?
Often, yes for capturing and transferring angles. The best approach is to zero on your reference surface and repeat measurements to confirm consistency before cutting expensive material.
Does offline mean GPS won’t work?
GPS can still function without cellular service, but map data may not load. Compass and basic sensor tools typically work fully offline.
Wrap-up: build a repeatable method, not just a reading
The biggest upgrade a diy measuring app offers is speed: you can check level, angle, and alignment in seconds, right where you are working. Pair that speed with consistent setup—same phone edge, quick calibration, and double-check habits—and your DIY results get cleaner fast.
If you prefer an iOS toolkit that keeps multiple measurement utilities in one place and works fully offline, an app like Level Tool is one option to explore.
