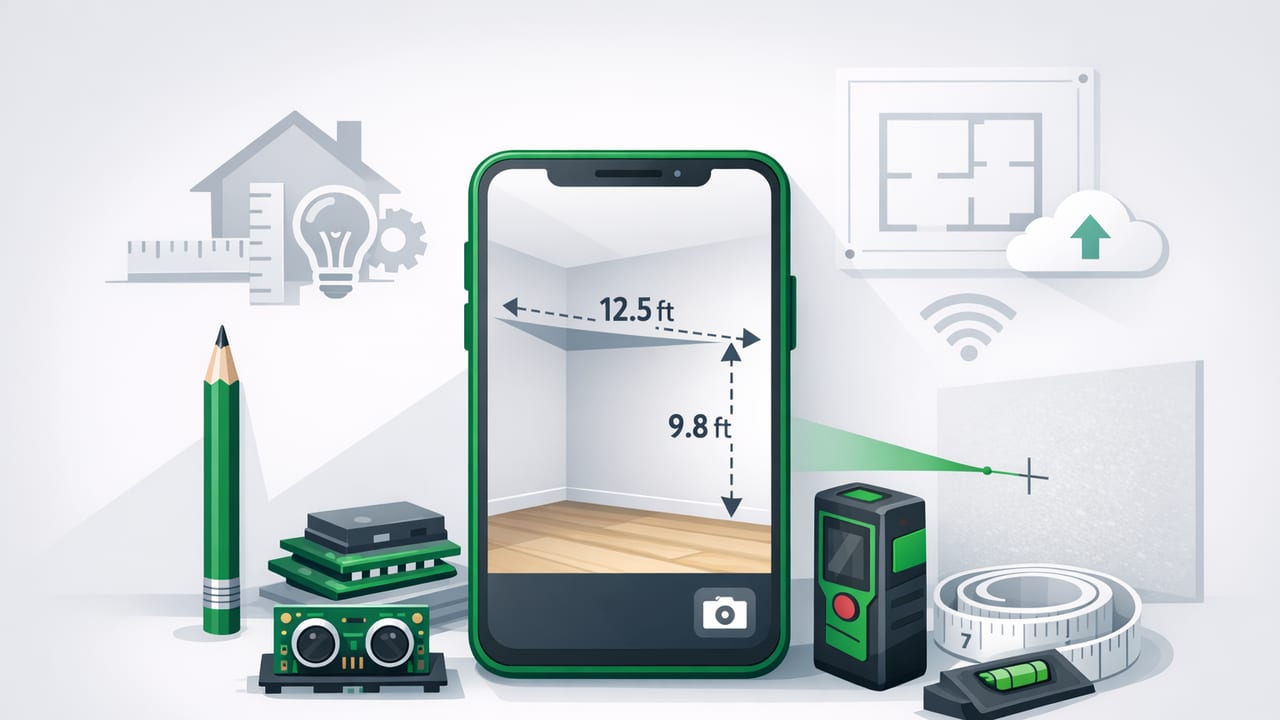
A good diy measurement app can turn your iPhone into a surprisingly capable pocket toolkit—helping you level shelves, estimate lengths, check angles, find bearings, and even understand weather/altitude changes using built-in sensors. It won’t replace every physical tool (and it shouldn’t), but it can dramatically speed up common DIY decisions: “Is this straight enough?” “What angle should I cut?” “Which direction am I heading?” “Is this surface sloped?”
This guide explains what measurement tools your iPhone can realistically support, how each one works, what accuracy to expect, and the practical workflows that make these apps useful for home improvement and outdoor navigation—especially when you want offline functionality.
What makes a DIY measurement app useful (not just a novelty)
Not all measurement apps are created equal. The best ones behave more like a small toolbox than a single trick.
Key criteria to look for
- Offline operation: Measurements should work in a garage, basement, job site, or trail with no signal. Offline apps also tend to be better for privacy.
- Uses real device sensors: Accelerometer/gyroscope (level/angle), magnetometer (compass/metal detection), barometer (pressure/altitude), camera-assisted alignment (when supported).
- Calibration tools: A clear way to zero/offset and re-check readings is essential.
- Readable UI and stable readings: Smoothing can help, but the app should also show when the device is moving.
- No paywalls for basics: For a tool you might need mid-project, reliability matters more than flashy extras.
The iPhone sensors behind measurement apps (and what they can do)
Understanding the underlying sensors helps you know when to trust your phone and when to grab a physical tool.
| Tool in a DIY measurement app | Primary iPhone sensor(s) | Best for | Main limitations |
|---|---|---|---|
| Bubble/Spirit level (single/dual-axis) | Accelerometer + gyroscope | Leveling shelves, appliances, frames | Needs calibration; case thickness can wobble |
| Angle finder / inclinometer | Accelerometer + gyroscope | Checking slopes, saw bevel references | Small surfaces can be hard to seat the phone on |
| Ruler / on-screen measuring | Screen dimensions (and sometimes camera/AR) | Small parts, quick checks | Screen rulers are limited by phone size; AR varies |
| Compass / bearings | Magnetometer + gyroscope | Navigation, alignment, orientation | Magnetic interference indoors/near metal |
| Barometer / altimeter | Barometric sensor | Weather changes, elevation trends | Needs reference point for accurate altitude |
| Metal detector (magnetic field) | Magnetometer | Finding ferrous metal, screws, studs (sometimes) | Not a true stud finder; detects magnetic changes only |
Practical DIY workflows (how people actually use these tools)
1) Hanging shelves and frames: level + repeatability
The most common win for a diy measurement app is leveling. The trick is making results repeatable.
- Calibrate on a known flat surface: A stone countertop, a verified level, or a stable workbench.
- Use the same phone orientation each time: Top edge toward the left, for example. Rotating the phone mid-task can introduce small offsets.
- Check both axes when it matters: A shelf can be level left-to-right but tilted forward-to-back (or vice versa).
- Mark, drill, then re-check: After mounting hardware, re-check before fully tightening.
Tip: If the reading changes when you flip the phone 180° on the same surface, you likely need recalibration or the surface is not as flat as assumed.
2) Setting appliances and furniture: “good enough” leveling
For washers, dryers, refrigerators, and freestanding cabinets, perfect leveling is less important than preventing wobble and ensuring doors close correctly.
- Use dual-axis readings for stability.
- Take readings in multiple spots (front edge, back edge) because floors can dip.
- Make small adjustments, then wait a second for the reading to settle before changing again.
3) Cut planning and installation: angle finder for slopes and bevel references
An inclinometer/angle finder helps you capture “what you have” so you can cut “what you need”—especially for trim, ramps, and awkward transitions.
- Zero to a reference: If your saw table is your reference plane, zero the angle tool on it first.
- Measure the target slope: Place the phone flat against the surface (or against a straightedge).
- Transfer the angle: Use the measured value as your bevel/miter reference (always confirm with a scrap cut).
Reality check: A phone is great for quickly capturing angles, but tiny compound angles often require test-fitting and fine tuning.
4) Quick measuring: ruler apps for small parts and layout checks
Ruler features typically come in two flavors:
- On-screen rulers: Great for small items (screws, bits, connectors). Accuracy depends on correct screen scaling and your ability to align the object.
- Camera/AR measuring: Useful for rough estimates, but results can vary with lighting, texture, and user technique.
For DIY: treat phone measuring as a fast approximation. If you’re cutting expensive material, confirm with a tape measure.
5) Outdoor navigation: compass + offline bearings
A compass tool is valuable when you need quick orientation: finding a direction, maintaining a bearing, or aligning a map.
- Calibrate away from metal: Indoors, near cars, or next to toolboxes can distort readings.
- Hold the phone flat: Many compass errors come from tilting.
- Use landmarks: Pick a distant object on your bearing and walk toward it (more reliable than staring at the screen while moving).
6) Understanding weather and altitude trends: barometer basics
A barometer can help you spot changes (pressure dropping can signal incoming weather). An altimeter derived from barometric pressure is best for relative changes unless you set a known reference.
- Relative mode: Note how altitude/pressure changes over time (hike ascent/descent, storm trend).
- Reference mode: If you know your starting elevation, set it to improve accuracy for that session.
Accuracy: what to expect (and how to improve it)
Phone sensors are good, but the measurement quality depends heavily on how you use them.
Calibration checklist (quick and effective)
- Remove thick cases when leveling on narrow edges—soft cases can introduce “squish” and tilt.
- Use a stable surface and avoid holding the phone in the air for leveling/angles.
- Let readings settle for a second; micro-movements matter.
- Recalibrate after temperature changes (moving from a cold car to a warm room), or after a drop.
- Keep magnets away when using compass/metal detection.
Simple trust test for a level/angle tool
- Place the phone on a surface and record the angle (e.g., 0.3°).
- Rotate the phone 180° in the same spot.
- If the reading becomes -0.3° (or very close), you’re in good shape. If it becomes 1.2° or -1.0°, recalibrate.
When a phone is enough vs. when you need a physical tool
A diy measurement app shines for speed, convenience, and “sanity checks.” Physical tools win when tolerances are tight.
| Task | Phone app is usually enough | Use a physical tool when… |
|---|---|---|
| Hanging decor, basic shelves | Yes | Long spans need a long level to avoid cumulative error |
| Checking a floor slope | Often | You need building-code documentation or long-run flatness checks |
| Cut angles for trim | Sometimes | High-visibility joints require test cuts + miter gauge verification |
| Measuring boards for cuts | Rough estimates only | Any finish cut—use a tape measure and marking knife/pencil |
| Navigation bearings outdoors | Yes, as a backup | You’re in critical conditions—carry a dedicated compass too |
Build a repeatable “phone measurement” routine
The biggest improvement most people can make is consistency. Here’s a simple routine you can reuse across projects:
- Start with calibration (level and compass, if you’ll use them).
- Pick a reference edge of your phone (top edge, left edge) and stick with it.
- Use a straightedge (scrap wood, ruler, or square) when the surface is too small for the phone to sit flat.
- Document critical numbers (angle, slope, bearing) so you don’t re-measure repeatedly.
Optional: a simple way to log measurements (copy/paste template)
If you don’t want to lose measurements mid-project, keep a running log in Notes. This plain-text template works well:
Project: Kitchen floating shelves
Reference surface: Countertop (calibrated)

Shelf A
- Level L-R: 0.1°
- Tilt F-B: 0.3°
- Stud center marks: 16", 32"

Stair rail
- Slope: 33.5°

Outdoor hike
- Bearing to waypoint: 248°
- Pressure trend: falling
Common mistakes (and quick fixes)
- Measuring on soft surfaces: Carpets and foam mats compress—use a board as a base.
- Trusting a compass near tools: Step away from metal shelves, vehicles, speakers, or magnets.
- Using a screen ruler for large items: On-screen rulers are for small parts; use a tape for anything longer than your phone.
- Skipping the settle time: Wait for the reading to stabilize before you mark or tighten.
Choosing the right DIY measurement app setup
If you like the idea of carrying fewer tools, choose an iOS app that combines the essentials (level, angle, ruler, compass, barometer/altimeter, and magnetometer tools), works offline, and makes calibration easy. You’ll get the most value when all your tools are in one place and behave consistently across projects.
For example, Level Tool is an offline iOS toolkit that bundles multiple measurement tools into a single app—handy if you want one reliable place to check level, angles, bearings, and more without subscriptions.
