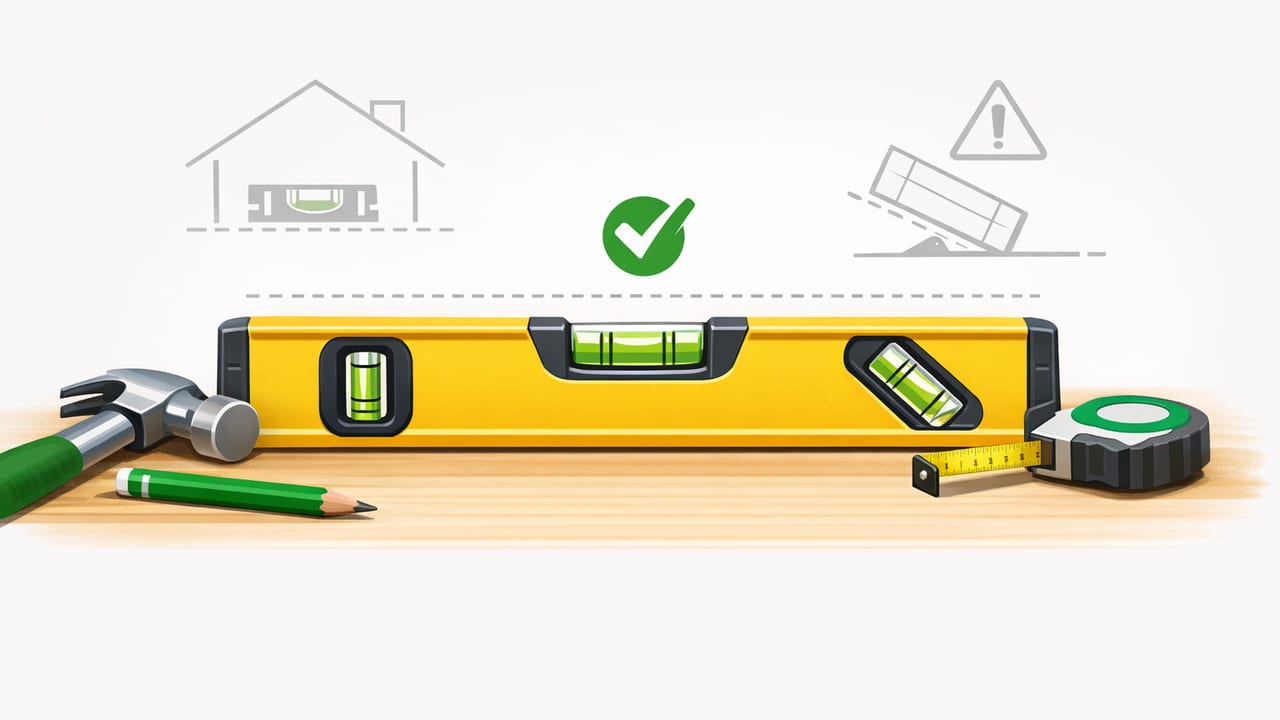
Using your iPhone as a diy level tool can save time on quick home projects—if you treat it like a real measuring instrument. Modern iPhones include motion sensors (accelerometer and gyroscope) that can estimate tilt, plumb, and slope with surprising consistency when you use the right technique. The difference between “good enough” and “why is this shelf crooked?” usually comes down to calibration, surface prep, and repeatable workflow.
This guide walks you through how to get reliable level and plumb checks from an iOS measurement app, how to verify readings, and how to apply them to common DIY tasks like hanging frames, installing shelves, setting tile lines, and leveling furniture. It’s designed to be practical—no subscription required, no signal required, and no specialized jargon.
What your iPhone is actually measuring (and what it isn’t)
A phone “level” feature estimates the phone’s orientation relative to gravity:
- Accelerometer: detects acceleration, including the constant pull of gravity, to estimate tilt.
- Gyroscope: measures rotational movement to smooth and stabilize orientation changes.
What it does not do: it doesn’t magically correct for a warped wall, uneven lumber, a bowed shelf, or a phone case that changes contact points. Your workflow should account for those realities.
Rule of thumb: your phone can be an accurate angle reader, but it can’t fix an unreliable reference surface.
Calibration: the step most people skip (and the source of most errors)
Calibration ensures “0.0°” is truly level for your device in your current environment. Many apps offer a calibrate or zero feature. Use it whenever you:
- Install a new iOS update or change devices
- Switch phone cases (or remove/attach a MagSafe accessory)
- Drop the phone or notice inconsistent readings
- Start a project where accuracy matters (shelves, cabinetry, tile)
A repeatable calibration method (2-surface check)
- Pick a stable surface you trust as a reference: a thick countertop, a known flat workbench, or a high-quality spirit level placed on a sturdy board.
- Place the phone flat (screen up) and note the angle reading.
- Rotate the phone 180° in the same spot (top becomes bottom) and note the reading again.
- Compare the two readings. Ideally they should be equal in magnitude but opposite in sign (e.g., +0.2° and -0.2°). If not, calibrate/zero and repeat.
This “flip test” helps reveal bias caused by the phone not sitting perfectly flat or a sensor offset. If the numbers don’t behave symmetrically, the issue is often the contact surface (case lip, camera bump, debris) rather than the sensors themselves.
Set up your phone for accurate contact
Small physical details create big angle errors at DIY tolerances. Before you trust a reading:
- Remove bulky cases if they prevent the phone from lying flat or create rocking.
- Mind the camera bump: place the phone so it’s supported on a flat edge, or use a straight board as an intermediary surface.
- Clean dust and grit off the phone and the work surface to prevent micro-tilt.
- Use the same edge every time for comparisons (consistency matters more than perfection).
How accurate does a DIY level check need to be?
Different projects tolerate different amounts of error. A picture frame can look crooked at small deviations, while a garage storage rack may be fine with slightly looser tolerances.
| Project | What to measure | Practical tolerance | Tip |
|---|---|---|---|
| Picture frames / gallery wall | Level (horizontal) | ~0.2°–0.5° | Step back 2–3 meters to visually confirm. |
| Floating shelves | Level + bracket alignment | ~0.1°–0.3° | Measure shelf support points, not the shelf face. |
| Cabinet install | Level + plumb | ~0.1°–0.2° | Shim to the reference line, then re-check. |
| Tile layout lines | Level reference line | ~0.1°–0.3° | Mark a long line; longer spans reveal drift. |
| Outdoor ramps / drainage | Slope | Depends on spec | Convert degrees to rise/run before cutting. |
Core workflows: level, plumb, and slope (with real DIY examples)
1) Leveling shelves without “end sag” surprises
Shelves can read level at the bracket but still look off if the board is bowed or the wall is uneven. Use this approach:
- Mark a reference line on the wall using your phone level on a straightedge (a long ruler, straight board, or metal track).
- Install the first bracket loosely.
- Set the second bracket position by measuring from the reference line rather than “matching by eye.”
- Re-check with the shelf installed (phone on the shelf top). If the reading changes along the length, the shelf may be bowed; flip it end-to-end and recheck.
2) Hanging frames: combine level + spacing checks
Frames often look wrong due to spacing, not tilt. A good frame workflow is:
- Level the top edge with your phone.
- Measure equal gaps between frames (use a ruler tool or physical spacer block).
- Confirm with a visual pass: stand back and look for “stair-step” misalignment across multiple frames.
3) Plumb checks for posts, studs, and door jamb tweaks
For vertical alignment, put the phone against a straight, flat face. If the face is rough (stud, unfinished lumber), first place a known straight board against it and then put the phone on the board. This prevents knots and grain from tilting the phone.
Tip: take readings on two adjacent faces (front and side). A post can be plumb in one direction and still lean in the other.
4) Slope for drainage, ramps, and outdoor setups
Slope is where phone levels can be especially convenient, because you can read degrees directly. To translate angle into a cut plan, you often need rise/run.
Here’s a small helper you can use in a notes app that supports JavaScript (or just as reference):
// Convert degrees to rise per 12 inches of run (common for quick DIY estimates)
function risePerFoot(deg) {
  const rad = deg * Math.PI / 180;
  return Math.tan(rad) * 12;
}

console.log(risePerFoot(2)); // inches of rise over 12 inches of run at 2°
If a surface needs a gentle pitch (for example, moving water away from a foundation), you can measure the existing slope in degrees, convert it to rise per foot, and then shim or cut accordingly.
Common mistakes that make an iPhone “level” feel unreliable
Using the wrong reference surface
Drywall can be wavy; tile edges can be crowned; lumber can be twisted. If your reading changes depending on where you place the phone, the surface likely isn’t flat. Use a straightedge to “average” the surface.
Letting the phone rock
If the phone can wobble, you’re not measuring angle—you’re measuring your last touch. Stabilize the phone, remove the case, or place it on a rigid strip (metal ruler, straight board).
Measuring too short of a span
Small spans hide real-world errors. A 20 cm check can look perfect while the full 120 cm run drifts visibly. When possible, reference longer lines: longer baselines reveal true tilt.
Ignoring temperature and vibration
Outdoor work in direct sun can heat the phone; power tools can introduce vibration. Let the reading settle before you trust it, and avoid taking measurements while a tool is running nearby.
A practical checklist for “trustworthy” readings
- Calibrate (flip test) on a stable surface.
- Stabilize contact: no rocking, clean surfaces, minimal case interference.
- Use a straightedge when the work surface is uneven.
- Measure twice: check, rotate 180°, check again.
- Confirm visually for aesthetic projects (frames, trim lines).
- Document key angles (write down degrees for repeated cuts or multiple parts).
Why offline matters for a DIY level tool
Many DIY tasks happen where connectivity is unreliable: basements, garages, cabins, job sites, or outdoors. An offline-capable iOS measurement app is useful because:
- Measurements stay available without Wi‑Fi or cellular service.
- Tools open faster (no login screens or network waits).
- You can keep a dedicated “tool phone” in a toolbox without worrying about subscriptions.
When to use a dedicated physical level instead
An iPhone can be excellent for quick verification and layout, but a physical level still wins when you need:
- Long-span accuracy (e.g., leveling across 2 meters or more)
- Hands-free leveling (you need to see the bubble while adjusting)
- Harsh conditions (wet mortar, dust, high drop risk)
For many homeowners, the best setup is both: use your phone for fast checks and angle notes, and keep a quality spirit level for critical long runs.
Putting it all together
A dependable diy level tool workflow isn’t about chasing perfection—it’s about being consistent. Calibrate, use stable contact, measure on longer references, and verify with a simple 180° repeat check. Those habits make an iPhone level feel less like a novelty and more like a real part of your DIY kit.
If you’re looking for an iOS app that bundles multiple offline measurement tools (including a bubble level) into one place, Level Tool is one example worth exploring—just remember that your results ultimately depend on good calibration and solid measuring technique.
