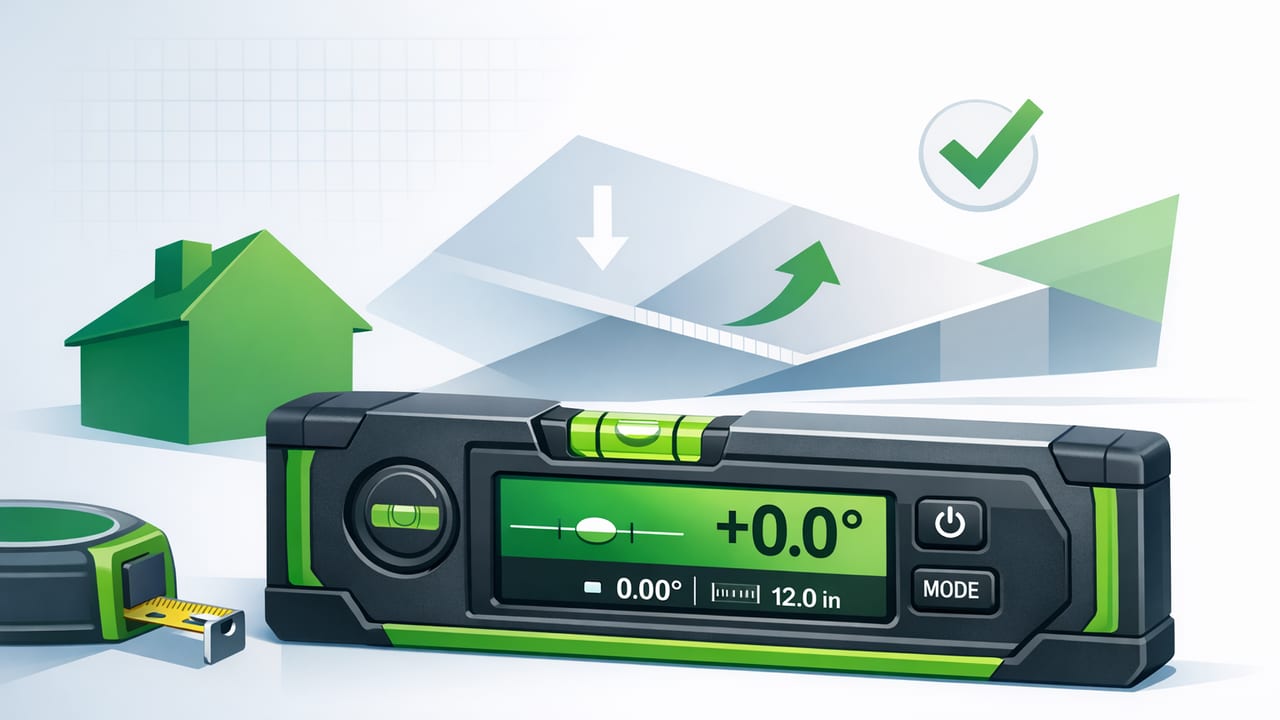
A digital spirit level turns your iPhone into a practical leveling instrument using built-in motion sensors (accelerometers and gyroscopes). For DIY projects, quick home checks, or field work where you don’t want to carry extra gear, it can be surprisingly capable—if you set it up correctly and understand what affects accuracy.
This guide focuses on real-world technique: calibration, reading the display, common error sources, and when a traditional level is still the better tool.
What a digital spirit level measures (and what it doesn’t)
A classic bubble level shows level/plumb by centering a bubble in a vial. A digital spirit level does the same conceptually, but it reports angle and tilt numerically and/or visually. Depending on the app, you may see:
- Level (0°): your surface is horizontal.
- Plumb (90°): your surface is vertical.
- Pitch/roll (dual-axis): left-to-right and front-to-back tilt simultaneously.
- Inclinometer angle: any angle relative to level (useful for ramps, roof pitch checks, or tool setups).
What it generally doesn’t do is measure straightness, surface flatness across long distances, or compensate for a twisted/warped phone case. Think of it as: excellent for local angle/tilt checks, limited for long-run alignment without additional references.
Accuracy basics: what changes your reading
Most “my iPhone level is wrong” issues come from setup and contact points—not the sensor itself. Here are the most common accuracy factors:
1) Contact surface and phone stability
- Wobble: A rocking phone (camera bump, uneven case, textured surface) introduces small angle changes.
- Slip: If the phone slides while you’re reading, you’ll chase the numbers.
- Not fully seated: If you’re measuring a narrow edge, only part of the phone may touch, changing the effective angle.
2) Cases, camera bumps, and screen protectors
Thick cases can make the phone sit unevenly. The camera bump can tilt the phone on flat surfaces. If you want repeatable results, remove the case for precision checks or use a flat spacer that clears the bump (like a straight edge or a small flat board).
3) Temperature and time-to-settle
Motion sensors can drift slightly as they warm up. For best consistency, open your level tool, place the phone, and give it a second to settle before trusting the final reading.
4) Magnetic interference (indirectly)
Magnetism affects the compass, not the accelerometer-based level. However, people often run multiple tools at once; if you’re troubleshooting, separate “level” problems from “heading” problems.
How to calibrate a digital spirit level (the flip test)
Calibration is the step that makes your readings trustworthy—especially if you’ve changed cases, dropped your phone, or updated iOS.
Use this simple, tool-free method often called the flip test:
- Pick a reference surface that is stable and reasonably flat (a countertop, a solid shelf, or a thick board on sawhorses).
- Place the phone in the same orientation you plan to measure (screen up, or on its side edge).
- Record the reading (e.g., +0.4°).
- Rotate the phone 180° on the same spot (end-for-end) so the top becomes the bottom, keeping the same contact points if possible.
- Record the second reading (e.g., -0.2°).
- Interpret the result:
- If the readings are equal and opposite (e.g., +0.3° and -0.3°), your surface is tilted but the phone is consistent.
- If they don’t match (e.g., +0.4° and -0.2°), your system has an offset. Many apps include a calibrate button that sets the current position to zero.
Practical rule: Calibrate in the same orientation you’ll use most. If you level shelves with the phone on its long edge, calibrate on that edge—not just screen-up.
How to read the display without overthinking it
A good digital readout can tempt you to chase perfection. In most home improvement tasks, you only need to be “good enough” for the human eye and the fit of the materials.
- For picture frames: typically aim for within about 0.2° if the frame is large or the wall lines are prominent; otherwise a slightly larger tolerance often looks fine.
- For shelves and cabinets: aim tighter because items can slide or doors can swing—often 0.1°–0.3° depending on length and use.
- For ramps/drainage: the actual angle matters; focus on repeatability and measure multiple points.
If your app provides both a bubble-style indicator and a numeric angle, use the bubble to get close and the number for final confirmation.
Digital spirit level vs. traditional level: when each wins
| Task | Digital spirit level on iPhone | Traditional bubble/box level |
|---|---|---|
| Quick checks (frames, small shelves) | Fast, always with you, easy to read | Accurate and simple, but you have to grab it |
| Long shelves, long runs, straightness over distance | Limited by phone length; needs a straight edge | Better—longer level bridges gaps |
| Angle measurement (slopes, pitch, machinery setup) | Excellent—gives degrees directly | Possible, but often needs special angle tools |
| Dirty/wet jobsite use | Risky for your phone; needs care | Made for abuse |
The best approach is hybrid: use your phone for speed and angles, and use a longer physical level when spanning distance matters.
Pro techniques for reliable results
Use a straight edge to “extend” your phone
If you need to level a longer shelf or check a surface that’s too narrow, place your phone on a known straight object (metal ruler, level, or straight board). This improves stability and helps average out small surface imperfections.
Measure twice, from two orientations
For critical installs, take readings screen-up and then on the long edge (or flip end-for-end). If both agree within your tolerance, you can trust the result more.
Mark a reference, not a number
When aligning brackets or two separate mounting points, don’t chase identical degree values at each location. Instead:
- Get point A level.
- Hold that alignment (or mark it).
- Match point B to the same physical reference line.
Avoid “handheld leveling” unless you must
Holding the phone in the air introduces micro-movements. Whenever possible, rest it on the surface. If you must hold it (e.g., checking a wall stud face), brace your hands and wait for the reading to settle.
Common DIY use cases (with step-by-step workflows)
1) Leveling a shelf on uneven walls
- Place the shelf temporarily (or clamp it) where it will mount.
- Put the phone on the shelf surface (use a spacer to clear the camera bump).
- Adjust until the reading is near 0°.
- Check both ends—if the shelf bows, you’ll see different readings.
- Fasten one side, re-check, then fasten the other.
2) Hanging multiple frames in a straight line
- Calibrate on a stable surface.
- Level the first frame and lightly mark its top edge alignment.
- For each next frame, measure against the same reference (a tape line, laser line, or a marked pencil line).
- Re-check after tightening hardware—tightening can twist the frame slightly.
3) Checking a driveway or yard slope for drainage
For slope, you want a repeatable method. Use a straight board (e.g., 6–8 ft) and measure the angle on the board:
- Lay the board on the surface.
- Place the phone on the board and read the angle.
- Move the board to multiple points to map the slope changes.
If you need a quick conversion from degrees to percent grade, here’s the relationship:
percent_grade = tan(degrees × π / 180) × 100This helps when you’re aiming for a target drainage slope (often specified as a percent).
Troubleshooting: when the numbers look wrong
- The reading drifts while the phone sits still: remove the case, clean dust/grit under the phone, and give the sensor a moment to settle.
- 0° doesn’t look level: do a flip test and recalibrate. Also verify the surface isn’t twisted (countertops and shelves often are).
- Different apps show different angles: confirm they’re using the same reference mode (level vs. incline) and that both are calibrated in the same orientation.
- It’s level in one direction but not the other: you’re seeing dual-axis tilt. Correct one axis first (left-right), then the other (front-back).
Offline matters: reliability on the job and privacy at home
A digital spirit level doesn’t inherently need the internet. In fact, offline tools can be more dependable in basements, remote sites, or during travel. Offline also limits data sharing: your measurements stay on your device, and you don’t depend on account systems or subscriptions just to check level.
Quick pre-check checklist (save this)
- Calibrate in the orientation you’ll use.
- Stabilize contact: remove wobble from cases/camera bumps.
- Use a straight edge for longer spans or narrow edges.
- Measure twice: flip 180° to confirm consistency.
- Choose the right tolerance: don’t chase thousandths for a picture frame.
FAQ
Is a digital spirit level accurate enough for professional work?
For many tasks—angle checks, quick level/plumb confirmation, repeatable setups—yes. For long-run leveling, flatness verification, or compliance-critical work, use a quality physical level (often longer) and jobsite-specific instruments.
Should I calibrate every time?
Not always, but calibrate whenever you change your case, notice inconsistent results, switch measurement orientation, or start a precision-critical task.
Does my phone need to be perfectly flat to work?
Your phone doesn’t need to be perfect, but it must sit consistently on the surface. Anything that changes how it rests (bumps, grit, uneven pressure) changes the reading.
If you want an offline iOS toolkit that includes leveling alongside other practical measurement tools, apps like Level Tool bundle a digital spirit level with additional utilities so you can handle more checks without switching devices.
