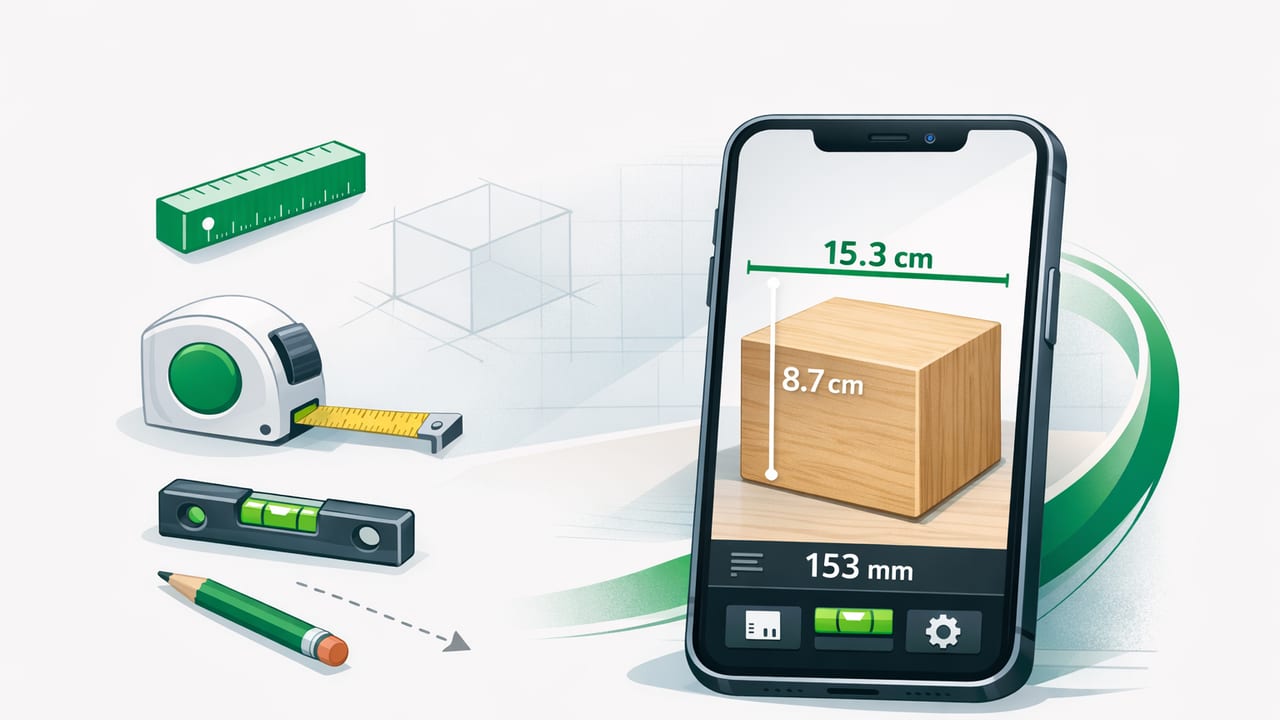
A digital ruler app can turn your iPhone into a practical measuring companion for everyday DIY, home improvement, and quick layout work. Whether you’re spacing picture frames, checking cabinet clearances, measuring a small part, or confirming the width of trim before a cut, a phone-based ruler can save time—especially when a tape measure is across the room or you’re working in a tight space.
That said, “good enough” measuring and reliable measuring are not the same thing. This guide explains how digital ruler apps work, where they’re accurate (and where they aren’t), and the setup and habits that make your readings more trustworthy—particularly when you want to work offline with no subscriptions or connectivity requirements.
What a digital ruler app actually measures (and how)
Most ruler experiences on iPhone fall into two broad types. Understanding the difference helps you pick the right tool for the job and interpret results correctly.
1) Screen-based ruler (fixed scale on the display)
This method displays a ruler scale on your iPhone screen. Accuracy depends on the app correctly knowing your device’s screen size and pixel density, then mapping that to real-world units (mm/in).
- Best for: small objects you can place against the screen (e.g., screws, drill bits, cards, washers), quick checks, crafting.
- Common limitation: cases and screen protectors can prevent objects from sitting flush, causing parallax or edge alignment errors.
2) Camera/AR measuring (estimates distance using sensors and computer vision)
Some apps use the camera to measure distances and object sizes. These are often convenient for larger measurements, but accuracy depends on lighting, surface texture, and how well the app detects edges.
- Best for: room dimensions, rough material planning, quick “will it fit?” checks.
- Common limitation: edges can be misread, and small measurement errors can accumulate over longer spans.
If your main goal is repeatable, small-scale precision for DIY tasks, a screen-based digital ruler app (plus good technique) is often the most consistent approach.
When a digital ruler app is accurate enough (and when to grab a tape)
Use your phone ruler strategically. Here are typical “green zone” and “red zone” use cases.
Good use cases
- Measuring small hardware: screw length, washer diameter, bolt spacing, small brackets.
- Marking consistent offsets: equal reveal lines on a small project, quick trim checks.
- Template confirmation: verifying printed patterns or cut lists for smaller parts.
- Field notes: jotting dimensions before you buy materials (especially when offline).
Use a tape measure (or calipers) instead
- Finish carpentry cuts: where a 1–2 mm error becomes visible.
- Long spans: anything beyond the physical limitations of your screen.
- Safety-critical fit: mounting heavy items, anchor spacing, structural work.
- Machining-level accuracy: small tolerances where calipers are the right tool.
Rule of thumb: Use a digital ruler app for fast checks and repeatable small measurements; confirm final cuts and critical dimensions with dedicated tools.
How to set up a digital ruler app for better accuracy
Accuracy issues usually come from setup and technique rather than the concept itself. These steps improve repeatability.
- Confirm the unit mode: Decide whether you’re working in inches (including fractions) or millimeters, then stick to it for the entire project.
- Use a known reference: If your app supports calibration, compare it against a known-length object (a trusted ruler, a credit card width, or a standard sheet dimension). If it doesn’t, test anyway so you understand typical error.
- Disable display zoom: iOS display zoom settings can affect how some apps render scale. Ensure your display settings are stable and retest if you change them.
- Remove bulky cases (when needed): Thick cases can create a gap at the screen edge, making alignment harder for small parts.
- Work on a flat surface: A level table reduces alignment errors and helps keep the object flush against the screen.
Technique: how to measure small objects on a phone screen
The biggest accuracy gains come from how you physically align items to the scale.
Best practices
- Align to a single edge: Choose either the left or bottom edge as your “zero,” and consistently measure from that same reference edge.
- Avoid parallax: Look straight down at the screen; viewing at an angle shifts apparent alignment.
- Use the object’s “true” endpoints: For screws, measure from the underside of the head to the tip (common standard), not the full overall length—unless your project calls for it.
- Measure twice: Rotate the object 180° and measure again. If results differ, alignment is off.
Common mistakes
- Measuring from the phone bezel instead of the scale: Always use the app’s zero mark, not the physical edge of the device.
- Letting the item float over the glass: If it’s not flat (or your case creates a lip), you’re guessing the endpoint.
- Reading “fractional inches” too casually: Decide if you’re using 1/16 in precision or rounding to the nearest 1/8 in, and be consistent.
Digital ruler vs tape measure vs calipers: a practical comparison
| Tool | Best for | Typical strength | Typical limitation |
|---|---|---|---|
| Digital ruler app (screen-based) | Small parts, quick checks, repeatable short measurements | Fast, always with you, good for under-screen-length items | Alignment and flush contact; limited length |
| Tape measure | Long spans, room dimensions, construction layouts | Wide range, durable, generally trusted | Can be awkward solo; hook play and bend can add error |
| Calipers | Precise diameter, thickness, depth | High precision for small tolerances | Not ideal for long lengths; another tool to carry |
| Camera/AR measure | Rough sizing, quick planning | Convenient for larger objects without contact | Edge detection and lighting can skew results |
Offline measuring: why it matters for DIY and field work
Many DIY situations happen where connectivity is poor or simply unnecessary: garages, basements, workshops, job sites, cabins, or outdoor builds. An offline digital ruler app avoids delays, sign-in prompts, and “feature locked” surprises. It also helps with privacy: measurements, notes, and sensor readings don’t need to leave your phone to be useful.
When evaluating a digital ruler app for offline work, look for:
- Full functionality without internet (including calibration and unit switching).
- No forced accounts for basic measuring.
- No subscriptions required to access core tools.
- Consistent performance across the latest iOS devices.
Real-world DIY scenarios where a digital ruler app shines
1) Checking fastener sizes before a hardware run
Bring a screw to your iPhone, measure length and approximate diameter, and note it. Pairing that with a photo of the screw head type (Phillips, Torx, etc.) reduces guesswork at the store.
2) Verifying spacing for wall accessories
For small accessories (hooks, sensor mounts, cable clips), a digital ruler app can confirm hole spacing or the width of the mounting plate. Then transfer marks to painter’s tape on the wall before drilling.
3) Crafting and hobby work
When cutting foam board, leather, or paper templates, quick measurement on your phone helps keep repeatability without constantly reaching for a metal ruler.
Quick unit conversion (so your notes stay consistent)
If you switch between metric and imperial (common in DIY guides), keeping conversions consistent prevents compounding errors. Here’s a tiny conversion snippet you can paste into any JavaScript console (or a notes app that supports code blocks) to sanity-check values:
// inches to millimeters
function inToMm(inches) {
  return inches * 25.4;
}

// millimeters to inches
function mmToIn(mm) {
  return mm / 25.4;
}

console.log(inToMm(3.5));  // 88.9
console.log(mmToIn(100));  // 3.937...
For woodworking-style rounding, decide early whether you’ll round to the nearest 0.5 mm, 1 mm, or 1/16 in—and keep that rule consistent across the project.
Troubleshooting: why your measurements look “off”
- Numbers vary each time: Your alignment is inconsistent. Use a flat surface and re-check with the object flipped around.
- The scale seems wrong by a constant amount: Calibration or display scaling may be off. Compare to a known ruler and adjust if possible.
- Small objects are hard to place: Use a thin straightedge or card to help align the object’s end precisely with zero.
- Fractions confuse the workflow: Switch to millimeters for layout, then convert back only at the end if needed.
FAQ: digital ruler apps on iPhone
Are digital ruler apps accurate?
They can be accurate enough for many small, practical tasks—especially screen-based rulers—when the scale is correct and you align carefully. For critical work, verify with a physical ruler or calipers.
Do I need internet for a digital ruler app?
No. Many of the best experiences are fully offline, which is ideal for workshops, job sites, and travel.
What’s the best way to improve accuracy?
Use a known reference to validate the scale, measure on a flat surface, look straight down to avoid parallax, and take two readings (rotating the object) to confirm consistency.
Putting it all together
A digital ruler app is most valuable when you treat it like a real tool: validate it, use consistent technique, and know when to switch to a tape or calipers. Done right, it’s a fast, offline-friendly way to measure small items, verify spacing, and keep DIY projects moving without interruptions.
If you prefer an all-in-one, offline toolkit that includes a ruler alongside other measurement utilities, apps like Level Tool combine multiple tools in one place for quick access in the field.
