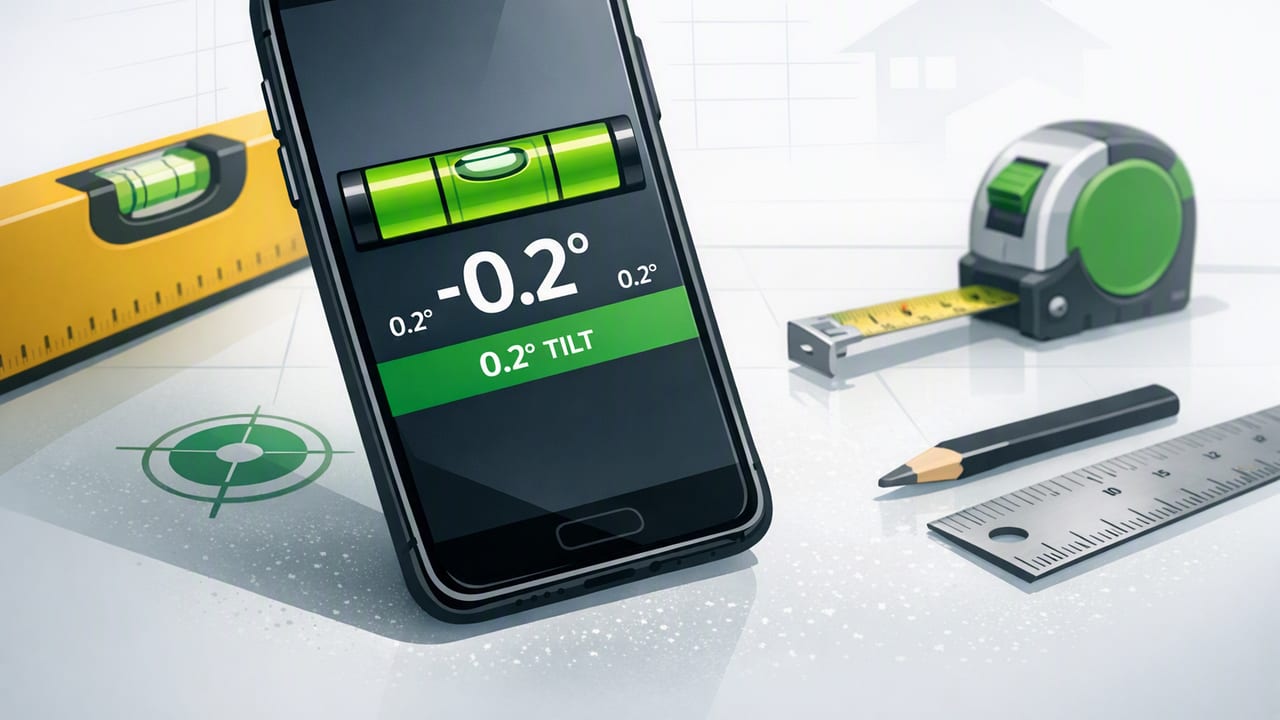
A digital bubble level on iPhone can replace (or at least back up) a traditional spirit level for many everyday tasks: hanging shelves, aligning frames, squaring cabinet faces, or checking whether a workbench is truly flat. But “point the phone and trust the number” isn’t the best approach. Like any measuring tool, a digital level is only as good as its setup, calibration, and the way you apply it.
This guide explains how a digital bubble level works, how to calibrate it, how to verify accuracy, and where it shines (and where it doesn’t). The goal: repeatable, professional-looking results for DIY and jobsite-adjacent work—without needing internet access.
What a digital bubble level measures (and what it doesn’t)
A digital bubble level uses your phone’s internal sensors—primarily the accelerometer (and sometimes the gyroscope)—to estimate orientation relative to gravity. From that, the app can display:
- Level (0°): surface is horizontal.
- Plumb (90°): surface is vertical.
- Pitch/Roll: tilt angles on one or two axes (often shown as degrees or a bubble indicator).
What it doesn’t measure directly is whether two separate points are in the same plane (flatness across distance). A phone can tell you the angle at the spot where it rests; it can’t automatically detect a dip or hump several feet away unless you move and compare readings.
Why calibration matters more than you think
Most iPhones are manufactured with extremely consistent sensors, but small factors can still introduce error:
- Case thickness or camera bump preventing full contact with the surface
- Surface texture (grain, grout lines, rough concrete) causing the phone to rock
- Temperature changes affecting sensor behavior slightly
- Micro-movement from your hand or vibration (fans, HVAC, machinery)
Calibration aligns the app’s “zero” to a known reference. The best practice is to calibrate on the same type of surface you’ll measure (or at least on a stable, flat reference like a countertop or a quality level).
How to calibrate a digital bubble level (the reliable method)
If your app offers a one-tap calibration or “set 0° here,” use this technique for confidence:
- Pick a stable reference surface: a thick countertop, a solid workbench, or a verified spirit level on a rigid board.
- Place the phone down gently so it fully contacts the surface. Remove or flatten bulky cases if needed.
- Calibrate at position A (set the current reading to 0°).
- Rotate the phone 180° in the same spot (keep it on the same surface area) and note the reading.
- Average the error: if it shows +0.4° one way and -0.4° the other way, you’re centered. If it shows +0.4° and +0.6°, your contact is inconsistent—re-seat the phone and try again.
Pro check: The “flip test” (rotate 180° and compare) is one of the fastest ways to detect a bad reference surface or a phone that isn’t sitting flat.
How to verify accuracy without lab equipment
You don’t need a workshop full of instruments to confirm your digital bubble level is behaving. Use these practical verification checks:
1) The flip test (again, for real work)
As described above: place, read, rotate 180° in the same location, read again. A good setup yields readings equal in magnitude and opposite in sign (or extremely close).
2) Compare against a known-good spirit level
Use a quality spirit level on a rigid straightedge (not a bowed scrap). Check both level and plumb. If the spirit level itself is questionable, flip it end-to-end; a good one will read consistently.
3) Create a repeatable slope
Put a board on a stable surface and shim one end with a known thickness (for example, a 10 mm spacer). Measure the rise and run and compute the expected angle (details below). Your digital bubble level should match closely.
Digital bubble level vs. traditional spirit level: when each wins
| Scenario | Digital bubble level (phone) | Spirit level |
|---|---|---|
| Quick angle readout (e.g., 2.5° slope) | Excellent (numeric degrees) | Often limited (no degree scale) |
| Tight spaces (inside cabinets, corners) | Good if the phone fits | Depends on level size |
| Rough surfaces (brick, stucco) | Can be inconsistent unless you use a flat pad | Usually better contact |
| Long-span straightness (checking a wall over 6 ft) | Limited (spot measurement only) | Better (longer reference) |
| Repeatability under jobsite abuse | Good with care; phone is delicate | Excellent |
A strong workflow is to use the phone for angles and quick confirmations, and keep a traditional level for long-span straightness and rugged environments.
Best practices for accurate readings (the small details)
- Remove wobble: If the phone rocks, place it on a thin rigid plate (acrylic, metal ruler, or a flat block) and measure the plate.
- Mind the camera bump: If your phone doesn’t sit flat, readings can drift. A flat-backed case or a shim on the opposite corner can help.
- Use the same contact edge: Pick one side of the phone to act like the “base” and use it consistently.
- Let it settle: Hold still for a second; sensor smoothing often stabilizes after a brief pause.
- Avoid magnetic or vibration-heavy areas: Magnets won’t affect the level function directly, but vibration can make the display fluctuate.
Common DIY uses where a digital bubble level excels
Hanging frames and wall art
Place the phone on top of the frame (or a straightedge resting on the frame) and adjust until it reads 0°. If the frame top is narrow, use a rigid ruler or thin board to create a stable surface.
Installing shelves and rails
After setting the bracket positions, check each bracket’s top surface. Then check the shelf itself once installed. A digital bubble level is especially useful for confirming both horizontal alignment and any intentional slope (for example, slight pitch for drainage or display).
Appliance leveling (washers, dryers, fridges)
Use the phone on a rigid tray or cutting board placed across the top if the surface is uneven. Check side-to-side and front-to-back. Small deviations matter for vibration and door swing.
Setting a consistent slope (e.g., drains, ramps, outdoor surfaces)
Instead of guessing, you can target a specific angle (like 1° or 2°). A digital bubble level makes this straightforward, and you can re-check later for settling.
Angle math you can use in the real world
If you know the rise (height change) and run (horizontal distance), you can compute the angle and compare it to your digital bubble level reading:
angle_degrees = atan(rise / run) * 180 / piExample: If a ramp rises 20 mm over 600 mm, the angle is:
atan(20/600) * 180/pi ≈ 1.91°This is also useful for interpreting building guidance that’s expressed as slope (like “1:48” or “2% grade”).
Troubleshooting: why your readings look “wrong”
The reading changes when you rotate the phone
This usually means the phone isn’t making consistent contact. Causes include a thick case lip, the camera bump, or a textured surface. Fix it by measuring on a flat pad or removing the case.
0° is never stable
Try moving away from vibration sources (running appliances, fans, busy floors). Also, give the phone a second to settle; many apps smooth sensor noise over time.
It matches on level but not on plumb
This can happen if calibration only set one axis or if you calibrated on a surface that wasn’t truly flat. Recalibrate using the flip test and check both axes if your app supports dual-axis leveling.
The phone says level, but the result looks off
Sometimes your reference is the problem: walls are not always plumb, floors aren’t always level, and trim can be visually misleading. Decide what you’re aligning to:
- True level/plumb (gravity-based)
- Existing lines (matching a ceiling line, countertop seam, or adjacent frame)
Offline use: why it matters for measuring tools
A digital bubble level doesn’t need internet to work; it relies on device sensors. Still, an app that functions fully offline can be more dependable in basements, rural job sites, or while traveling. Offline capability also tends to go hand-in-hand with simpler performance expectations: faster launch, fewer distractions, and fewer interruptions when you just need a reading.
Safety and workflow tips for pros and serious DIYers
- Don’t measure on ladders one-handed: Set the phone down securely or use a stable surface; avoid balancing acts.
- Protect the phone: Use a grippy case or place it on a pad to prevent slipping off smooth surfaces.
- Document angles: For repeatable builds, write down target angles (e.g., “stair rail: 35.5°”) and re-check during installation.
- Use the right tool for the span: For long walls or large surfaces, confirm with a longer straightedge or a traditional level.
Quick checklist: getting dependable results in under a minute
- Remove wobble (case/camera bump/rough surface).
- Calibrate on a stable reference.
- Flip test (rotate 180°) to confirm consistency.
- Measure on a rigid straightedge if the surface is narrow.
- Re-check after tightening fasteners (things shift).
Final thoughts
A well-set-up digital bubble level can be surprisingly precise for everyday building, installation, and maintenance tasks—especially when you treat it like a real instrument: calibrate it, verify it, and control the contact surface. Used that way, your iPhone becomes a dependable angle and level reference you can keep in your pocket.
If you prefer an all-in-one, offline toolbox approach, apps like Level Tool bundle a digital level with other measurement utilities so you can handle quick checks without carrying extra gear.
