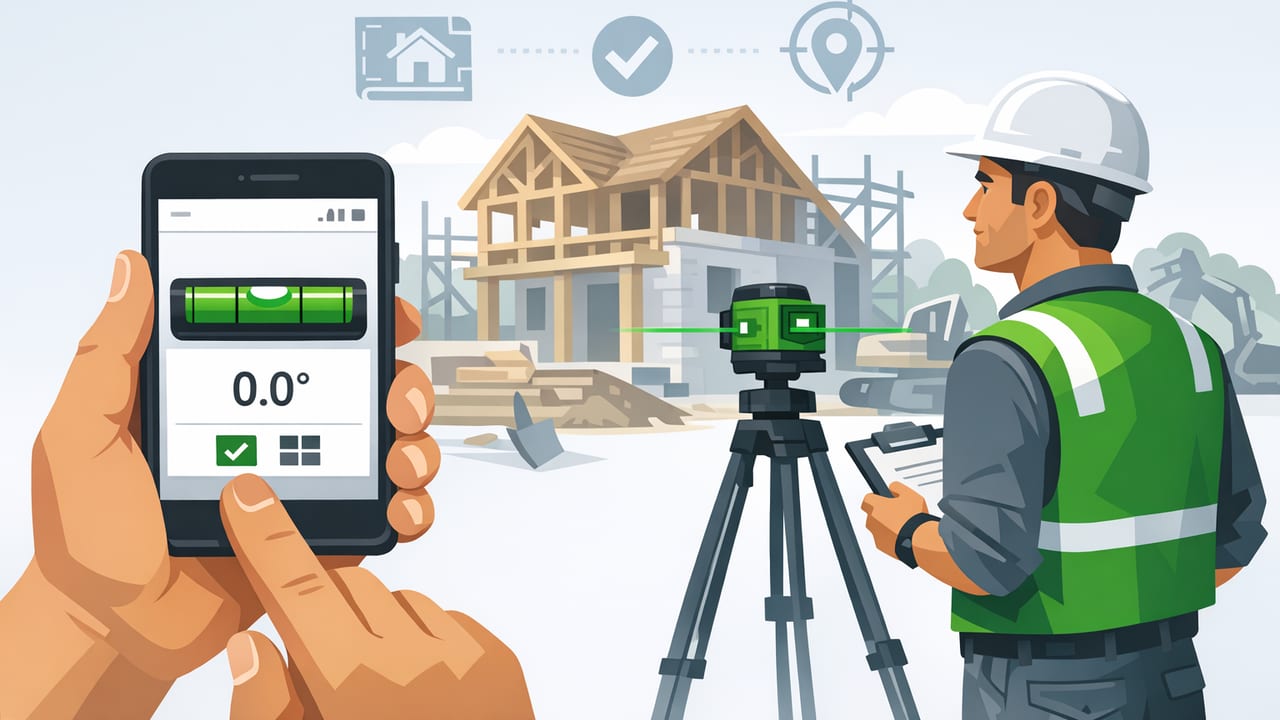
On a busy jobsite, “level” isn’t a single task—it’s a chain of small checks that prevent callbacks: plumb walls, flat substrates, consistent slopes, straight runs, and aligned hardware. A contractor leveling app on iPhone can speed up those checks when you need quick confirmation, a second opinion, or a tool you always have on you.
This guide covers a practical workflow for using an iPhone as a leveling and alignment tool without sacrificing reliability. You’ll learn how to set up repeatable calibration, where phone-based levels shine, where they don’t, and how to document readings so your work stays defensible.
Why a contractor leveling app belongs in your workflow
Traditional tools (box levels, torpedo levels, lasers) are still the standard for final verification. But a phone-based level can be extremely effective for:
- Pre-checks and layout: confirming rough framing, forms, or cabinetry before you commit fasteners.
- Spot-checking: verifying a single pitch, a quick plumb, or a questionable transition.
- Tight-access work: inside cabinets, on mechanical pads, in crawlspaces, or around obstructions.
- Offline jobsites: rural builds, basements, remote renovations—no signal required.
The key is consistency. If you treat the phone like any other measuring instrument—calibrate it, use a defined contact method, and verify against a known reference—it becomes a dependable part of your toolkit.
What to look for in a contractor leveling app
Not all level apps behave the same. For professional use, prioritize:
- Dual-axis readout: pitch and roll together so you can detect twist (especially for cabinets and equipment pads).
- Fine resolution with clear thresholds: an easy-to-read display at small angles (e.g., 0.1° steps) and obvious “level/plumb” indicators.
- Stable sensor filtering: minimal jitter when the phone is stationary.
- Offline functionality: no dependency on connectivity, accounts, or subscriptions for core measuring.
- Quick calibration: a repeatable method you can do on-site.
Calibration: the 60-second routine that makes readings credible
Calibration is the difference between “handy” and “trustworthy.” Use this routine at the start of the day and anytime the phone takes a knock:
- Pick a reference surface: a known-straight level, a verified slab edge, or a stable workbench. Avoid soft or vibrating surfaces.
- Clean contact points: wipe dust/grit from the phone edge or case. Debris can add measurable tilt.
- Case check: thick cases can rock on edges and distort readings. If the case has a rounded lip, remove it for precision checks.
- Do a flip test: place the phone on the surface, note the reading, then rotate the phone 180° in the same spot. If the readings don’t mirror (e.g., +0.4° and -0.4°), calibrate within the app.
- Lock your method: always measure with the same phone edge (bottom edge, long edge) so your contact geometry stays consistent.
Field rule: If you can’t repeat the same reading twice in a row on the same surface, don’t trust the measurement—fix the setup first.
A repeatable jobsite leveling workflow (step-by-step)
Use the same sequence so your checks are fast, consistent, and easy to communicate.
1) Establish your “reference plane”
Decide what “level” means for this scope:
- Existing conditions: sometimes you’re matching an old floor or a settled threshold.
- True level: required for cabinetry, equipment pads, door hardware, or finished tile lines.
- Designed slope: required for decks, patios, shower pans, ramps, or drainage runs.
2) Verify the substrate before you set anything
Most downstream alignment problems start at the substrate. Quick checks that pay off:
- Flatness spots: check multiple points, not just one. A slab can be “level-ish” but still crowned or dished.
- Twist detection: use dual-axis readings across diagonals on pads or cabinet runs to catch torsion.
- Transition checks: doorways, sliding tracks, and countertop seams where small errors show up.
3) Measure the part, not the air
Phone levels are sensitive. Get solid contact and avoid measuring off loose pieces:
- Place the phone directly on the work surface or against a straightedge.
- Don’t press hard—compression can flex thin materials like sheet goods.
- Wait for the reading to settle, then note it.
4) Use tolerances you can defend
Instead of arguing about “close enough,” use simple thresholds. Example tolerances (adjust to spec and finish level):
- Finish-sensitive work (cabinets, countertops, trim): aim for ≤0.2° out of level/plumb where possible.
- General framing alignment: often acceptable at ≤0.5° depending on length and downstream finishes.
- Designed drainage slopes: confirm the target slope rather than forcing “level.”
5) Cross-check when it matters
For critical placements (base cabinets, door jambs, tile layout lines), confirm with at least one independent reference:
- A known-good box level
- A laser line
- A water level (for long runs)
Common contractor use cases (and best practices)
Cabinets and countertops
Cabinet runs fail when they’re level at one point but twisted across the run. Use dual-axis checks:
- Check the floor line where the toe kick will sit, then the top rail after shimming.
- Check diagonally across a cabinet box or base to spot twist.
- Re-check after fastening—fasteners can pull boxes out of plane.
Doors and jambs
For doors, “plumb” matters as much as “level.” Phone checks are great for quick confirmation:
- Check both sides of the jamb for plumb (don’t assume the hinge side equals latch side).
- Confirm the head is level relative to your reference plane (especially in remodels).
- Verify reveal consistency after shimming and fastening.
Tile and shower slope
In wet areas, you’re often verifying a target pitch rather than chasing perfect level. A contractor leveling app helps you confirm slope repeatedly without pulling out specialty gauges.
- Measure along the intended water path (to drain, to weep line).
- Confirm slope is consistent across adjacent planes to prevent pooling.
Forms, pads, and equipment bases
For equipment, twist can be more problematic than a small overall tilt. Dual-axis readings can reveal whether one corner is high or a pad is racked.
- Check each edge and then across both diagonals.
- Document readings before and after adjustment (useful for handoff).
Angle vs. slope: quick conversions you can use on site
Some specs call out slope as a percentage (e.g., 2%), while many level tools show degrees. Here’s how to convert:
- Slope (%) = tan(angle in degrees) × 100
- Angle (degrees) = arctan(slope% / 100)
Example: a 2% drainage slope is about 1.15°.
// Quick reference (approx.)
//
// 1%  ≈ 0.57°
// 2%  ≈ 1.15°
// 3%  ≈ 1.72°
// 4%  ≈ 2.29°
//
// If you need to calculate:
// slopePercent = tan(angleDegrees * PI/180) * 100
Tool stack: how phone measurement tools complement physical tools
Many iOS measurement apps bundle multiple tools. Here’s how contractors commonly use them together on a job:
| Tool | Best for | Jobsite tip |
|---|---|---|
| Bubble level / angle gauge | Plumb/level checks, pitch verification | Use a consistent phone edge and do a flip test daily |
| Dual-axis level | Detecting twist in cabinets, pads, frames | Measure diagonals to reveal racking |
| Laser alignment (if available) | Quick straight reference for layout and alignment | Great for short runs; confirm critical lines with a real laser |
| Ruler | Small spacing checks, hardware offsets | Use for quick estimates; verify finish dimensions with a tape |
| Compass / heading | Orientation, rough bearing, satellite dish or panel direction | Keep away from metal studs/tools to reduce magnetic interference |
| Barometer | Weather trend awareness for exterior work | Use trends, not absolute numbers, for planning |
Accuracy pitfalls (and how to avoid them)
Phone sensors are impressive, but jobsite conditions can introduce errors. Watch for these common issues:
- Magnetic interference: metal studs, tool belts, speakers, and machinery can affect compass readings.
- Uneven phone geometry: camera bumps, rounded cases, or warped cases prevent true contact.
- Dirty surfaces: grit under the phone acts like a shim—clean both surfaces.
- Thermal changes: going from a cold truck to a warm interior can temporarily shift sensor behavior. Let the phone acclimate if readings seem unstable.
- Human pressure: pressing the phone into foam or thin sheet material can flex it enough to change the reading.
Documenting readings: simple, professional, and helpful
When a client or GC asks “How do you know it’s level?”, documentation reduces friction. You don’t need anything fancy:
- Take a photo of the tool reading on the surface (include a recognizable landmark).
- Note the location (e.g., “north wall base plate,” “cabinet run end,” “shower curb center”).
- Record the target (“2% to drain,” “plumb within 0.2°”).
- Repeat after adjustment for a before/after pair.
When not to rely on a phone for leveling
A contractor leveling app is a strong support tool, but there are times to reach for dedicated gear:
- Long-range elevation transfer: use a laser level or water level.
- High-stakes verification: structural or code-critical conditions should be confirmed with professional instruments.
- Rough terrain and wind: if you can’t get stable contact, you can’t get a trustworthy reading.
Putting it together: a fast checklist for the field
- Calibrate (flip test) and remove unstable cases
- Define your reference plane (true level vs match existing vs designed slope)
- Check substrate first (flatness + twist)
- Measure with consistent contact, let readings settle
- Use defensible tolerances and cross-check critical work
- Document before/after when alignment matters
If you want an all-in-one iOS toolkit that stays offline and combines leveling with other measurement utilities, apps like Level Tool are designed around that jobsite-friendly approach—especially when you need quick checks without relying on a signal.
