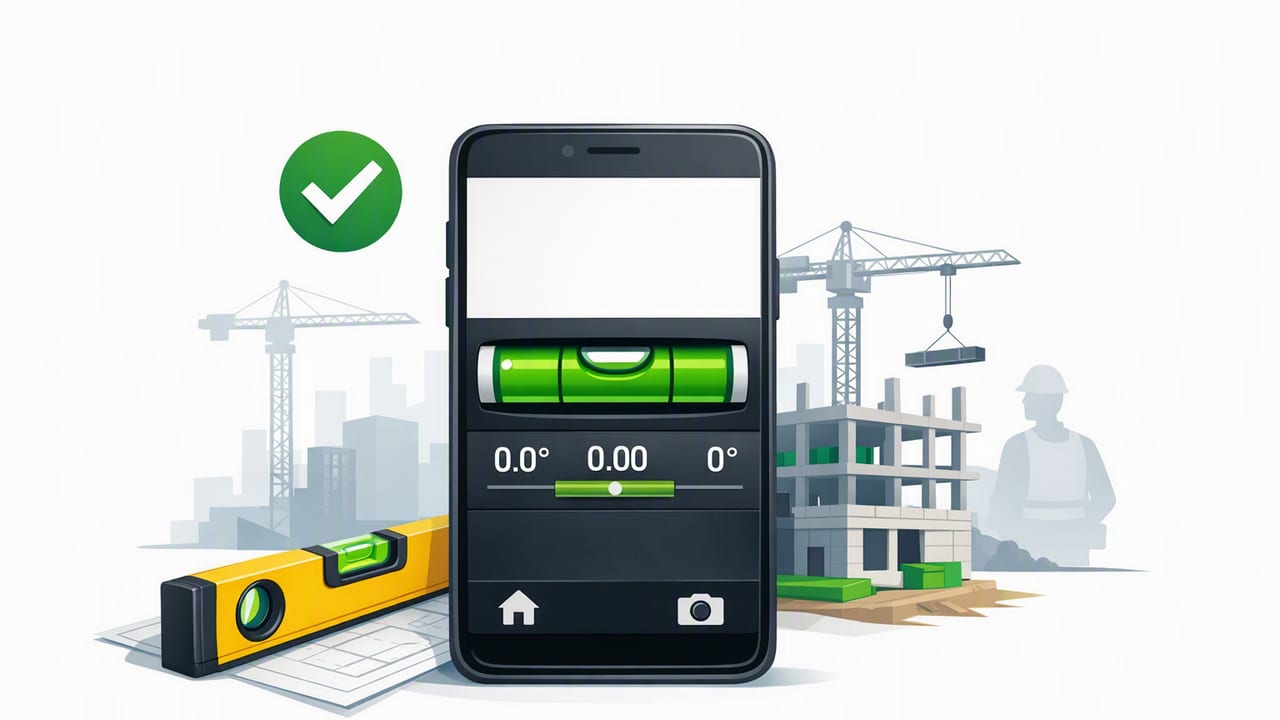
A construction level app can turn an iPhone into a practical, job-ready alignment tool for everyday layout and verification. While it won’t replace every specialized instrument on a professional site, it can cover a surprising amount of real work: checking level and plumb, confirming slope, aligning cabinetry, verifying forms, and troubleshooting “why does this look crooked?” moments—especially when you need a quick reading without walking back to the truck.
This guide explains how construction level apps work, where they fit in a home improvement or professional workflow, and how to get the most reliable results using iPhone sensors—even offline.
What a construction level app actually measures
Most construction level apps use your iPhone’s built-in motion sensors (accelerometer and gyroscope) to estimate orientation relative to gravity. In practice, that gives you:
- Level (0° pitch/roll) for horizontal surfaces like shelves, countertops, and frames
- Plumb (90°) for vertical surfaces like studs, posts, and door jambs
- Slope/grade (e.g., 1–3°) for drainage, ramps, shower pans, and exterior hardscape
- Dual-axis readings (tilt in two directions) to spot twist or compound out-of-level conditions
Many iOS measurement apps also bundle related tools (ruler, compass, barometer, etc.). For construction tasks, the “level” function is usually the daily driver, but pairing it with a ruler or compass can help with layout and quick field checks.
When a construction level app is the right choice (and when it isn’t)
Great use cases
- Cabinet and shelf alignment: check level across runs, then re-check after shimming
- Trim and finish: plumb on casing, straightness checks, quick verification before fastening
- Rough layout: sanity-check wall plates, blocking, or temporary bracing
- Drainage and slope checks: confirm consistent fall across short distances
- Punch-list verification: confirm “it looks off” complaints with a numeric reading
Situations to avoid (or treat cautiously)
- Long-span accuracy requirements (e.g., long beams, large slab flatness): use a long level, laser, or optical instrument
- High-stakes structural layout: app readings can drift if the phone isn’t seated flat or calibrated
- Magnetic interference (near rebar/steel) if the workflow depends on compass features
Rule of thumb: Use a construction level app for fast verification and short-run alignment. For long-range layout, transfer lines with a laser level or traditional tools and use the app as a secondary check.
Accuracy basics: what affects your readings most
People often blame the app when readings seem inconsistent, but the biggest issues are usually physical:
- Contact surface: If the phone rocks on texture (tile grout lines, saw marks, uneven framing), the angle is unstable.
- Phone case/camera bump: Many phones don’t lie perfectly flat on their backs. A thick case can create a tilt error.
- Calibration drift: Sensors can drift over time or after iOS updates; recalibration is normal.
- How you reference: Measuring from the back vs. the side of the phone can change results if the device isn’t perfectly square.
To reduce error, treat your iPhone like any measuring tool: seat it consistently, verify with known references, and calibrate before critical work.
How to calibrate a construction level app (field method)
Most leveling apps include a calibration option. If yours doesn’t, you can still validate accuracy using a simple “flip test.” Here’s a reliable approach:
Calibration checklist
- Remove bulky cases if possible (or use the same case consistently).
- Clean dust/debris from the contact surface and the phone.
- Use a known flat surface: a countertop you trust, a thick piece of glass, or a quality level laid on a stable bench.
The flip test (quick verification)
- Place the phone on the reference surface and note the reading (e.g., +0.3°).
- Rotate the phone 180° on the same spot (top becomes bottom).
- Note the new reading. Ideally, it should be the inverse (e.g., -0.3°).
If the readings aren’t symmetrical, recalibrate and repeat. This mirrors how you’d validate a physical spirit level.
Jobsite workflow: using a construction level app effectively
Speed is the main advantage of a phone-based level. The key is to use it in a repeatable workflow so you’re not chasing noise. Here are practical patterns that work well for DIY and pros.
1) Shimming cabinets or a vanity
- Step 1: Check the floor or base in both directions (dual-axis if available).
- Step 2: Set the first cabinet, then check level left-to-right and front-to-back.
- Step 3: Shim incrementally and re-check after fastening (fasteners can shift alignment).
Tip: If the phone teeters on a narrow edge, place it on a small straight board or a known-flat square and measure off that.
2) Plumb checks for door frames and studs
- Use the side edge of the phone as the reference, not the back (camera bumps can skew back-facing measurements).
- Check at two heights (near top and near bottom) to spot bowing, not just tilt.
3) Verifying slope for drainage (quick grade math)
For short runs, your app may display degrees. If you need grade as a percentage (common in drainage discussions), use:
grade_percent = tan(angle_degrees × π / 180) × 100Example reference values:
- 1° ≈ 1.75% grade
- 2° ≈ 3.49% grade
- 3° ≈ 5.24% grade
For many drainage applications, consistency matters as much as the exact number—your construction level app is excellent for confirming a steady fall across adjacent sections.
4) Straight-line layout and “is this square?” reality checks
A level app won’t measure squareness directly like a framing square, but it can help you catch common layout errors:
- Twist: dual-axis tilt reveals if a surface is level one way but not the other.
- Racked assemblies: plumb may change along the height if a frame is racked.
- Reference drift: checking multiple points can reveal a bowed wall or crowned ledger.
Comparing tool options: app vs. traditional levels vs. lasers
| Tool | Best for | Limitations |
|---|---|---|
| Construction level app (iPhone) | Fast checks, short-run leveling, dual-axis troubleshooting, quick slope verification | Depends on phone contact surface; not ideal for long spans or high-stakes layout |
| Spirit level (2–6 ft) | Reliable leveling over longer distances, bridging uneven spots | Bulky; single-purpose; needs straight edges and intact vials |
| Laser level | Room-scale layout lines, consistent height transfer, multi-person workflow | Needs setup and stable placement; visibility issues in bright light; battery/transport |
In many real workflows, the best setup is laser for layout and a construction level app for verification at the point of work—especially where you can’t easily see the laser line.
Offline matters: why jobsite reliability improves
Construction sites, basements, cabins, and outdoor projects often have weak reception. An offline iOS app avoids the “loading” problem when you just need a number now. It also reduces privacy concerns and eliminates interruptions from account prompts or subscription screens.
If you’re working in remote areas (or simply want dependable tools during outages), prioritize measurement apps that function fully without internet access.
Common mistakes (and how to fix them fast)
- Mistake: Measuring on a textured surface (tile, rough lumber) and getting unstable readings.
Fix: Use a straight board, metal ruler, or flat scrap as a bridge under the phone. - Mistake: Trusting the back of the phone on a camera bump.
Fix: Measure from a side edge, or remove the case and use a flat reference plate. - Mistake: Not rechecking after fastening.
Fix: Confirm level/plumb after screws are driven—fasteners can pull pieces out of alignment. - Mistake: Mixing reference points (sometimes measuring on the left edge, sometimes the right).
Fix: Pick one consistent reference edge for the whole task.
Practical mini-checklist for better results
- Calibrate using a known flat surface (and do the flip test).
- Stabilize contact (bridge texture with a flat spacer if needed).
- Measure twice (rotate 180° and confirm symmetry).
- Record tolerances: decide what’s acceptable (e.g., ≤0.2° for finish work, ≤0.5° for rough checks).
- Use the right tool for the span: app for short runs, laser/long level for long runs.
Choosing a construction level app: features that matter
Not all apps behave the same. For construction and DIY, look for:
- Dual-axis leveling for diagnosing twist
- Clear numeric angle display (degrees and/or slope)
- Easy calibration with repeatable steps
- Offline functionality so it works anywhere
- No subscription roadblocks (especially for tools you need in the field)
Some apps also include extras like rulers, compasses, or pressure/altitude tools—useful if you prefer one offline toolkit rather than many single-purpose downloads.
Wrap-up
A construction level app is most valuable when you treat it like a real instrument: calibrate it, stabilize the phone, and use it for the tasks it’s best at—quick checks, short-run leveling, and troubleshooting alignment problems. Pair it with traditional tools when distance or precision demands it, and you’ll get a fast, dependable workflow that travels in your pocket.
If you’re looking for an offline iOS toolkit that includes a bubble level alongside other measurement utilities, Level Tool is one option to consider.
