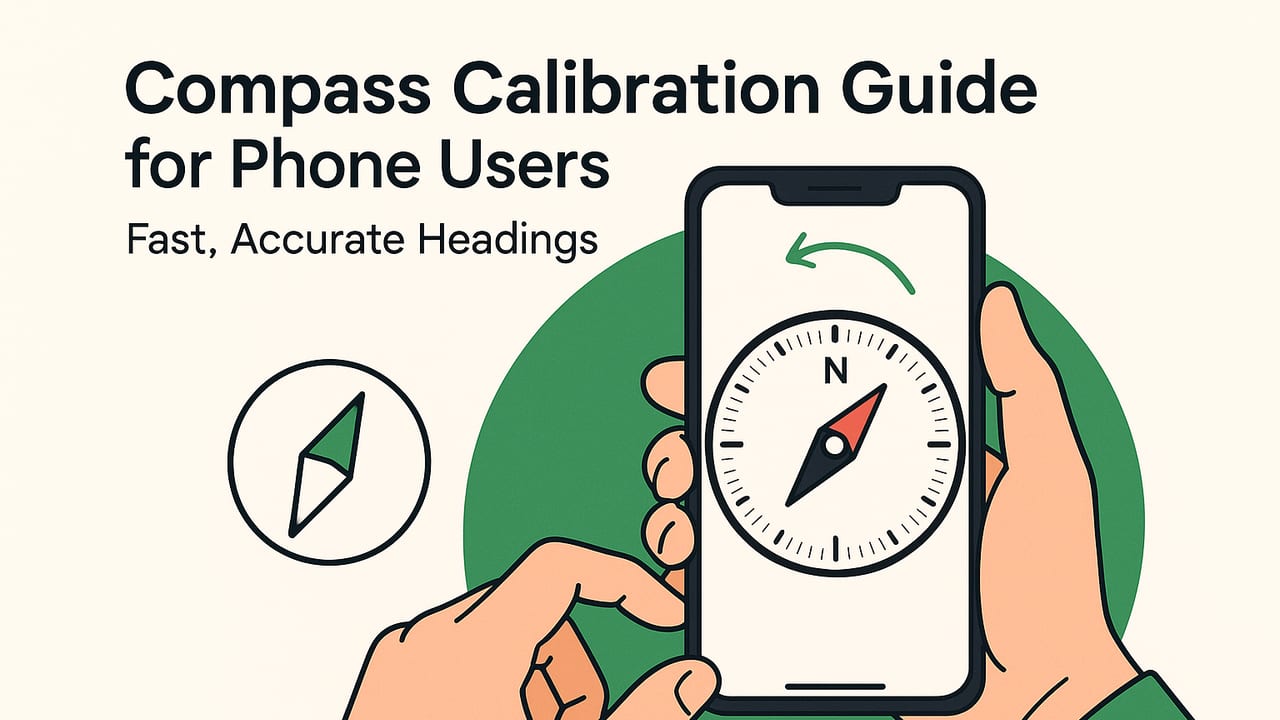
If your map arrow drifts, points the wrong way, or feels sluggish, you need a reliable compass calibration guide for phone users. This practical tutorial explains why calibration matters, how to do it correctly on iOS and Android, how to verify the result, and how to avoid common sources of magnetic interference that wreck accuracy.
Calibrate where you navigate — away from metal, magnets, and moving currents.
What Compass Calibration Actually Fixes
Your phone’s compass relies on a magnetometer fused with the accelerometer and gyroscope. Calibration (and good technique) reduces errors from three sources:
- Hard-iron distortion: Constant magnetic fields from nearby magnets (magnetic cases, car mounts). Shifts the baseline.
- Soft-iron distortion: Ferromagnetic objects that bend field lines (steel desks, cars). Warps headings depending on orientation.
- Tilt/attitude bias: Device not level or moving quickly; sensor fusion needs clean rotations to learn the field.
Modern phones continuously self-calibrate, but poor environment and add-ons (cases, mounts) can trap them in bad solutions. A deliberate, clean calibration resets the model.
Before You Start: Quick Pre‑Checks
- Remove magnets: Take off magnetic/metal cases, MagSafe wallets, or magnetic car mounts.
- Choose a clean spot: Go outdoors or to an open indoor area away from cars, steel furniture, elevators, speakers, large appliances, and wiring bundles.
- Hold the phone alone: Keep keys, tools, and watches away by at least 1–2 meters.
- Permissions on: Enable Location and motion/sensor permissions (required for true north and sensor fusion).
- Battery and updates: Ensure decent charge; heavy throttling or outdated firmware can degrade sensor timing.
Optional diagnostic: If your app shows the raw magnetic field, Earth’s field should read roughly 25–65 μT depending on latitude. A steady 0 μT, 200+ μT, or wildly fluctuating values indicate interference or hardware issues.
Universal Step‑by‑Step Calibration
- Stand clear. Move 2–3 meters from large metal or magnetic items.
- Slow figure‑eight. Trace a large figure‑eight in the air with your phone for 20–30 seconds. Keep movements smooth.
- Rotate on all axes. Slowly rotate the phone around its X, Y, and Z axes: roll, pitch, and yaw. 3–5 slow turns each axis.
- Level check. Briefly hold the phone flat (screen up), then vertical (top up), then on each edge. Pause 2–3 seconds in each pose.
- Repeat once. Another 20–30 seconds of gentle multi‑axis rotations if headings still feel off.
- Settle and test. Place the phone flat, wait 3 seconds, then check the heading against a known reference (see verification below).
Key tips: smooth, slow rotations help; fast whipping motions add noise. Keep the phone at least an arm’s length from your body and any metal objects.
iPhone Specific Notes
- iOS continuously calibrates; if the system asks to move the iPhone in a figure‑eight, follow it.
- To use true north: Settings > Compass > Use True North (requires Location).
- After attaching a new MagSafe case or a magnetic mount, recalibrate away from the mount.
Android Specific Notes
- In Google Maps, tap the blue dot > Calibrate. Perform three figure‑eights until accuracy shows High.
- Ensure Location mode is High Accuracy (GPS + Wi‑Fi + Bluetooth) for better true‑north computation.
- Some devices need a longer multi‑axis rotation; repeat the sequence twice if needed.
Verify Accuracy Immediately
Don’t trust the calibration until you test it with one or more of these methods:
- Known heading landmark: Align the phone to a street that runs true N–S or E–W on a map. Your heading should be ~0°, 90°, 180°, or 270°.
- Sun method (daylight): At local solar noon, the sun is roughly due south in the northern hemisphere and due north in the southern hemisphere. Compare your reading to that cardinal direction.
- Map alignment: Place the phone flat, open your map, and rotate your body until the map’s north aligns with actual geography. The compass heading should match your intended direction.
- Consistency test: Turn 90° in place four times. Each step should change by ~90°.
If heading drifts or jumps near certain objects or locations but stabilizes elsewhere, you’re encountering local interference.
Common Interference Sources and What to Do
| Source | Typical Symptom | Mitigation |
|---|---|---|
| Magnetic phone cases / wallets (MagSafe) | Consistent offset, flips near case | Remove for calibration; keep 15–30 cm away during use |
| Car interiors (dash steel, speakers) | Erratic heading in car | Calibrate outside the car; mount away from speakers/vents |
| Steel desks, cabinets, tools | Heading bends near edges | Step 2–3 m away to calibrate and navigate |
| Wireless chargers, big power bricks | Sudden swings when nearby | Unplug/avoid during calibration; keep >1 m distance |
| Laptop speakers, subwoofers | Oscillating or noisy readings | Calibrate away; keep phone off speaker surfaces |
| Elevators, reinforced concrete | Heading shifts floor to floor | Calibrate outdoors; expect indoor variation |
| Strong permanent magnets | Large, persistent bias | Keep several meters away; recalibrate after exposure |
True North vs Magnetic North
Your phone can show either magnetic north or true north (magnetic north corrected by local declination). Differences of 0°–20° are normal depending on location. For navigating to a bearing on a map aligned to true north, enable true north. For traditional compass bearings aligned to magnetic north, leave declination off.
- iOS: Settings > Compass > Use True North.
- Android: App-specific; many mapping apps automatically apply declination when GPS is available.
No GPS? Magnetic-only operation means you’ll see magnetic north until the device knows where it is. Calibrate anyway to remove local bias; declination can be applied later once location is known.
Special Scenarios
Calibrating in a Car
- Calibrate outside the vehicle. Interiors are full of steel and speakers.
- Use a non-magnetic mount; avoid magnetic vent mounts.
- Expect minor residual bias; rely on GPS course while moving for lane-level navigation.
Indoors and High‑Rise Buildings
- Steel framing and wiring can distort readings room by room.
- Calibrate near windows or outdoors, then return inside and minimize rotation near large metal objects.
Hiking and Backcountry
- Calibrate at the trailhead away from vehicles and shelters.
- Enable true north to match topographic maps; download offline maps when possible.
- Verify with terrain association (ridges, rivers) as a cross-check.
Troubleshooting: When the Compass Stays Wrong
- Reading is frozen or always 0°: Restart the phone; check app permissions; try a different app to isolate software vs hardware.
- μT reading stuck or extreme: Interference or damaged magnetometer. Test outdoors far from metal. If still wrong, seek service.
- Jumps only near certain places: Local soft-iron distortion. Calibrate elsewhere and avoid relying on the compass in that spot.
- Heading lags by several seconds: Too much smoothing or low sensor rate; close heavy apps and ensure adequate battery.
If you recently dropped the phone or exposed it to a strong magnet and calibration no longer helps, hardware may be compromised.
How Often Should You Calibrate?
- After changing cases, mounts, or accessories (especially magnetic).
- After traveling hundreds of miles or crossing hemispheres.
- After proximity to strong magnets or large metal structures.
- Any time the heading feels inconsistent or drifty.
For most users, occasional maintenance plus good habits (keeping magnets away) is enough.
Developer Corner: Reading and Smoothing Headings
iOS (Swift) — Using Core Location
import CoreLocation

class HeadingProvider: NSObject, CLLocationManagerDelegate {
    private let manager = CLLocationManager()
    private var last: Double? // degrees
    private let alpha = 0.2   // smoothing factor

    override init() {
        super.init()
        manager.delegate = self
        manager.requestWhenInUseAuthorization()
        manager.headingFilter = kCLHeadingFilterNone
        manager.startUpdatingHeading()
    }

    func locationManager(_ manager: CLLocationManager, didUpdateHeading newHeading: CLHeading) {
        // Prefer trueHeading when valid; fallback to magneticHeading
        var heading = newHeading.trueHeading >= 0 ? newHeading.trueHeading : newHeading.magneticHeading
        // Simple exponential smoothing
        if let last = last { heading = last + alpha * (heading - last) }
        last = heading
        // Use `heading` (0..360 degrees, 0 = North)
    }

    func locationManagerShouldDisplayHeadingCalibration(_ manager: CLLocationManager) -> Bool {
        // Let the system display calibration UI when needed
        return true
    }
}
Notes: iOS auto-calibrates. Ensure Location is enabled for trueHeading. Avoid over-smoothing, which adds lag.
Android (Kotlin) — Sensor Fusion Orientation
private val accel = FloatArray(3)
private val magnet = FloatArray(3)
private val R = FloatArray(9)
private val I = FloatArray(9)

private var azimuthDeg: Float = 0f
private val alpha = 0.2f // low-pass

override fun onSensorChanged(event: SensorEvent) {
    when (event.sensor.type) {
        Sensor.TYPE_ACCELEROMETER -> for (i in 0..2) accel[i] = accel[i] + alpha*(event.values[i]-accel[i])
        Sensor.TYPE_MAGNETIC_FIELD -> for (i in 0..2) magnet[i] = magnet[i] + alpha*(event.values[i]-magnet[i])
    }
    if (SensorManager.getRotationMatrix(R, I, accel, magnet)) {
        val orientation = FloatArray(3)
        SensorManager.getOrientation(R, orientation)
        var azimuth = Math.toDegrees(orientation[0].toDouble()).toFloat()
        if (azimuth < 0) azimuth += 360f
        azimuthDeg = azimuth
        // Use azimuthDeg (magnetic north). Apply declination for true north if GPS location known.
    }
}
Use a geomagnetic model (e.g., WMM) or platform APIs to add declination for true north when a location fix is available.
Fast Checklist
- Remove magnetic cases/mounts; step away from metal.
- Perform slow figure‑eights and 3‑axis rotations for 30–60 seconds.
- Verify using a known heading, the sun, or map alignment.
- Enable true north if you navigate by maps.
- Recalibrate after hardware changes or long trips.
With clean technique and an interference‑free environment, you can restore accurate, responsive headings in minutes and keep them trustworthy wherever you go. If you prefer an offline iOS toolkit that includes a calibrated compass along with other measurement instruments, you can try Level Tool.
