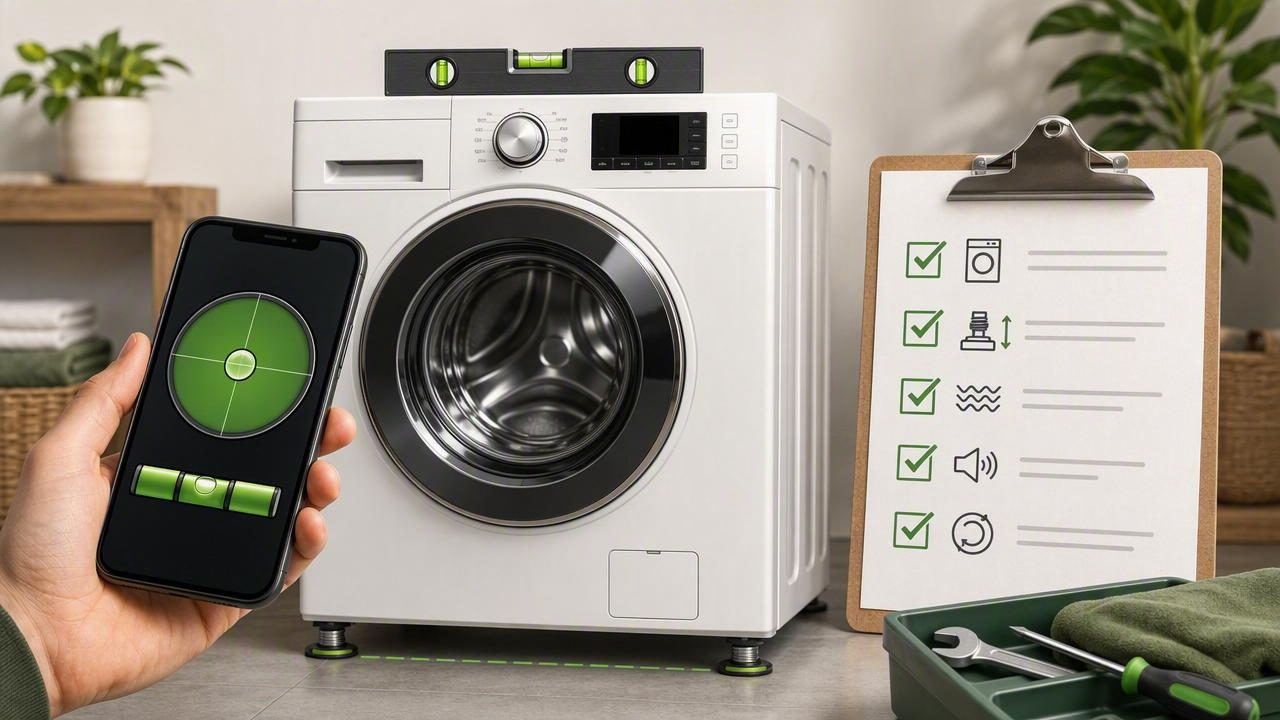
A washing machine that shakes, rattles, or seems to “walk” across the floor during a spin cycle may not be properly leveled. While some vibration is normal, excessive movement can be noisy, damage flooring, strain hoses, and make laundry day more frustrating. Before calling for service, it is worth checking the machine’s position and adjustable feet.
This guide explains how to check a washing machine checklist with bubble level app tools on an iPhone. A sensor-based level gives you a convenient way to inspect side-to-side and front-to-back alignment, even when you do not have a traditional spirit level nearby. The goal is simple: make sure the appliance is stable, supported by all four feet, and as level as the installation surface allows.
Why a Level Washing Machine Matters
Washing machines spin at high speeds to remove water from clothing. If the cabinet is tilted or one foot is not firmly contacting the floor, that spinning force becomes uneven. The result can be vibration, banging, and movement that becomes more pronounced with heavy or unbalanced loads.
Proper leveling helps support smoother operation and can reduce unnecessary stress on the appliance. It also makes it easier for the machine’s internal suspension system to do its job.
- Less vibration: A stable cabinet is less likely to shake during high-speed spinning.
- Reduced noise: Correctly adjusted feet can minimize knocking and rattling sounds.
- Less movement: A machine with four solid points of contact is less likely to shift across the floor.
- Better drainage and operation: Severe tilting may affect normal appliance performance.
- Protection for nearby connections: Excessive movement can put strain on water supply and drain hoses.
Leveling will not fix every problem. Worn shock absorbers, a damaged drum, shipping bolts left in place, loose flooring, or an uneven laundry load can also cause vibration. Still, checking the machine’s level is one of the most practical first troubleshooting steps.
What You Need Before You Start
You do not need a large collection of home improvement tools for this task. Prepare the area and gather a few essentials before adjusting anything.
| Item | Why You Need It |
|---|---|
| Bubble level app | Checks front-to-back and side-to-side tilt using your iPhone sensors. |
| Clean, dry cloth | Wipes dust or detergent residue from the machine top. |
| Adjustable wrench or pliers | Helps turn and lock leveling feet when required. |
| Flashlight | Makes it easier to inspect feet and flooring under the appliance. |
| Manufacturer manual | Confirms the correct leveling-foot and locknut procedure for your model. |
For safety, do not pull the appliance far enough to stretch hoses or power cables. If you need to move it significantly, turn off the water supply, unplug it, and get help with the weight of the machine.
How to Use a Bubble Level App on a Washing Machine
A bubble level app uses the motion sensors in your phone to display tilt in degrees or with a virtual bubble. For reliable readings, your phone needs a stable, reasonably flat contact surface. The top panel of a washing machine is usually suitable, provided it is clean and not heavily curved.
1. Prepare and Calibrate the App
Open the bubble level feature and, if the app offers calibration, calibrate it according to the on-screen instructions. Calibration is especially useful if your phone has a protective case with a raised edge that prevents it from lying flat.
Remove a thick or uneven case if needed. Place the phone carefully on a known flat surface, such as a countertop, and verify that the display settles before starting your inspection. Do not rely on a reading while holding the phone in your hand.
2. Check Side-to-Side Level
Place the phone across the width of the washing machine’s top panel. It should sit securely without sliding. Wait a few seconds for the reading to stabilize, then note whether the bubble is centered or whether the app reports a tilt toward the left or right.
A nearly centered reading is the target. A tiny variation may be acceptable depending on the floor and the manufacturer’s instructions, but a visible or repeated tilt is worth correcting.
3. Check Front-to-Back Level
Rotate the phone 90 degrees so it runs from the front of the washer toward the back. Again, wait for a stable reading. This shows whether the appliance is leaning forward or backward.
Checking both directions matters. A machine can appear level from the front while still leaning significantly from front to back.
4. Test for Rocking
Put the phone aside and press down gently on each top corner of the washing machine. Do not climb on it or use excessive force. If the cabinet rocks diagonally, at least one leveling foot is not making solid contact with the floor.
This physical stability test is just as important as the digital level reading. A machine can be close to level but still vibrate if a foot is loose, a locknut is not tightened, or the floor surface is unstable.
Washing Machine Leveling Checklist
Use this checklist before making adjustments and again after your final test cycle.
- Make sure the washer is empty and powered off.
- Inspect the floor for water, debris, soft mats, or loose tiles.
- Confirm that all shipping bolts were removed on a newly installed front-load washer.
- Clean the top panel and place your phone securely on it.
- Use the bubble level app to check left-to-right alignment.
- Rotate the phone to check front-to-back alignment.
- Press each top corner to identify rocking or a loose foot.
- Adjust the appropriate leveling foot in small increments.
- Recheck both axes after every adjustment.
- Tighten locknuts against the washer base if your model uses them.
- Run a small test spin cycle and listen for excessive vibration.
- Inspect hoses and the surrounding floor after the test.
How to Adjust Washing Machine Feet
Most washing machines have threaded feet that can be raised or lowered. Consult your owner’s manual first because designs vary. Some models have adjustable front feet and self-leveling rear feet, while others allow adjustment at all four corners.
In general, follow this approach:
- Identify the low side or corner. Use the app reading and rocking test together. If the machine leans left, the left side may need to be raised, or the opposite side may need to be lowered.
- Make small changes. Turn the foot only a little at a time. Large adjustments make it harder to identify the correct final position.
- Keep all feet firmly grounded. The objective is not only a centered bubble; every foot must carry weight securely.
- Lock the adjustment. Tighten locknuts where applicable. A correctly adjusted foot can work loose if its locknut is not secured.
- Repeat the app checks. Recheck both directions after each change, then perform the corner-pressure test again.
Practical tip: Never use cardboard, folded paper, or loose wood scraps as permanent shims under a washing machine. These materials can compress, shift, absorb moisture, and make vibration worse.
Common Problems a Level Check Can Reveal
A bubble level app is useful for more than confirming whether the top panel is horizontal. Combined with a visual inspection, it can help narrow down the source of common laundry-room issues.
The Machine Walks During Spin
First, check for rocking. An unsupported foot is often the most likely issue. If all feet are secure and the appliance is level, make sure the load is not concentrated on one side of the drum. Bulky items, such as towels or a single bath mat, can create an imbalance even on a perfectly leveled machine.
The Machine Is Level but Still Loud
If app readings are centered and the cabinet does not rock, investigate other causes. Check that a newly installed washer has no shipping bolts remaining. Inspect the floor for flexing, and consider whether the sound occurs only with certain loads. Persistent banging, grinding, or metal-on-metal noises may require professional appliance service.
The Floor Is Uneven
Old homes, basements, and utility rooms may have sloped or irregular floors. In these cases, use the adjustable feet to stabilize and level the washing machine as closely as possible. If the floor is severely uneven, cracked, or soft, address the underlying surface rather than forcing the appliance feet to compensate beyond their intended range.
When to Call a Professional
Stop troubleshooting and contact a qualified technician if you notice leaking water, damaged hoses, an electrical burning smell, severe drum movement, repeated error codes, or noises that continue after leveling and balancing loads. Also seek help if the washer is installed on an unstable platform or if you cannot safely access the leveling feet.
Leveling is a useful DIY maintenance task, but it should not require disassembling the appliance or bypassing safety instructions from the manufacturer.
Make Level Checks Part of Home Maintenance
A quick level check can be helpful after moving a washing machine, replacing flooring, installing a new appliance, or noticing new vibration during spin cycles. Because a phone-based tool is easy to keep nearby, it can also be useful for shelves, appliances, picture frames, outdoor gear, and other everyday home improvement tasks.
For an offline iOS option that combines a dual-axis bubble level with other practical measurement and navigation tools, Level Tool can keep essential readings available without requiring a subscription or internet connection.
